Install Windows 7 on GPT Partition Style
Windows 7 can install on a GPT disk only when the computer boots in UEFI mode and the Windows edition supports that setup. If setup is started in Legacy BIOS mode, it may report that Windows cannot be installed to a GPT disk.
Understand the problem
The key is to match boot mode and disk style. UEFI works with GPT. Legacy BIOS normally works with MBR. Converting the wrong disk can erase data, so backup is essential.
- Confirm the exact disk, partition, drive letter, file system, and capacity before changing anything.
- Back up or recover important files before formatting, deleting, converting, resizing, or recreating partitions.
- For boot-related changes, check BIOS or UEFI mode, boot order, and system partition status before editing disk layout.
Use Windows built-in tools
Use Windows setup and firmware settings to match boot mode before converting a disk.
- Enter BIOS or UEFI setup and enable UEFI boot if the computer supports it.
- Boot the Windows 7 USB in UEFI mode; the boot menu often shows a UEFI prefix.
- At setup, select the GPT disk only after confirming it is the intended target.
- If the computer only supports Legacy BIOS, back up data and convert the target disk to MBR instead.
- Do not clean the disk until all important files are backed up.
Use Qiling tools for guided steps
 Qiling Disk Master
Back up the target disk before converting disk style or reinstalling Windows.
Function. Back up files before changing locations or programs
Step 1. Open Qiling Disk Master and choose Backup and Recovery > File backup.

Step 2. Select documents, desktop files, drivers, and installation files and any related configuration folders that you may need later.

Step 3. Choose a destination on another disk, external drive, or network location. Avoid saving the backup to the disk you are about to modify.
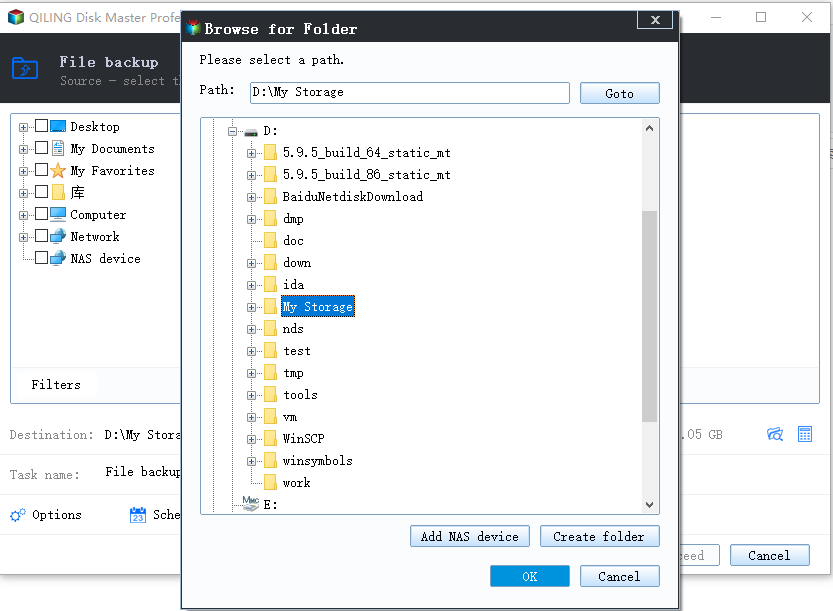
Step 4. Review the source and destination, then click Proceed. Keep the backup until the new location or new program path is verified.
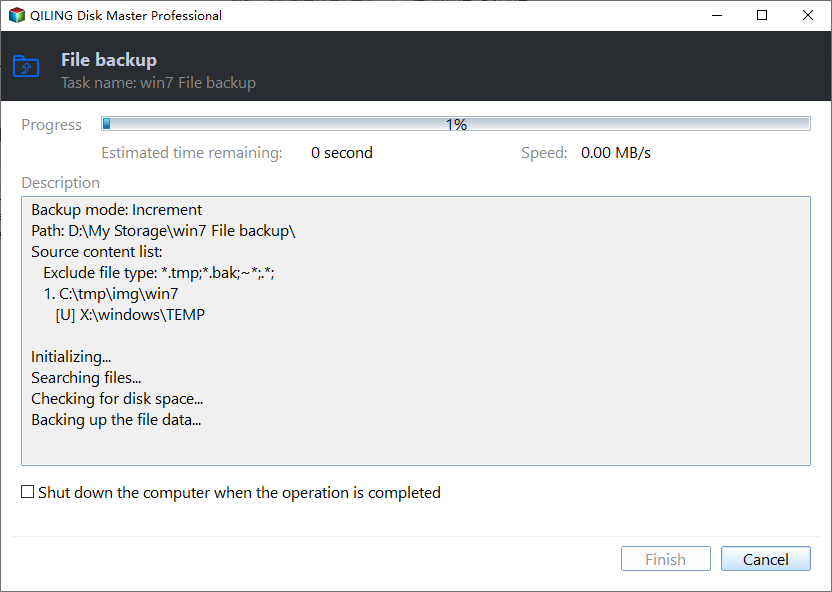
Function. Prepare bootable media before boot repair
Step 1. On a working computer, connect an empty USB drive. Back up any files on it because creating bootable media will overwrite the USB drive.
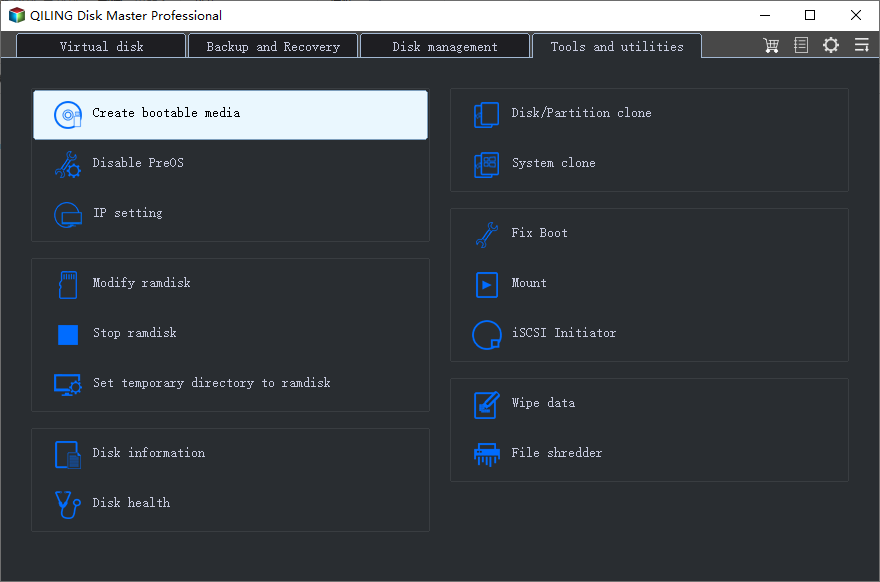
Step 2. Open Qiling Disk Master, go to Tools and utilities, and choose Create bootable media.
Step 3. Select the USB boot device option and choose the correct USB drive.
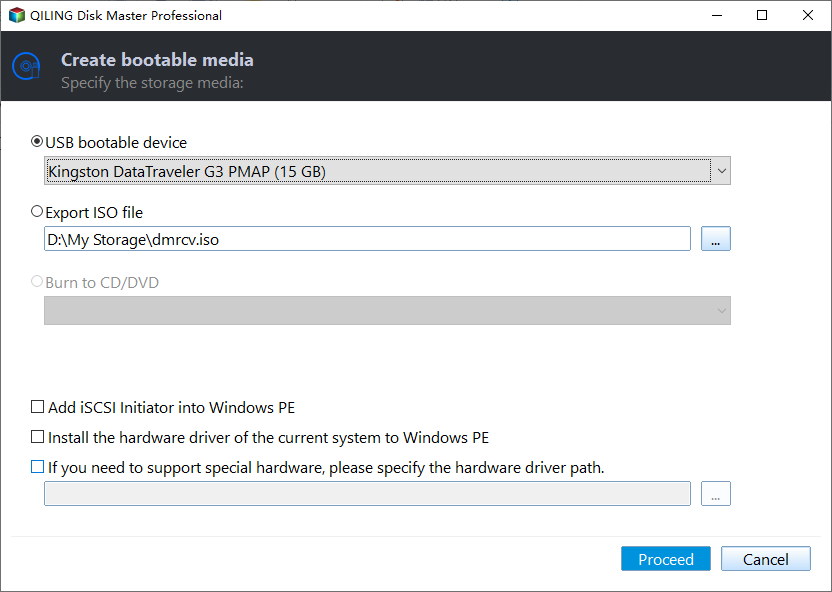
Step 4. Create the bootable USB and wait until the process is complete.
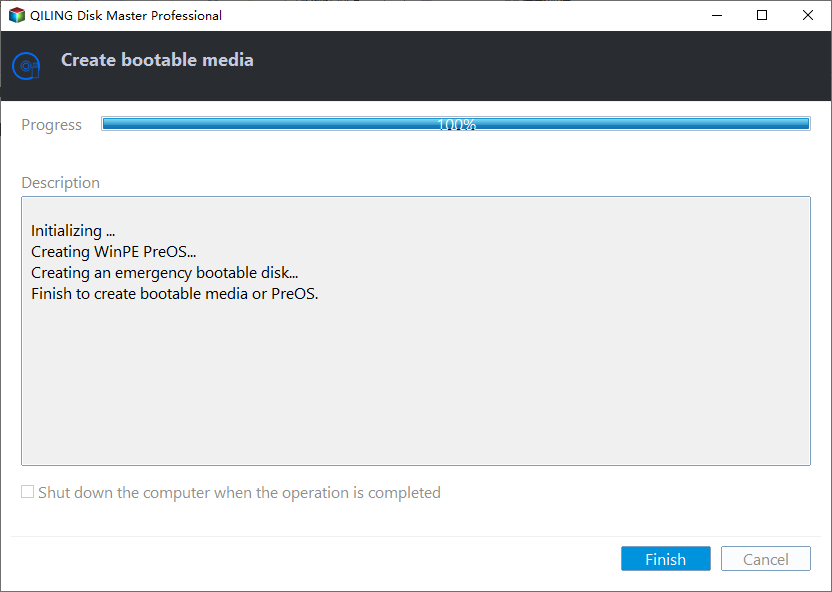
Step 5. Boot the affected computer from this USB drive. Use it to protect data, check disk layout, or prepare Windows 7 installation or recovery before making boot changes.
Check the result
During setup, confirm that the target disk accepts the selected partition. After installation, verify Windows Boot Manager is first in UEFI boot order.
Related Articles
-
Selected Disk Is GPT Partition Style
Fix Windows setup errors caused by mismatched boot mode and disk style. -
Convert GPT to MBR During Windows 7 Install
Convert disk style during installation after backing up data.
Products
Articles & Tutorials
- Data Recovery
- Data Backup
- File Recovery
- File Backup
- File synchronize
- System Backup and Restore
- Disk and Partition Clone
- Technical articles
- Disk Master Help
- Windows Deleted File and Disk Recovery Tutorials
- Windows File and Data Recovery Tutorials
- More Windows Tutorials for Install, Security, Files, and PC Tips
- Windows Boot, Repair, and Recovery Environment Tutorials
- Windows Backup Tutorials
- Windows Restore Tutorials
- Windows Clone and Migration Tutorials
- Windows Server Backup, Recovery, and Management Tutorials
- Windows Disk, Partition, and Storage Management Tutorials