Best Data Rescue for Mac Free Download
Quick Navigation:
- Step 1. Install the data rescue for Mac tool
- Step 2. Select files to scan
- Step 3. Select volume/hard drive to scan
- Step 4. Recover recover deleted files, lost data on Mac
Data rescue is a software that helps recover deleted files, lost data from Mac internal and external hard drives, and formatted partitions/drives, making it an essential tool for those with important data on their Mac.
When searching online for "data rescue for Mac", you can find several options, but I recommend trying Deep Data Recovery for Mac, a robust and reliable tool that stands out from the rest. With its exclusive features, it makes the process of rescuing lost data easier, quicker, and more efficient compared to other software.
- Support over 200+ File Types You Commonly Use. This data rescue tool for Mac supports over 200 file types, including common file types used in daily life and work, such as photos (.png, .jpg, .gif, .tif, .bmp), videos (.mp4, .avi, .mov), documents (.doc, .rtf, .xls, .ppt, .pdf), and archives (.zip, .rar).
- Supports All Kinds of Internal & External Hard Drives. Deep Data Recovery for Mac allows users to recover various types of files, including documents, videos, audio files, and archives, from internal and external hard drives, memory cards, and other storage devices, making it easy to recover lost files from anywhere. (note: I removed the "on Mac" part as it was not present in the original text)
- 2 Scan Modes for Quick or Better Result. The software offers two scan modes: Quick Scan and Deep Scan. Quick Scan is the default mode, taking less time to scan external hard drives or Macs, but may not find all lost data. Deep Scan is a more thorough option that scans harder and may find deleted or lost files. If Quick Scan doesn't yield the desired results, users can opt for Deep Scan.
- Standalone, Robust and Easy-to-use
Deep Data Recovery for Mac is a standalone software designed for Mac users to rescue data from Mac devices as well as external hard drives. It's a user-friendly tool that's simpler and easier to use compared to other data recovery software, making it accessible even for those without technical expertise. By following the built-in instructions, users can successfully recover their data without needing to know the technical details or theory behind the process.
To use Deep Data Recovery, first download and install the software on your Mac. Next, connect the external hard drive or Mac that contains the lost data to your computer.
Step 1. Install the data rescue for Mac tool
To download and install the data rescue tool on your Mac, click the download button below to get the installation package. Once installed, it will be fully compatible with your macOS version, including High Sierra. After installation, connect your external hard drives firmly to your Mac and use the software to rescue photos, videos, audio files, documents, and more from the drives.
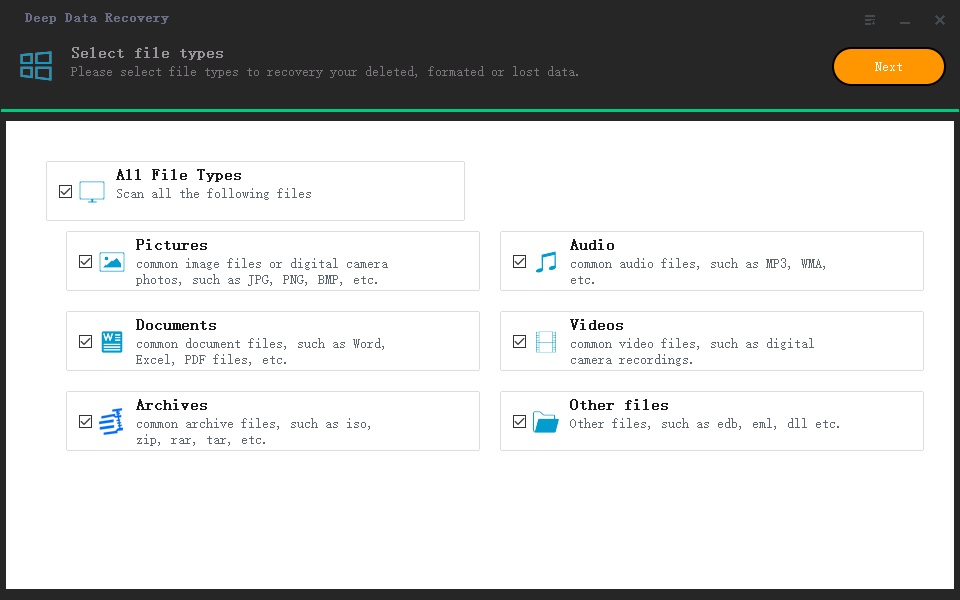
Step 2. Select files to scan
The data rescue for Mac software supports over 200 file types, allowing you to recover deleted photos, videos, documents, and other files on your Mac. The supported files are categorized and displayed in the main window, where you can simply select the wanted ones and uncheck the unwanted ones. Once you've made your selections, click "Next" to initiate the software's scanning process.
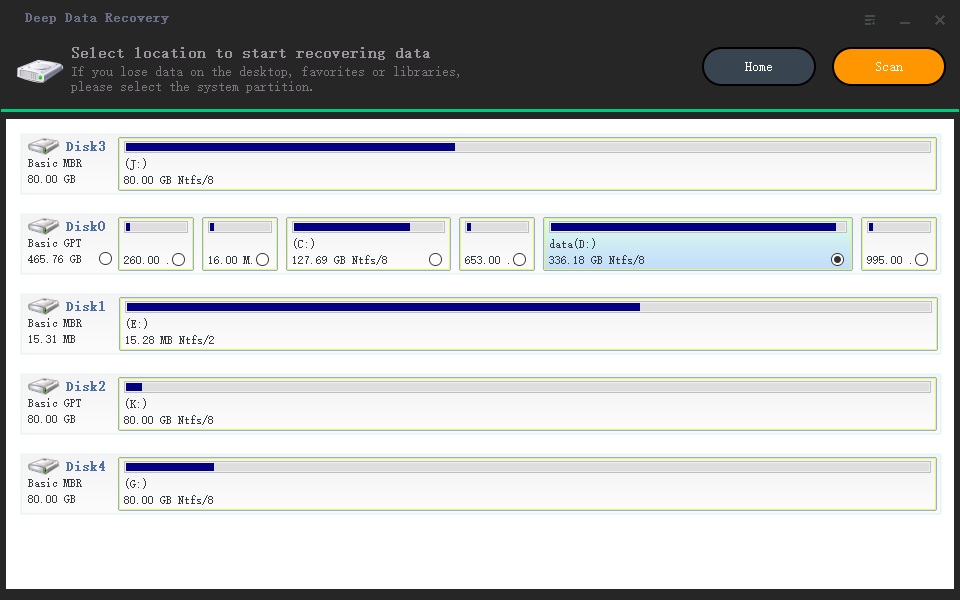
Step 3. Select volume/hard drive to scan
Select the partition or hard drive where the target files used to exist, click the "Scan" button, and wait for the scanning process to complete, which may take a few minutes depending on the number of files on the hardware.
Step 4. Recover recover deleted files, lost data on Mac
The scanning process is tracked by a progress bar in the scanning window. Once the process is complete, the results are displayed in the last window. The left side shows the file type, and the right side allows you to preview the files in that category. To recover the target files, click the "Recover" button.
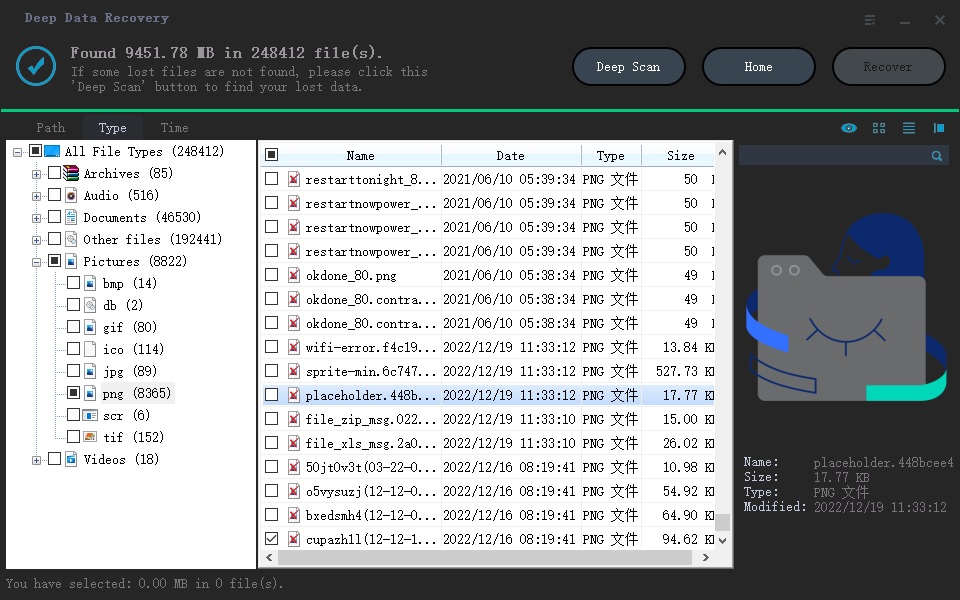
The result window offers an alternative option, "Deep Scan", which is an alternative to Quick Scan. If the target files are not found in the result window, users can try scanning their hardware more thoroughly using this option.
Related Articles
- How to Recover Deleted Files from SD Card on Mac
- How to Recover File from External Hard Drive on Mac
- How to Recover Deleted Files from USB Drive
- Best 5 SD Card Photo Recovery Apps to Recover Deleted Photos from SD Card
Here are the top 5 best apps to recover deleted photos from SD card, helping you keep all the great moments safe and in good situation. They apply to the SD card photo recovery app for Android, Windows PC or Mac OS.