How to Securely Erase SSD Drive in Windows 7?
Secure Erase SSD on Windows
Secure Erase is a firmware feature that deletes the entire cells on an SSD, restoring it to its factory default value and performance. This feature also resets the whole regions of the NAND (Non-Accessible Data Area), which is invisible to other software tools, making it a secure way to erase an SSD.
Secure Erase SSD is a useful feature for permanently removing data or restoring a drive's performance when it's been heavily used and TRIM is not effective, allowing for a manual TRIM and garbage collection process.
How Does SSD Record Data?
Typically, Solid-State Drives (SSDs) use NAND flash memory to store data and a flash controller to connect the memory with the host computer, storing data in blocks, with each block consisting of more than one file.
We can think of a block as a notebook page and a file as the notebook itself. On an SSD, when you delete data, it's like tearing out a page from the notebook - the data is still present on the notebook (the SSD), but it's marked as deleted. If you want to really remove the data, you need to "shred" the entire notebook (the SSD) - a process that wipes all data on the device. This is why "deleting" data on an SSD doesn't always mean it's gone for good.
SSD Secure Erase vs Format
Secure erase and disk format have distinct differences, with the primary distinction being whether the formatted data can be retrieved. Secure erase uses the TRIM command and garbage collection to mark data as garbage, making it unrecoverable. In contrast, a Quick Format, which does not involve secure erase, can leave deleted data vulnerable to recovery by professional data recovery tools. This makes secure erase a more secure option for those who want to ensure their deleted data is truly gone.
How to Erase SSD Securely?
Upgrading to a Solid-State Drive (SSD) is often considered the best way to improve a computer's performance, but its limited writing capacity can lead to issues, including the need to securely erase the drive, which differs from traditional Hard Disk Drives (HDDs).
Erase SSD with Manufacturer Software
Except for the secure erase SSD command line (ATA Secure Erase), there are other SSD erase tools available. Many manufacturers offer software for their SSDs, which can be used to upgrade firmware and apply tasks like secure erase, such as Samsung Magician, Intel SSD Toolbox, and SanDisk SSD Toolkit. To use these tools, you'll need to find the brand of your SSD and download the corresponding software.
SSD erase utilities can only erase SSDs to factory settings within their specific brand, meaning you can't use Samsung Magician to erase a Kingston or Crucial SSD. If you need to wipe an SSD from a different brand, you'll require a professional erase tool to securely erase the data before selling or repurposing the drive.
SSD Secure Erase Free Software: Qiling Disk Master Standard
Qiling Disk Master Standard is a free partition software that specializes in partition management, allowing users to erase all data on their SSD to prevent others from recovering it. It offers two features for wiping data: Wipe Hard Drive and SSD Secure Erase Wizard.
Note: You can get a free backup SSD with Qiling Disk Master Standard in advance if you want to keep files on SSD intact or just backup important files to cloud or external hard drive.
Wipe SSD with Multiple Times
The "Wipe Hard Drive" feature allows you to securely erase all data on a disk, repeating the process up to 100 times, making it suitable for both traditional HDDs and modern SSDs.
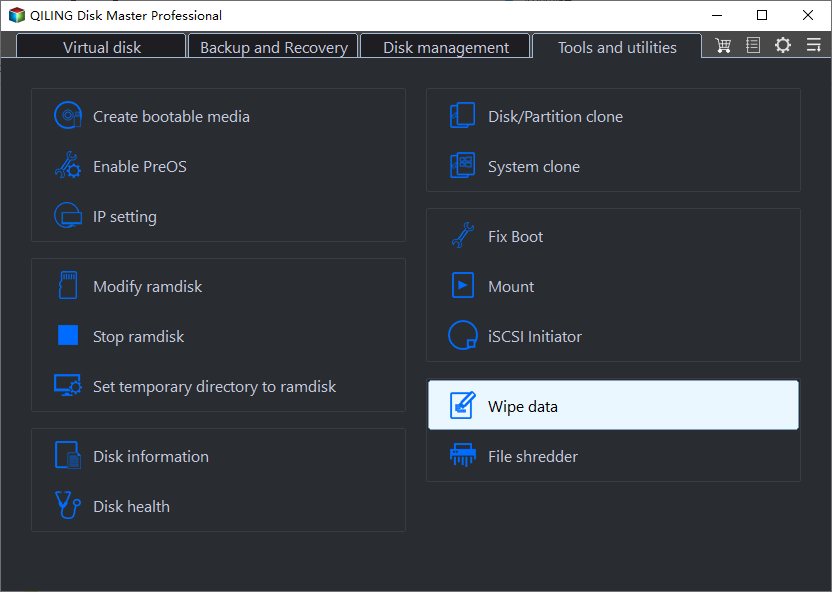
Step1: Download, install and launch the app. Click "Wipe data" on the top toolbar.
Step2: Set the number of times you want to wipe the hard drive from 1-100 times.

Step3: If you want to perform the operation then click Proceed.
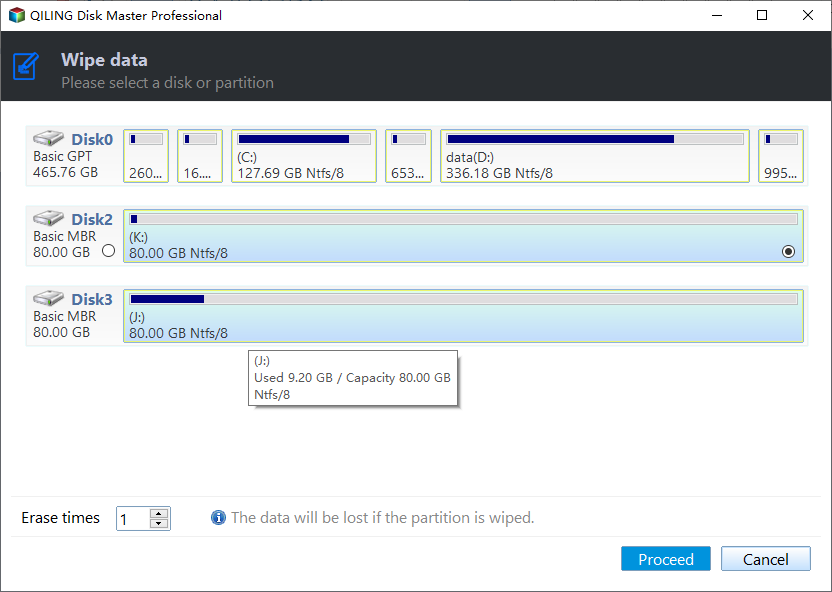
Tips: You can specify the number of times to wipe from 1 to 100 by using "Wipe Hard Drive", with larger numbers taking longer, and one time usually being sufficient, possibly requiring a partition of your SSD afterwards.
Securely Erase SSD in Windows 7 with better method
Qiling Disk Master's 6.5 version includes a feature to securely erase SSDs, making it impossible to recover data, which is a unique feature compared to traditional HDDs.
Step 1: Connect the SSD to a Windows 7 computer via SATA port. Run Qiling Disk Master Standard and click on "SSD Secure Erase Wizard" in the left pane.
Step 2: To securely erase an SSD, select the desired drive from the given list, then double-click it to confirm it's the correct one, as all data on the SSD will be unrecoverable after erasure.
Step 3: To resolve the issue, you'll need to perform a hot swap, which involves removing the SSD from the system while it's still powered on. This will allow you to bypass the frozen state and regain access to your drive settings.
Tips: To perform a Hot Swap:
- To erase a solid-state drive (SSD), start by opening your computer case, specifically the rear cover or drive shell, to locate the SSD you want to erase.
- Unplug the power cable and then disconnect the SATA data cable from the SSD.
- After a few seconds, reconnect the SATA cable to the SATA port and plug the power cable back in to complete the hot-swap process.
Step 4: The SSD secure erase process can be completed in a short time after clicking Next.
Note:
- To securely erase an SSD on a laptop or a Windows-operated computer, you need to disconnect the SSD and connect it to a separate Windows 7 computer, from which you can perform the secure erase operation.
- Using Qiling Disk Master to wipe data will make it unrecoverable by any data recovery software, so use with caution.
- The differences between SSD and HDD are further highlighted in the article "SSD vs HDD", which provides a detailed comparison of the two storage devices.
- Qiling Disk Master is a sector-level wipe software that allows users to wipe a partition or entire disk, erasing all files simultaneously. It does not have the capability to wipe specific files, so users would need to download a file-level wipe software for that purpose.
Conclusion
If you're looking for a way to securely erase an SSD on Windows, Qiling Disk Master is a software that can surprise you. In addition to its secure erase feature, it also has many other helpful tools that can assist you in maintaining your computer's hard drive in good condition.
Related Articles
- How to Repair C Drive [5 Proven Ways]
Have you ever received a warning message that says 'Scanning and repairing drive C'? In this post, you will discover five practical ways to check and repair the C drive. - Lenovo SSD Upgrade: 2024 Step-by-Step Tutorial on How
This article introduces the process of upgrading the SSD in a Lenovo laptop. Discover step-by-step instructions and essential considerations for successfully performing a Lenovo SSD upgrade - 2 Ways to Partition C Drive in Windows 7 Without Formatting
If you want to partition the C drive on your Windows 7 PC without formatting but don't know how then you should read this article. We show you two easy ways to do that. Keep reading to learn more! - SD Card Benchmark App 2024 Updated Recommend [Detailed Guide]
Do you want to check your SD Card Performance? Then check out the best SD Card Benchmark App with a detailed guide. This article introduces a reliable app for SD Card benchmarking. - Best PNY USB Flash Drive Format Tool Free Download👍
If you're looking for a PNY USB flash drive format tool, you'll find four reliable free format tools in this post. Follow the detailed guide to format your PNY USB flash drive. - How to Rebuild BCD | All You Should Know 🔥
If the configuration file is corrupted or missing, you must rebuild BCD to repair the unbootable problem. This article covers multiple methods that can achieve your goal of rebuilding BCD, including using the Windows installation media, a Windows installation disk, or a Windows installation USB,