Seagate Partition Recovery Software for Windows
Common Seagate partition loss situations
A Seagate internal or external drive may lose partitions after accidental deletion, unsafe ejection, file system corruption, partition table damage, or a failed resize operation. If files matter, recover data before creating a new partition.
Check the Seagate disk first
Step 1. Try another USB port, cable, or enclosure if the drive is external.
Step 2. Open Disk Management and check whether the disk appears as unallocated, RAW, offline, or not initialized.
Step 3. If it has no drive letter but the file system is normal, assign a letter.
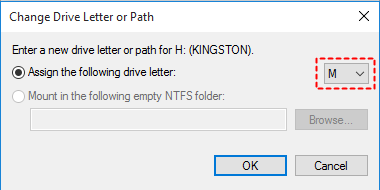
Recover data from the lost Seagate partition
 Deep Data Recovery
Deep Data Recovery can scan Seagate drives for lost partitions, deleted files, and recoverable folders before partition repair.
Step 1. Stop using the Seagate drive as soon as you notice the partition is missing. Do not create a new volume, format the unallocated space, or copy new files to the drive before recovery.
Step 2. Connect the Seagate drive directly to the computer when possible, then open Deep Data Recovery. Select Fast Scan to quickly scan the lost Seagate partition.
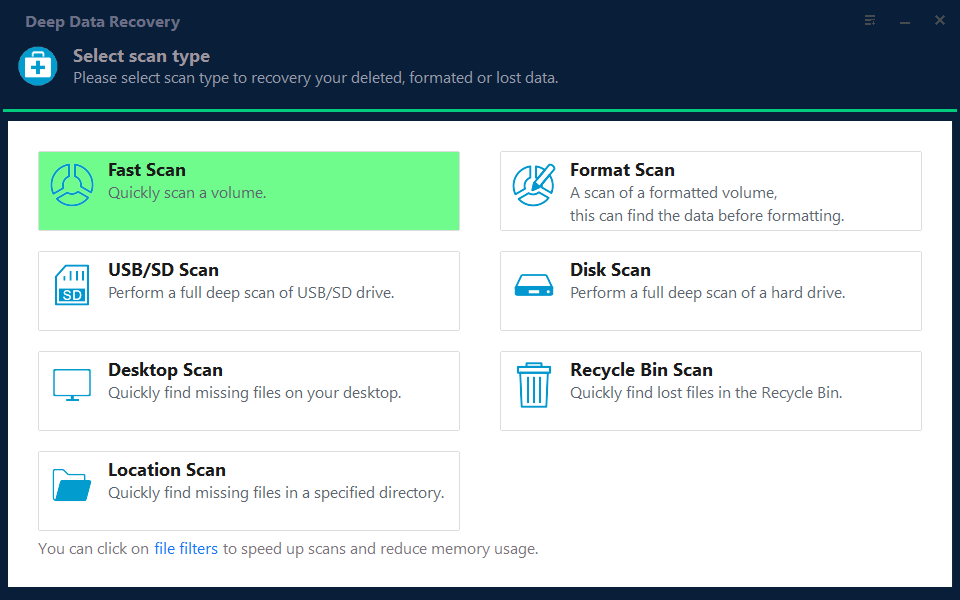
Step 3. Select the missing Seagate partition if it is listed. If Windows shows only unallocated space or the partition has no drive letter, select the Seagate disk or the location that matches its capacity; do not select the destination drive for recovered files.
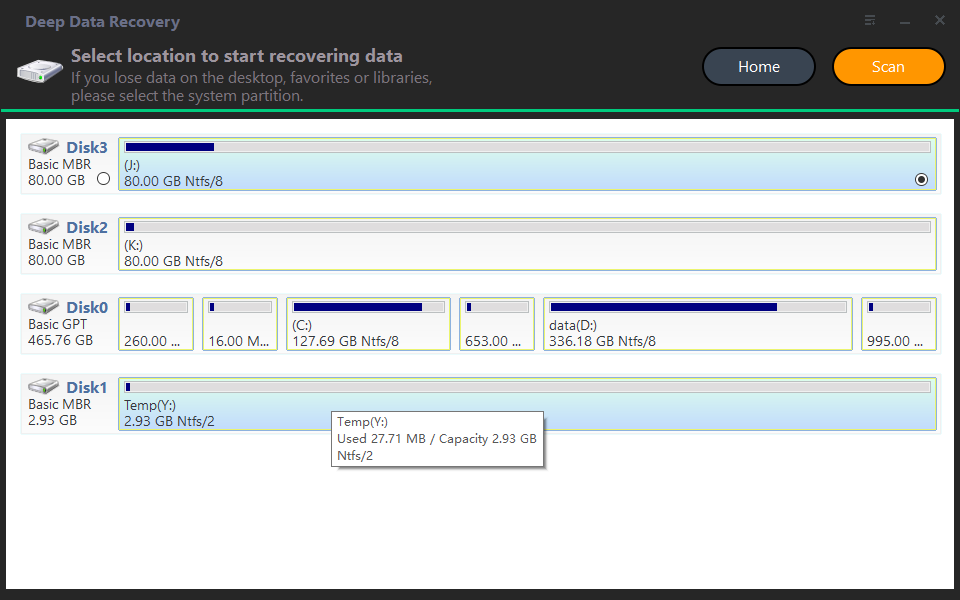
Step 4. Start the scan and allow it to finish. The program may display files while scanning, but a completed scan gives a more complete result for a lost or formatted partition.
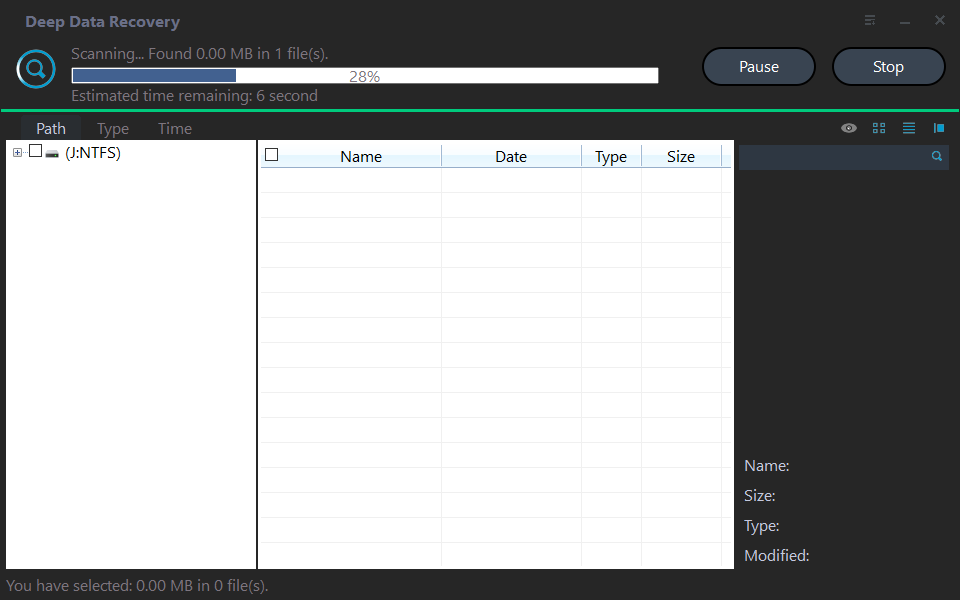
Step 5. Use the file type, path, date, or search filters to narrow the results. Preview important documents, photos, or videos where preview is available, then select only the files and folders you need.
Step 6. Click Recover and select a different healthy drive as the destination. Never recover files back to the Seagate drive being scanned, because new writes can overwrite data that has not yet been recovered.
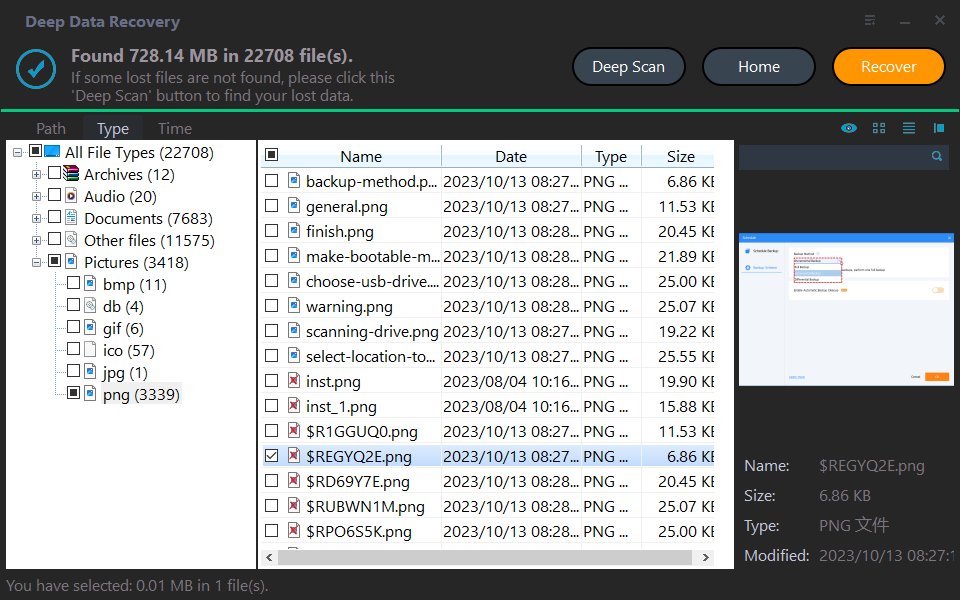
Step 7. After recovery, open several files from the separate destination drive. Continue to the partition-recreation steps only after the files you need are present and usable.
Recreate the partition after recovery
Step 1. Keep the recovered files on the separate destination drive and verify that important files open correctly. Do not format or create a new partition until this verification is complete.
Step 2. Press Win + X and choose Disk Management. Locate the Seagate disk by its capacity and connection type, then confirm the space to reuse is shown as Unallocated. Do not change EFI, Recovery, OEM, or any partition on the Windows system disk.
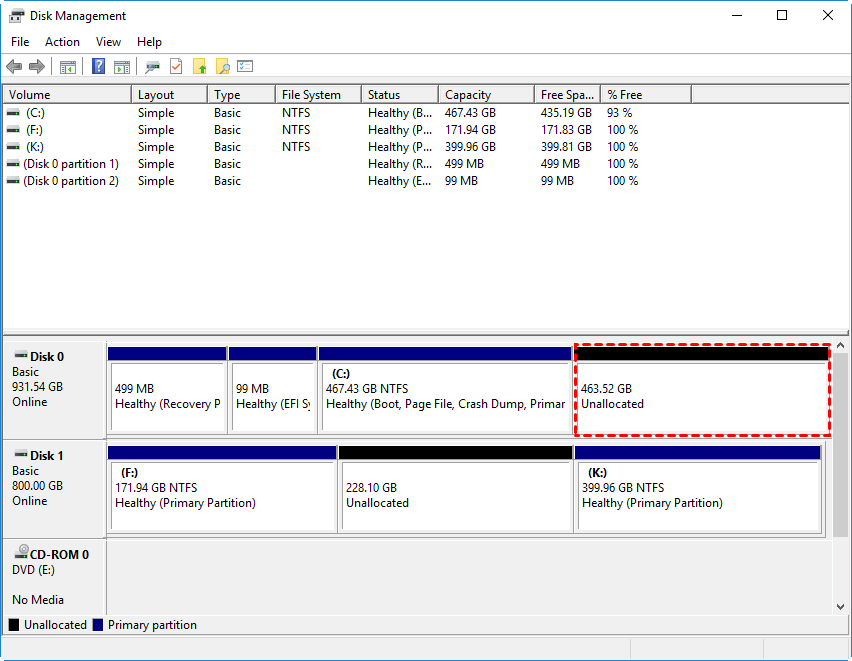
Step 3. Right-click the unallocated area on the Seagate disk and choose New Simple Volume. If this option is unavailable, stop and recheck that you selected unallocated space rather than an existing partition.
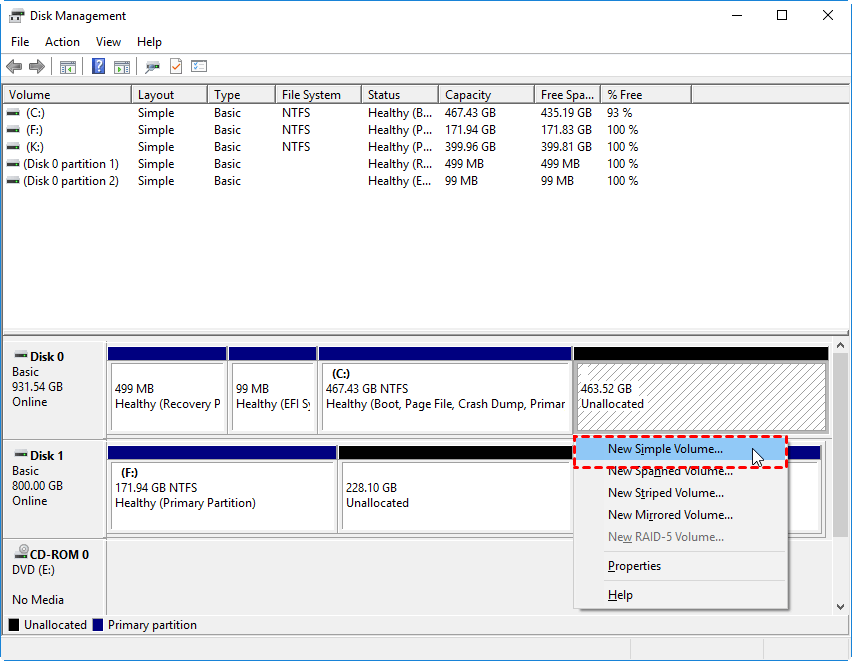
Step 4. In the wizard, enter the volume size. Use the maximum size for one data partition, or enter a smaller value only when you deliberately need separate partitions.
Step 5. Assign an unused drive letter, then select NTFS for a Windows-only data drive. Select exFAT only when you need to use the drive with compatible devices or operating systems that do not support NTFS.
Step 6. Enter a clear volume label, such as Seagate Data, and finish the wizard. Windows will format the newly created volume, so confirm the disk number one last time before selecting Finish.
Step 7. Open the new drive in File Explorer and copy a small set of recovered files first. If transfers cause read errors, repeated disconnections, unusual noises, or SMART warnings, stop using the disk and replace it before copying the rest of the data.
Protect Seagate drives from future loss
Always eject external drives safely, keep a second copy of important files, avoid resizing partitions during unstable power, and check SMART health when the drive becomes slow or disconnects randomly.
Conclusion
Seagate partition recovery should focus on files first. Scan the drive, recover data to another location, then recreate or repair the partition.
Related Articles
-
Seagate Partition Recovery: Recover Lost Seagate Partition
Recover missing Seagate partitions and rebuild them after data is safe. -
How to Recover a Deleted/Lost Partition on External Hard Drive
Restore lost partitions from external hard drives without formatting first. -
MBR Repair Tool: Repair Damaged MBR in Windows 11, 10, 8, 7
Repair boot or partition records when a disk has MBR-related problems.
Products
Articles & Tutorials
- Data Recovery
- Data Backup
- File Recovery
- File Backup
- File synchronize
- System Backup and Restore
- Disk and Partition Clone
- Technical articles
- Disk Master Help
- Windows Deleted File and Disk Recovery Tutorials
- Windows File and Data Recovery Tutorials
- More Windows Tutorials for Install, Security, Files, and PC Tips
- Windows Boot, Repair, and Recovery Environment Tutorials
- Windows Backup Tutorials
- Windows Restore Tutorials
- Windows Clone and Migration Tutorials
- Windows Server Backup, Recovery, and Management Tutorials
- Windows Disk, Partition, and Storage Management Tutorials