Two Simple Ways to Run an Incremental Copy in Windows
Incremental copy in Windows
Taking regular backups is a good habit, as data loss and system corruption may happen due to various reasons, such as accident shutdown, hard drive failure, and virus attack. Full backup is a common method that copies your entire data set, but it's not suitable for those who frequently add or modify data.
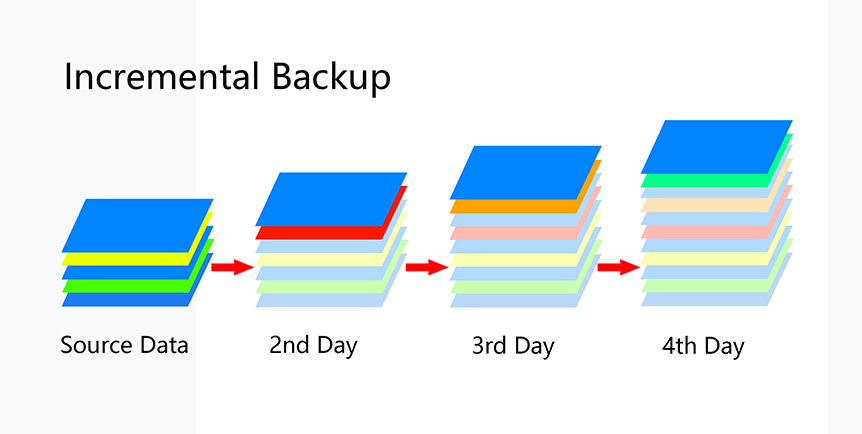
Continuous full backups are not only time-consuming but also quickly fill up disk space, making incremental backups increasingly popular. Incremental backups, similar to differential backups, create a copy of only the changes made since the last backup, rather than a full backup. This approach reduces storage needs and saves time, making it a more efficient option for many users.
The main difference between incremental and differential backup is that a differential backup copies changed data since the last full backup, whereas an incremental backup copies changed data since the previous full or incremental backup, requiring less storage space and a shorter backup time.
How to create an incremental backup in Windows with ease
If you need to make an incremental copy in Windows, you have two quick guide options to choose from. You can follow the first guide, which outlines the steps to create an incremental copy, or the second guide, which provides an alternative method to achieve the same result. Preview both options and select the one that best suits your needs.
#1: Use Windows Backup and Restore to get an incremental copy
Windows 7 Backup and Restore is a Windows built-in service that allows for incremental backups using scheduled backups. It can be used to back up and restore data, and can even be set up to run automatically at regular intervals. This service can be a convenient and easy-to-use way to ensure that important files and data are safely backed up.
Step 1. Open Control Panel from start menu.
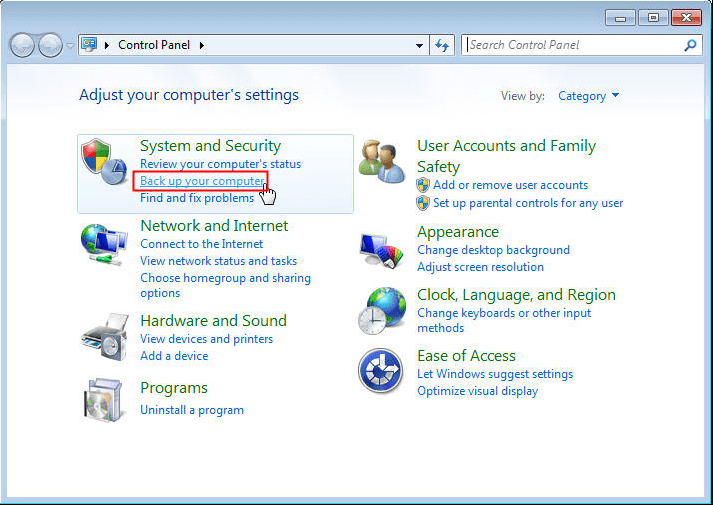
Step 2. Click Back up your computer under System and Security.
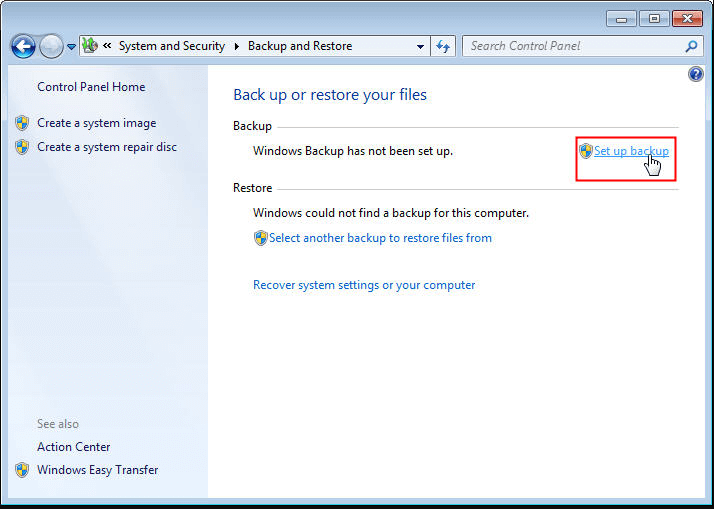
Step 3. Click Set up backup to get started.
Step 4. Choose where to save the image file.
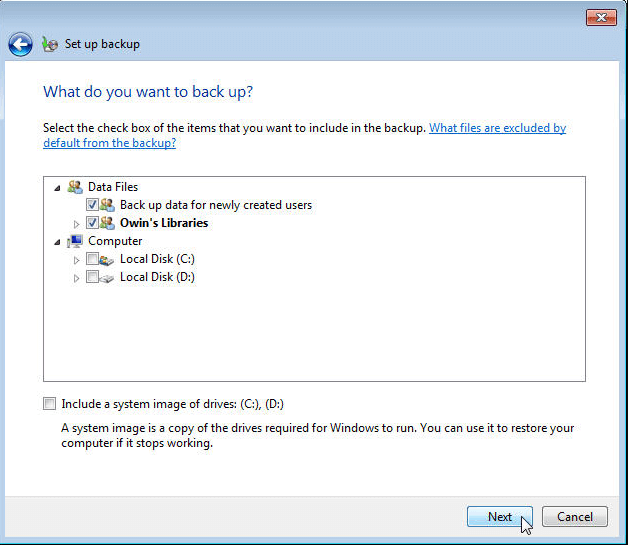
Step 5. Choose what to backup by clicking Let Windows choose or Let me choose.
Step 6. Select the data you want to backup. Then click Next.
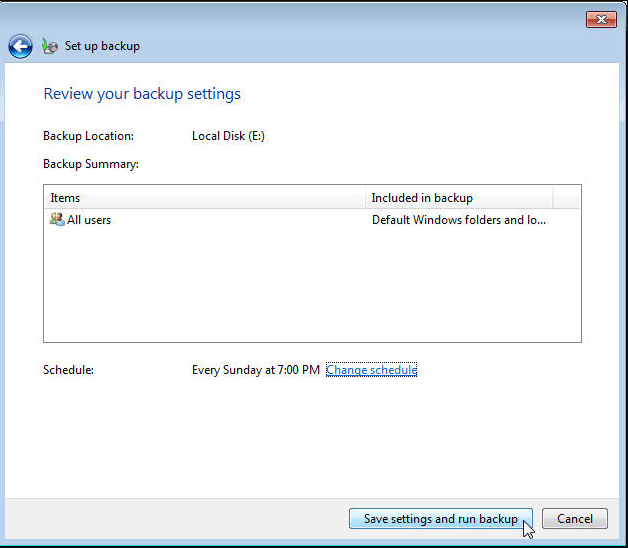
Step 7. In Windows 7, change the schedule settings to your preference and then click "Save settings and run backup" to initiate an incremental backup.
✎Tips:
- The steps for creating a backup in Windows 10 also apply to incremental backup. To create a backup, go to Settings, then Update & Security, and click on Backup.
- To enable backups using the command line, you can use the command `wbadmin enable backup`.
Windows Backup may default to incremental backups, but it often fails to create new incremental backups, potentially resulting in no backup at all.
You should pay attention to Windows 7 Backup limitations before scheduling backups, such as some specific files that cannot be backed up. To keep your data safe and break these limits, it's recommended to use a different method.
#2: Use the freeware to perform a Windows incremental backup
Qiling Disk Master Standard successfully makes up for the shortcomings of Windows Backup by offering strong stability and the ability to back up almost all data. It allows users to backup system/disk/partition/file to internal/external hard drive, NAS device and network.
This free software allows users to compress and split files, freeing up disk space, and is compatible with various Windows versions, including Windows 11, 10, 8.1, 8, 7, Vista, and XP. It also supports taking system backups, making it a useful tool for system maintenance.
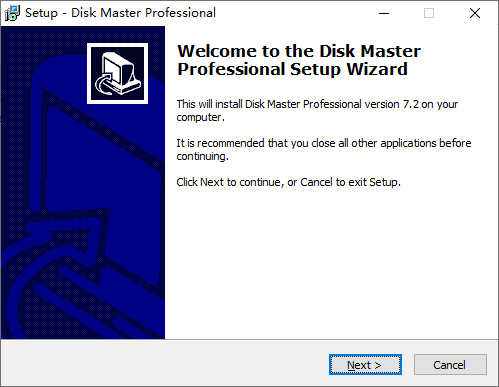
Step 1. Install and open this freeware.
Step 2. Click Backup to choose System Backup.

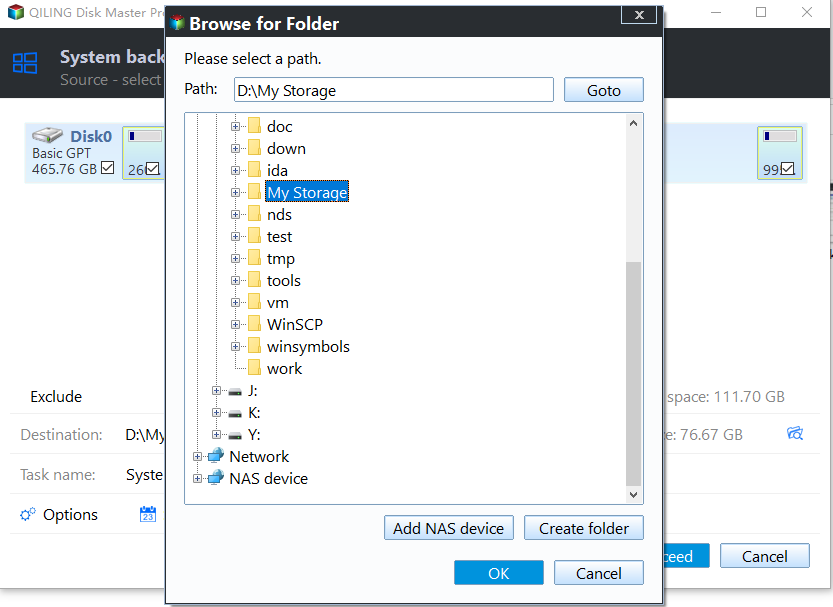
Step 3. Please modify the task name as desired, and then select a destination path to store the backup image in the second box.
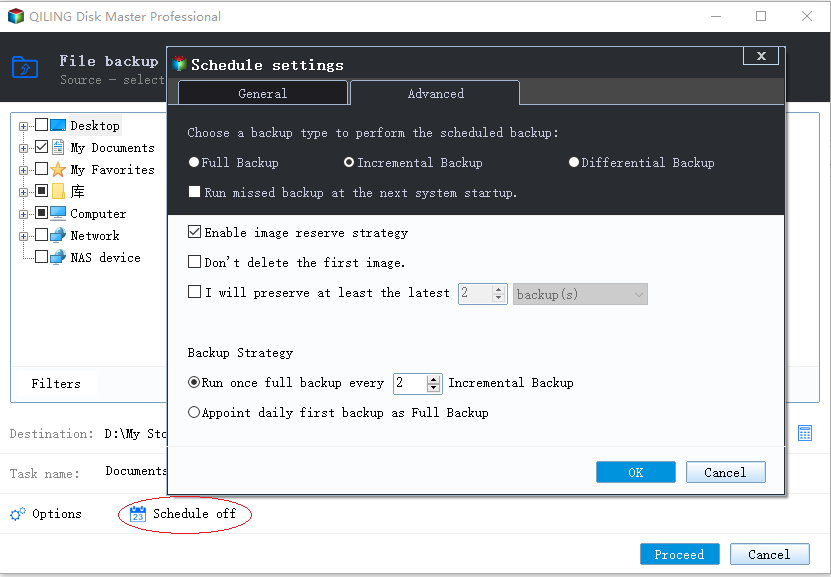
Step 4. To set up automatic backup, click Schedule Backup and choose the desired frequency, which can be daily, weekly, or monthly, and it will run in incremental backup mode by default.
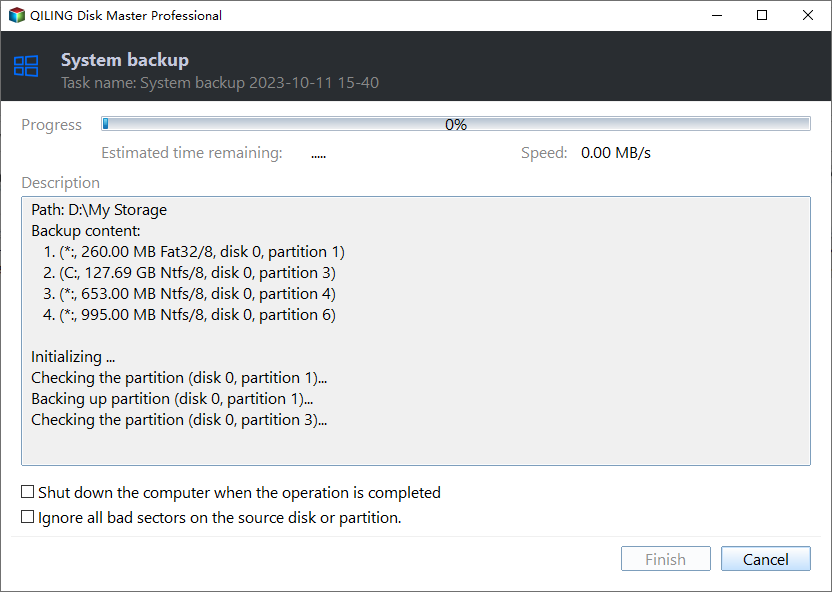
Step 5. Click Proceed to run the backup.
✎Tips:
- If you plan to create a scheduled differential backup, you will need to do an edition upgrade.
- You can click Backup Options at Step 5 to comment, compress or split this backup image.
- Backup Scheme This feature allows you to select the backup method (full, incremental, or differential) and automatically clean up old backup files, which is supported by Qiling Disk Master Professional.
- To complete the system backup task, go to Home, then the system backup task, and finally click Restore. This will finish the task and you may need to restore the system image later.
Summary
If you need to perform an incremental copy in Windows, you can use Qiling Disk Master Standard, which is a safer and simpler option that also offers more advanced features. This freeware can be used to create a block level incremental backup, making it a convenient and effective tool for your needs.
Related Articles
- How to Do Incremental and Differential Backup in Windows 10?
If you have backed up for your important data, but there is some changed or added files, how to do? Doing incremental and differential backup in Windows 10 may be a wise choice. - How to Run Robocopy Incremental Backup on Schedule? [Simple Guide]
Many people use Robocopy for data copy due to its simplicity and convenience. But how to do Robocopy incremental backup especially when you want to run it on schedule? Here's a simple guide of Robocopy with frequently used switches. If you find it error-prone or hard to meet your needs, use an alternative instead. - Windows Server 2016 Incremental & Differential Backup Guide
This guide will show you how to create incremental and differential backup in Windows Server 2016 with Windows Server Backup step by step. You will also learn the method to set multiple incremental or differential backup tasks with powerful third-party software. - Can I Use a USB Flash Drive to Backup My Computer? [Answered with Details]
Can I use a USB flash drive to back up my computer? Have you ever been stuck on this question? This article will describe whether you can back up your computer to a USB drive and offer a backup tool named Qiling Disk Master to help you. - How to Deploy Windows 7 System Image to Different Computer?
Want to deploy or restore a Windows 7/8/10/11 system image to another computer with different hardware? To do it easily and successfully, you can use a system backup & restore program or image deploy tool. - Transfer OS from Laptop to Desktop without Reinstalling | 2 Methods
Need to transfer OS from laptop to desktop without reinstalling Windows? You could use a professional software integrated with backup and clone feature.