How to Clone a Physical Server to a New Drive or VMware
Quick Navigation:
- Need to clone a physical server
- Best server cloning software for Windows Servers
- How to clone a physical server in two different cases
- FAQS about cloning a physical server
- Conclusion
Need to clone a physical server
Cloning, a popular computing technique, involves creating a fully operational replica of a physical server, including the operating system and all its applications. This process can be useful for various reasons, such as creating a backup or replica of a server, allowing for easy disaster recovery or testing, and providing a cost-effective way to deploy identical servers with the same configurations.
- Upgrade hard drive on your server without reinstalling OS and applications from the scratch.
- Deploy the server image to another server so as to enjoy the same working environment.
- Virtualize a physical server To perform what-if analyses without causing harm to the physical server, you can create a virtualized environment that mirrors the actual setup, allowing you to test and simulate different scenarios without affecting the live system. This can be achieved through virtualization software, which creates a virtual machine (VM) that runs a copy of the operating system and applications, identical to the physical server.
To clone a server easily and safely, a professional server clone utility is required. This utility can help create an exact replica of the server, including its operating system, applications, and data, which can be used for testing, backup, or disaster recovery purposes. It can also minimize downtime and ensure a smooth transition to the new server.
Best server cloning software for Windows Servers
If you're looking for a reliable server cloning tool, Qiling Disk Master Server can be your ideal choice, offering a range of benefits including its features.
|
📂 Backup and Restore |
You can create image files for the OS, disks, partitions, or individual files on your server, and restore them to their original location or to different hardware via bare metal recovery. |
|
💾 Clone |
You can make a 1:1 copy of the server OS, hard drive, or a particular partition, creating an exact replica without generating image files, allowing for direct access to the copy without the need for restoration. This simplifies the process of migrating a server to a new hard drive. |
|
📀 Bootable Media |
You can create a bootable CD/DVD/USB drive or export an ISO file to boot your server in case of system crashes, allowing for a quick recovery. |
|
💻 Supported OS |
The program runs smoothly on both Windows Server operating systems, including Windows Server 2022, 2019, 2016, 2012 (R2), 2008 (R2), and 2003, as well as Windows PC operating systems like Windows 11, 10, 8.1, 8, 7, Vista, and XP. |
To clone a physical server using Qiling Disk Master, start by downloading the software and installing it on a computer with an empty USB drive. Next, connect the USB drive to the computer and launch Qiling Disk Master.Download Qiling Disk Master
How to clone a physical server in two different cases
Here I'm going to show you two cases of cloning a physical server:
Case 1: Clone Windows Server to an SSD or a larger drive
If you're planning to upgrade your server's hard drive, such as replacing a traditional HDD with a faster SSD or cloning a smaller drive to a larger one, follow these steps:
Step 1. Connect the target disk to your server, and if it has important files, back them up immediately to avoid losing them after the cloning process.
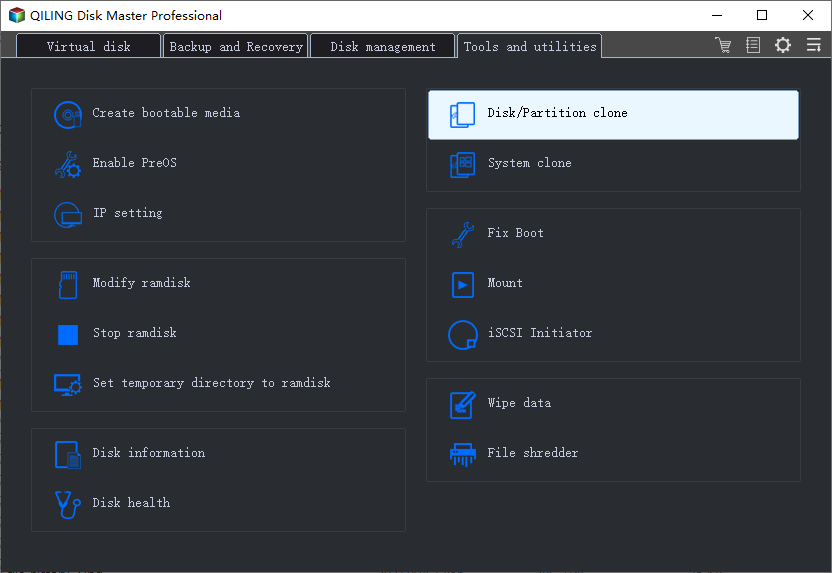
Step 2. Run Qiling Disk Master, click Clone from the left panel, and select Disk Clone or System Clone if you only want to clone system partitions.
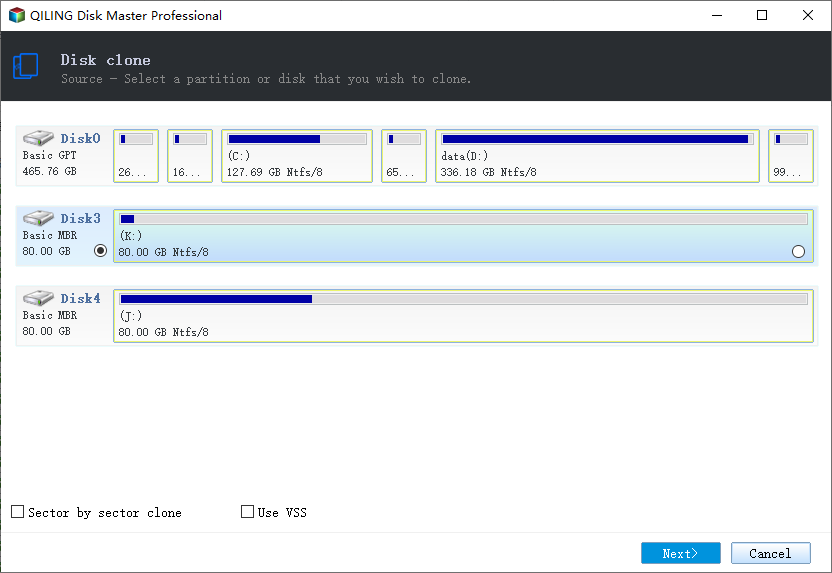
Step 3. Choose the original hard drive on your server as the source disk and click Next.
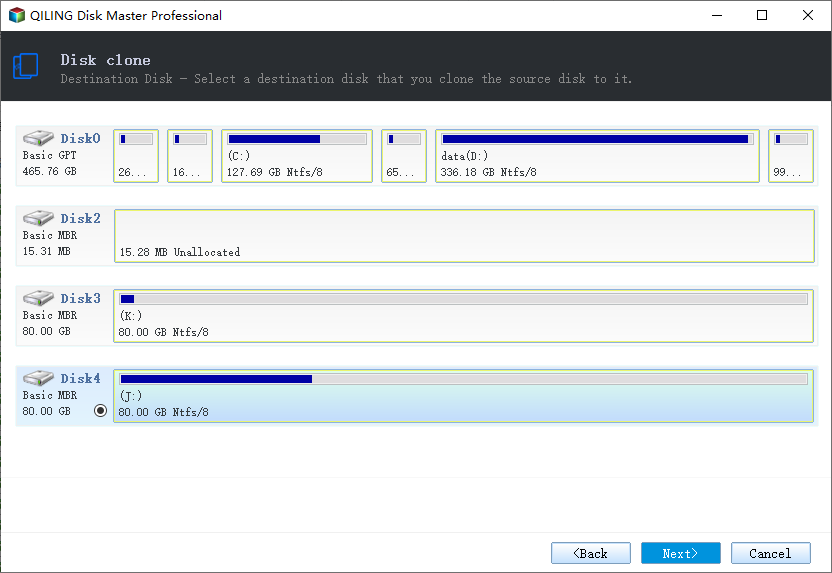
Step 4. Choose the target disk you just connected and click Next.
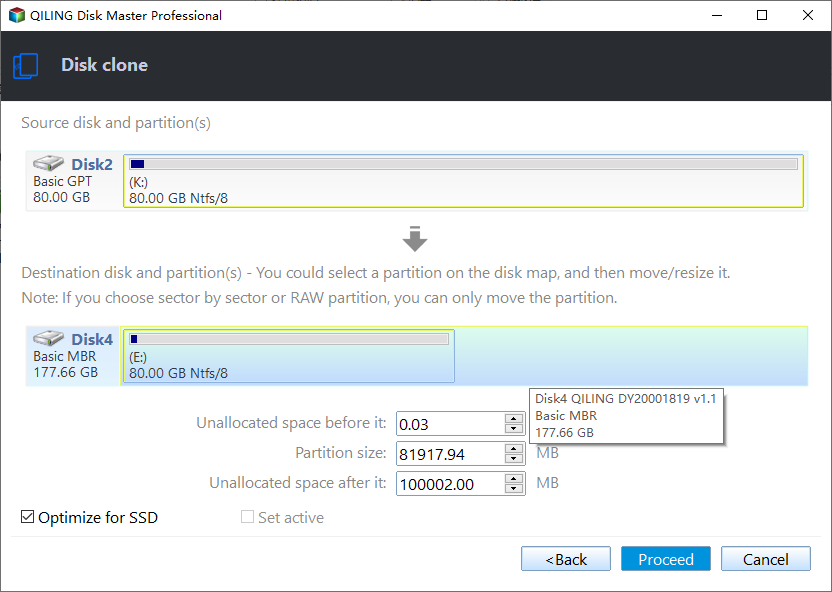
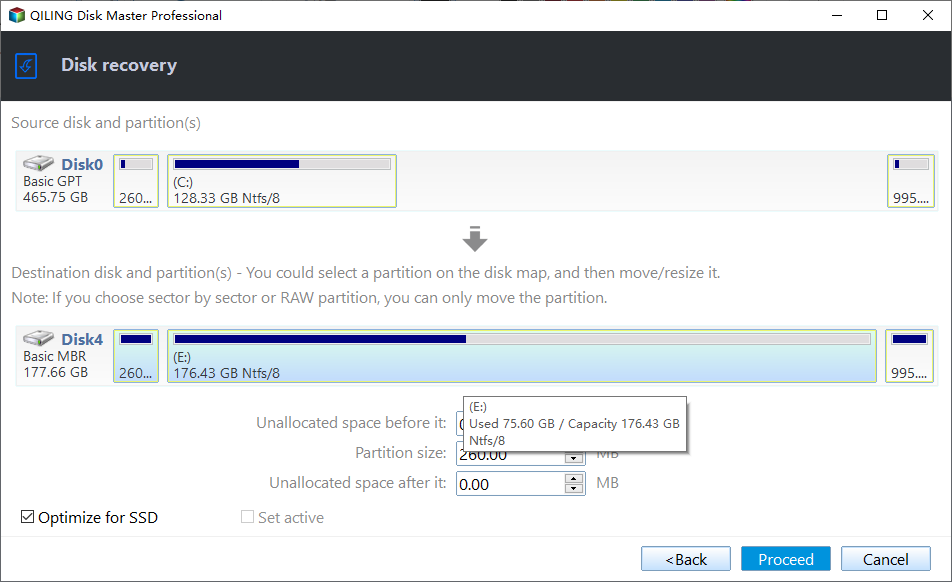
Step 5. To customize your server's setup based on your specific needs, perform additional configurations as required. Once you've completed these customizations, click the Proceed button to initiate the cloning process for your server.
If you're cloning to a larger drive, choose "Add unused space to all partitions" or "Manually adjust partition size" to make full use of the storage space on the larger drive.
When cloning to an SSD, selecting the "SSD Alignment" option can enhance the SSD's read/write speed.
The Sector By Sector Clone option will clone every sector on the source disk, regardless of whether it contains data or not, making the Edit Partitions option unavailable.
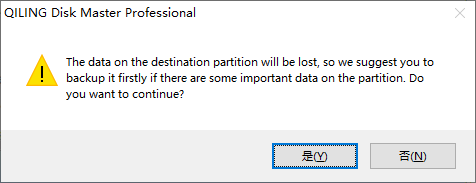
To proceed, click OK on the prompt that the destination disk will be overwritten, as you have a backup from Step 1.
Tip: To boot from the cloned drive, you can either change the boot order in the BIOS settings or replace the old hard drive with the cloned one, then reboot your server.
Case 2: Clone physical machine to VMware
If you decide to convert a physical server to a VMware virtual machine, follow these steps: first, ensure you have a compatible hardware platform for the virtual machine, then create a new virtual machine in vCenter Server or VMware vSphere Client and configure its settings such as CPU, memory, and storage; next, install the VMware Tools on the virtual machine to enable better integration with the host; after that, shut down the physical server and disconnect any external devices; finally, use the VMware Converter or other suitable tools to convert the physical server to a virtual machine, and power on the virtual machine to test its functionality.
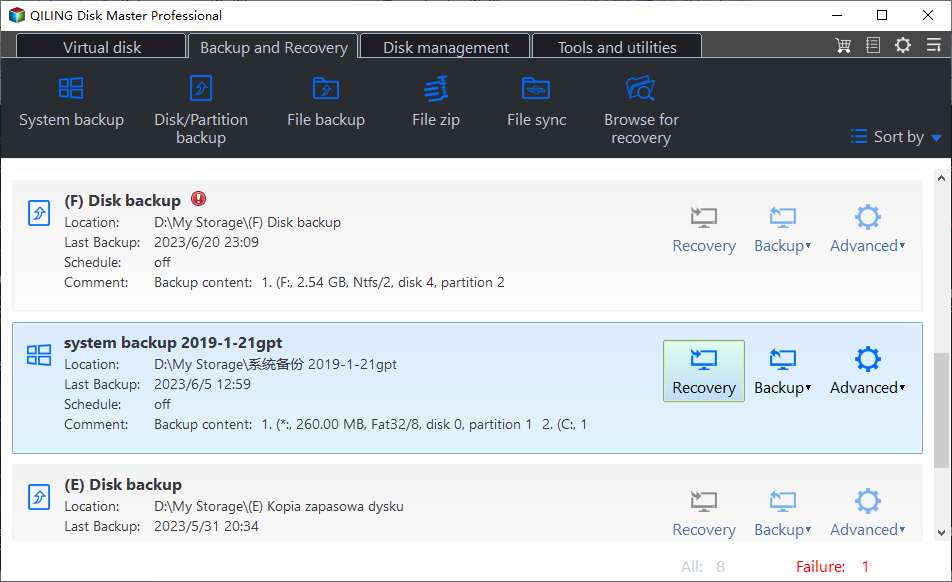
Step 1. Load Qiling Disk Master, click Backup, select System Backup and create a system image of the physical server.

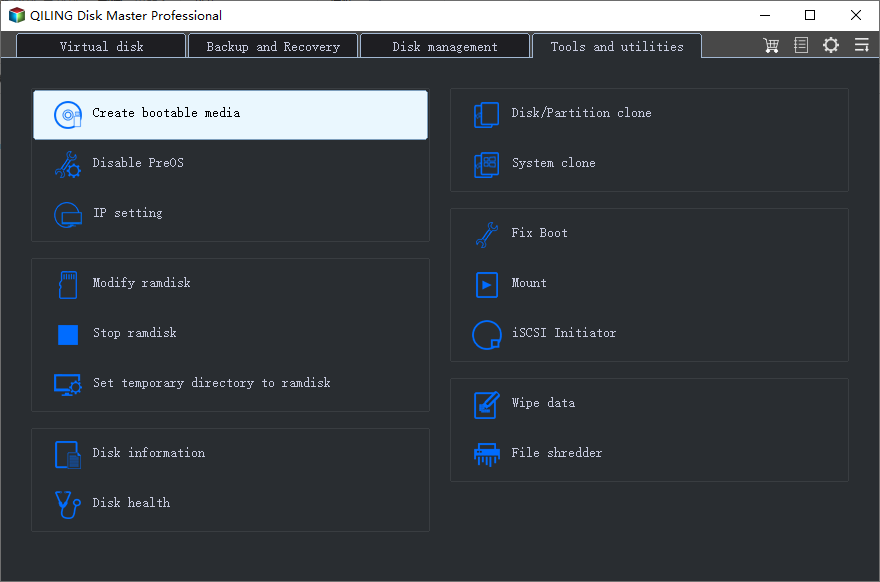
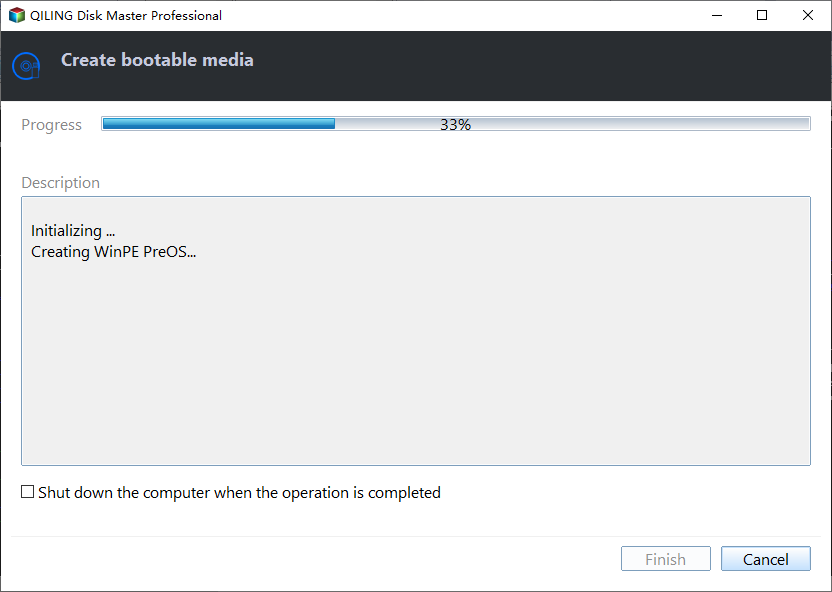
Step 2. After the backup process is finished, click Tools and select Create Bootable Media to export an ISO file.

Step 3. Launch VMware Workstation, click "Create a New Virtual Machine", and follow the wizard to create a VM using the ISO file created by Qiling Disk Master.
Note: When specifying disk capacity for the VM, ensure the disk is large enough to hold all data in the system image.
Step 4. Start up the new virtual machine and enter the main interface of Qiling Disk Master. Click Restore > Select Image File.
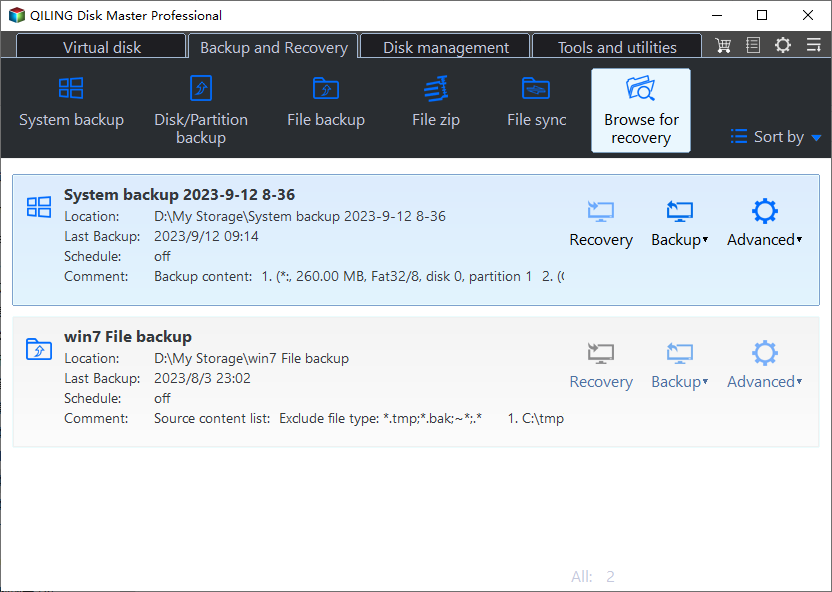
Step 5. Locate the system image file you just created and click OK.
Step 6. Select Restore this system backup and click Next.
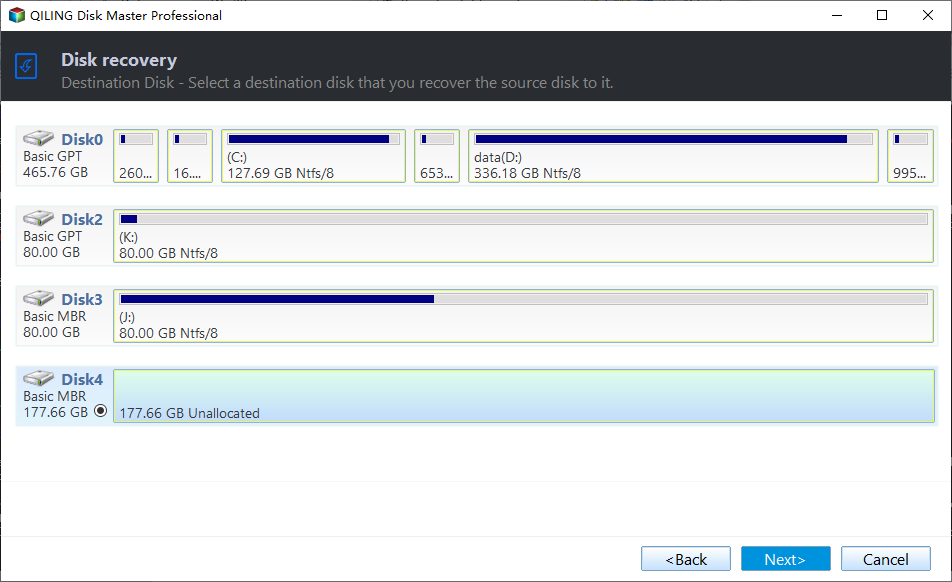
Step 7. Select the hard drive on the VM as the destination path and click Next.
Step 8. The Universal Restore option is checked by default to ensure secure boot. Click Proceed to begin virtualizing the physical server.
Step 9. After the restoration process is complete, click "Finish" in Qiling Disk Master and exit the program. The virtual machine will then automatically boot into the same operating system as the physical server.
FAQS about cloning a physical server
1. Is virtual or physical server better?
If you have demanding workloads, consider physical servers for their powerful performance. For scalable networks that grow with your business, virtual servers might be a better fit.
2. What is the lifespan of a physical server?
Servers typically have a lifespan of 5 to 8 years, with some users considering replacement around the 5-year mark, although this is not a strict requirement and may depend on individual circumstances.
Conclusion
You can now clone a physical server using the best server cloning software for Windows Server versions, including 2022, 2019, 2016, and 2012. This allows you to upgrade your server's hard drive or virtualize a physical server with ease, thanks to Qiling Disk Master. Additionally, the software features a sync function that enables you to try it out and discover more.You can use Qiling Disk Master to clone a physical server, which is useful for upgrading hard drives or virtualizing a server. This software supports various Windows Server versions, including 2022, 2019, 2016, and 2012. Additionally, Qiling Disk Master has a sync feature that allows you to synchronize files between Windows Servers.
Related Articles
- 3 Best Practices for P2V (Physical to Virtual) Migration
Need to migrate Windows system from physical to virtual machine? Learn 3 best practices for P2V migration from this page. - How to Clone Hard Drive on Windows Server 2016/2012/2008?
How to clone hard drive on Windows Server 2016/2012/2008? The powerful server cloning software Qiling Disk Master Server offers you the simplest and safest solution. - How to Migrate to a New Server with Different Hardware Easily?
Are you in need of migrating to a new server with different hardware? You can get two efficient solutions from this page. - Best ADATA SSD Disk Migration Tool to Clone HDD to ADATA SSD
The best ADATA SSD disk migration tool - Qiling Disk Master will help you safely clone HDD to ADATA SSD without reinstalling. - Easy Way to Clone System Disk to SSD with Secure Boot
By cloning system disk to SSD, you can avoid the reinstallation of Windows and other apps if you need to replace your current system hard drive. - How to Clone Toshiba Hard Drive to SSD with Secure Boot
To clone Toshiba hard drive to SSD, you can find a right software to easily achieve. Here, we recommend you Qiling Disk Master, which helps to clone Toshiba hard drive within four simple steps.