How to Use Qiling Disk Clone Wizard Correctly?
Qiling Disk Master helps clone entire hard disk/partition to another hard disk/partition using its "Disk Clone Wizard" and "Partition Clone Wizard" for backup or data transfer. This feature is useful when upgrading from a traditional hard drive to a solid-state drive (SSD), allowing you to transfer all data from the old drive to the new one.
Disk Clone Wizard
With this tool, you can easily copy your hard disk to another location, which is especially helpful when you need to replace your current HDD or SSD with a new one without having to reinstall your system. To do this, simply follow these steps.
Note: The Standard Edition only supports MBR data disk cloning, and if you want to clone an MBR system disk, or convert between MBR and GPT, you need to upgrade to the Professional Edition.
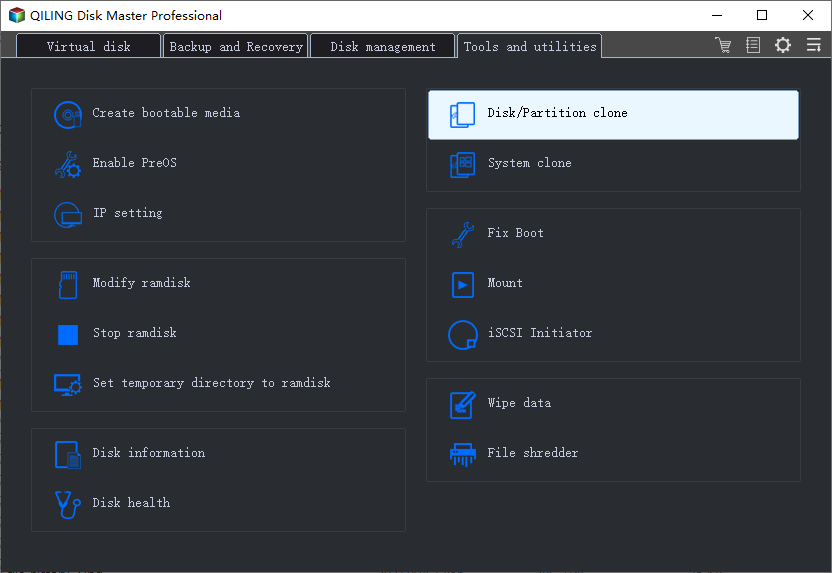
Step 1. Install and launch Qiling Disk Master, then click "Tools" in the main interface and select "Clone Disk".
Step 2. Select the hard disk that you want to clone to as the target disk and click "Next".
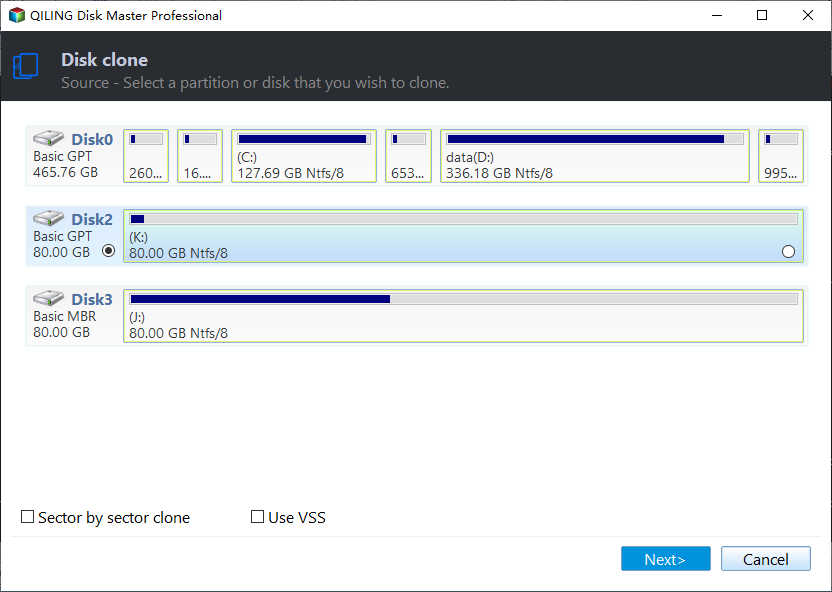
After selecting the clone mode, you can check the source and destination disk in the next window or change to "Sector to Sector clone".
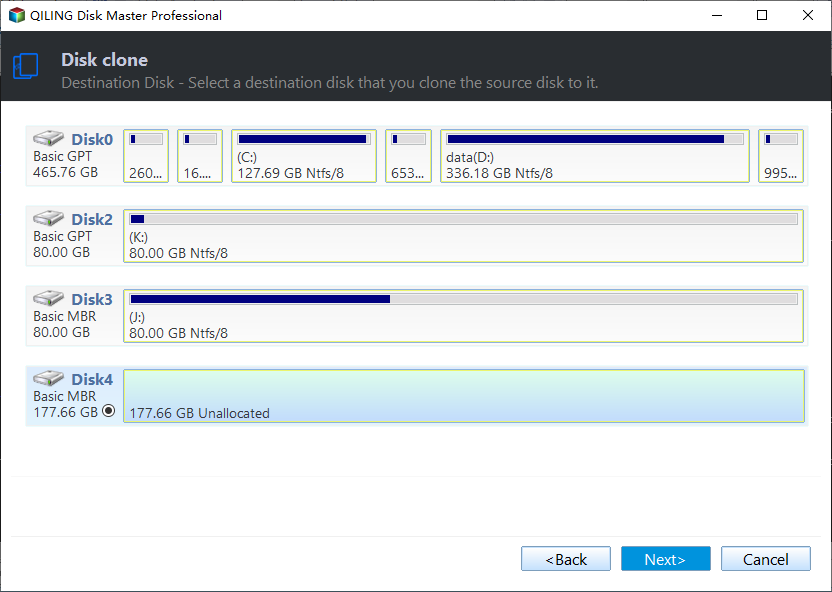
Step 3. Select a destination disk to store the data from the source disk, and then click "Next".
Step 4. Here, you can also click the "Settings" button to adjust the partition size on the destination disk, or tick "4k alignment" to improve the reading and writing speed on an SSD drive.
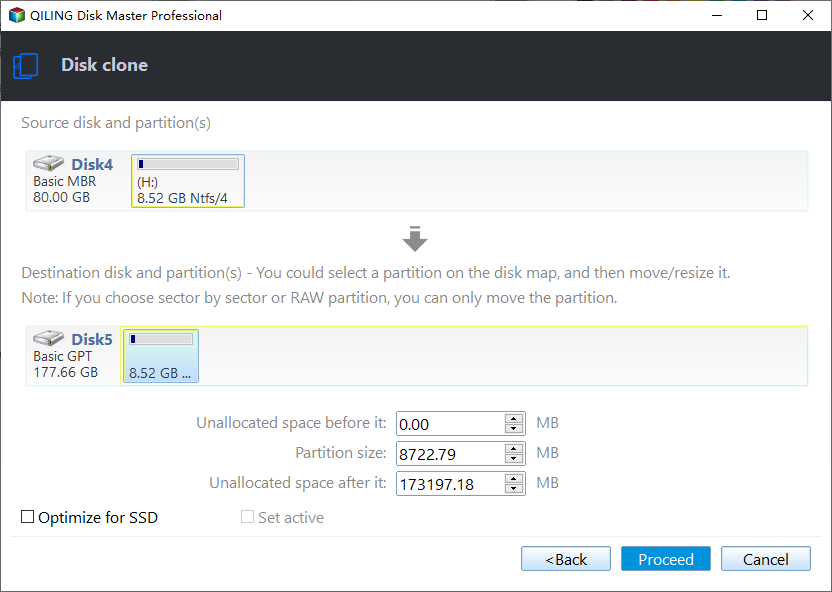
Step 5. To start cloning the hard drive, click "Proceed" in the main interface. This will initiate the cloning process.
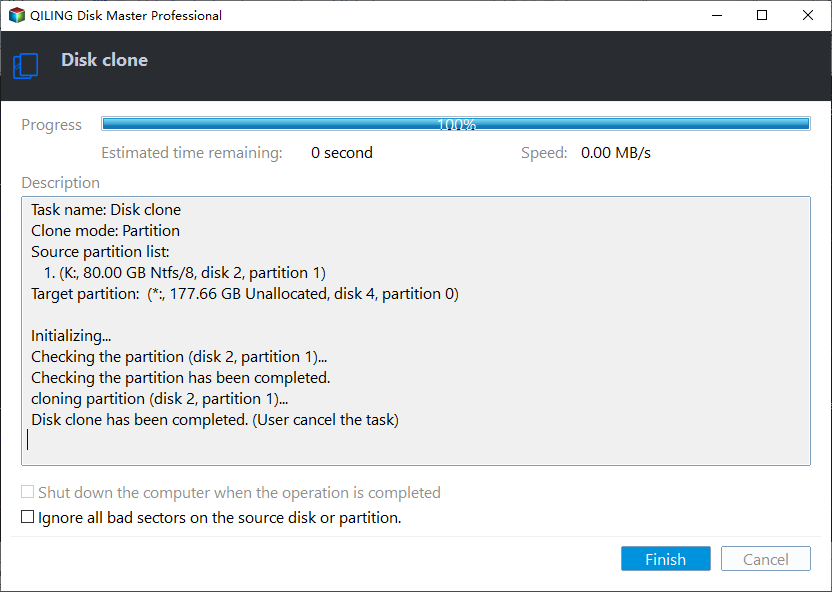
After cloning a boot disk, do not restart your PC directly. Instead, shut down the PC, disconnect the old source disk, and then reboot. This will allow your PC to boot from the new hard disk.
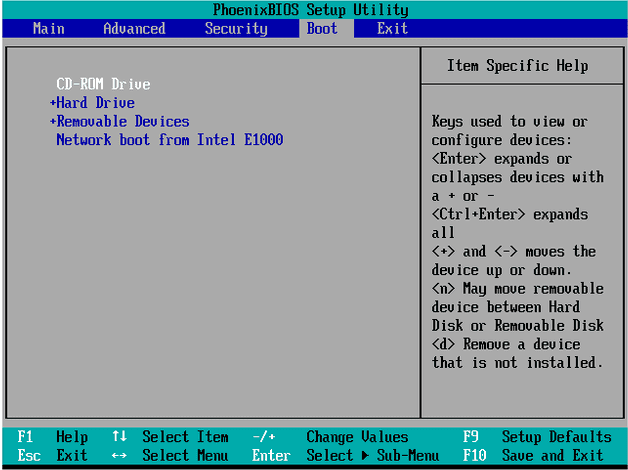
If you want to keep both hard disks, you should boot your computer from the destination disk by changing the boot order in your BIOS or UEFI settings.
Related Articles
- Freeware: Clone Hard Drive in Windows 11, 10, 8 and 7
Clone hard drive is necessary if you need to replace the new hard drive. This page will show you how to clone a hard drive on Windows 11, 10, 8 and 7 without losing data. - Freeware: Clone Hard Drive Windows 11, 10, 8, 7 without Reinstallation
If you want to clone hard drive Windows 10 to SSD without reinstalling everything, you can free download Qiling Disk Master Standard. It can copy hard drive effectively in Windows 11,10, 8, 7. - How do you Migrate OS to SSD from HDD while Keeping Files on HDD?
Learn how to migrate your Windows OS drive from a traditional HDD to an SSD while keeping your files and software on the original HDD using the reliable Qiling Disk Master tool, following a step-by-step process. - How to Migrate OS from MBR Disk to GPT SSD or HDD? (Bootable)
If you want to migrate OS from MBR disk to GPT SSD or HDD, here you can learn the simplest way to move OS from MBR to GPT disk without reinstalling everything from scratch. - How to Fix | Clonezilla Failed to Clone Bad Sectors
Fix Clonezilla failed to clone bad sectors. Learn why cloning stops and how to copy readable data from a failing drive safely. - [Quick Guide] How to Copy a Hard Drive to SSD Easily
Learn how to copy a hard drive to an SSD without reinstalling Windows. Use disk cloning software to migrate the system, apps, and files safely.