Windows XP Dynamic Disk: What You Need to Know
Windows XP supports dynamic disks in some editions, but compatibility is limited compared with newer Windows versions. Moving such disks between systems can be risky.
Understand the problem
Dynamic disks can contain simple, spanned, striped, mirrored, or RAID-style volumes. Before repair or conversion, identify the volume type and protect data.
- Confirm the disk, partition, file system, Windows version, boot mode, or update state before making changes.
- Back up or recover important files before conversion, deletion, formatting, cleanup, reimage, or boot repair.
- For boot-related work, check BIOS or UEFI mode, boot order, system partition status, and recovery media first.
Use Windows built-in tools
Check compatibility first.
- Confirm the Windows XP edition and whether it supports dynamic disks.
- Open Disk Management and record each dynamic volume layout.
- Back up files from every dynamic volume.
- Avoid converting disks on a system that does not fully support the layout.
- Plan migration to a basic disk if modern compatibility is needed.
Use Qiling tools for guided steps
 Qiling Disk Master
Back up dynamic disk files before conversion, migration, or repair.
Function. Back up important files before repair or conversion
Step 1. Connect an external drive or choose another safe destination with enough space for files on Windows XP dynamic volumes.
Step 2. Open Qiling Disk Master and choose File Backup. A backup gives you a rollback point before Windows repair, disk conversion, cleanup, or installation work.

Step 3. In the tree control, select the files and folders that must be protected. Back up each volume separately, especially spanned or striped volumes

Step 4. Choose another internal disk, external drive, NAS folder, or network path as the destination. Avoid saving the backup on the partition that will be changed.
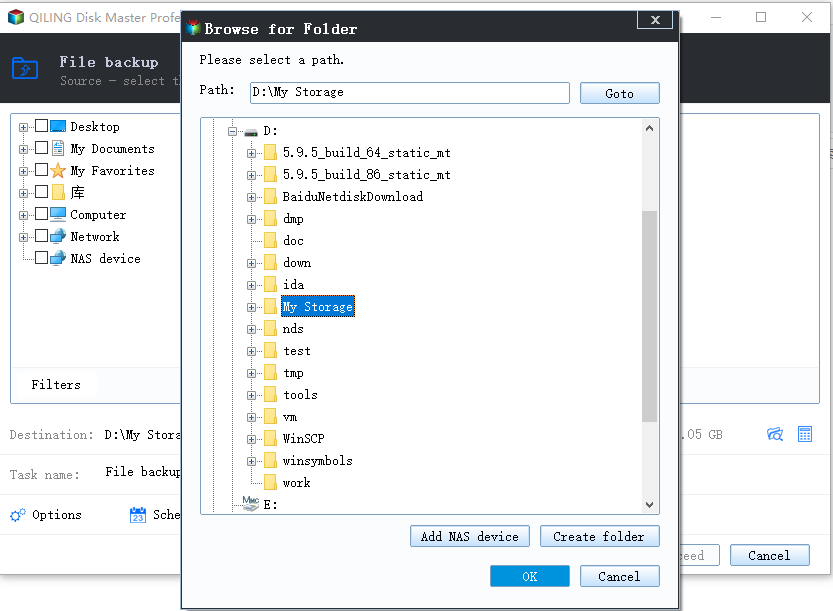
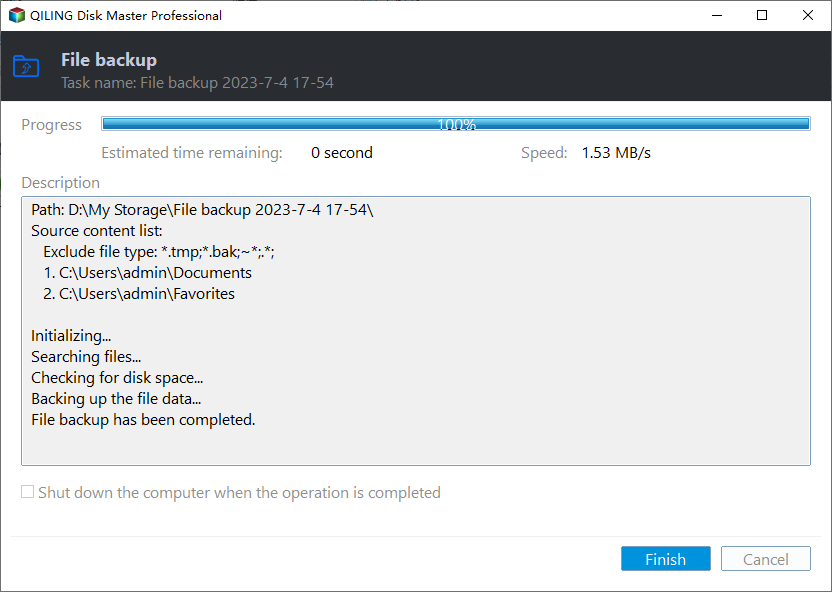
Step 5. Review the task and click Proceed. Wait for the backup to finish before continuing.
Function. Create a partition with clear settings
Step 1. Back up important data on the replacement basic disk. If no unallocated space exists, shrink a partition first.
Step 2. In Qiling Disk Master, right-click unallocated space on the replacement basic disk and choose Create Partition.
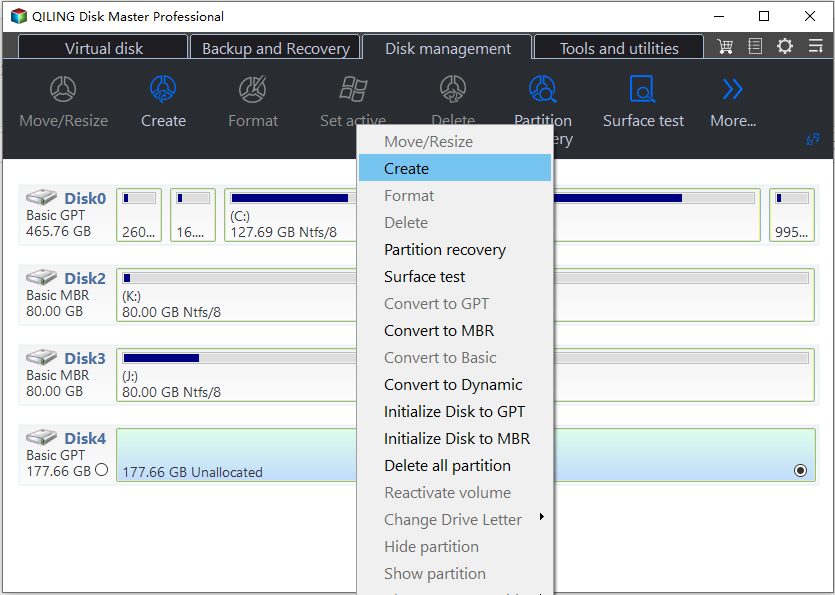
Step 3. Set the size, drive letter, file system, and label for simple partitions for restored files.
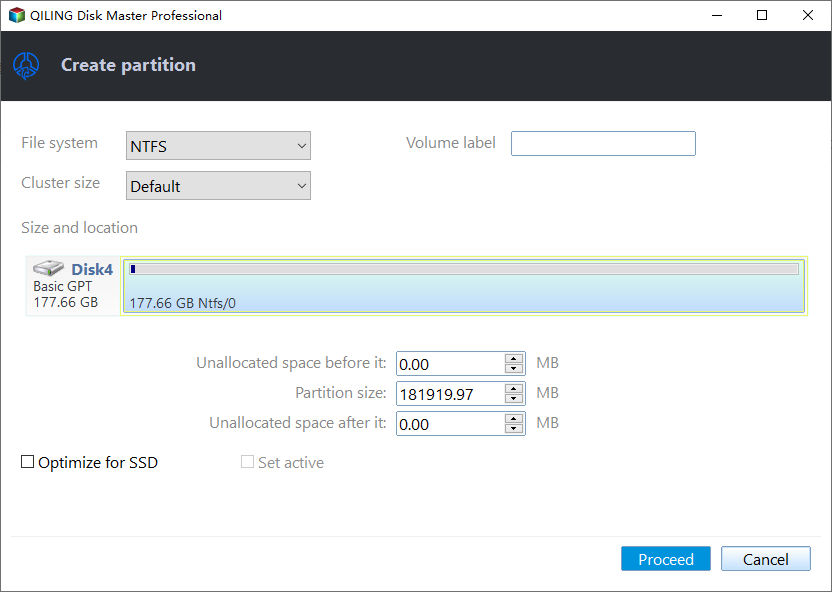
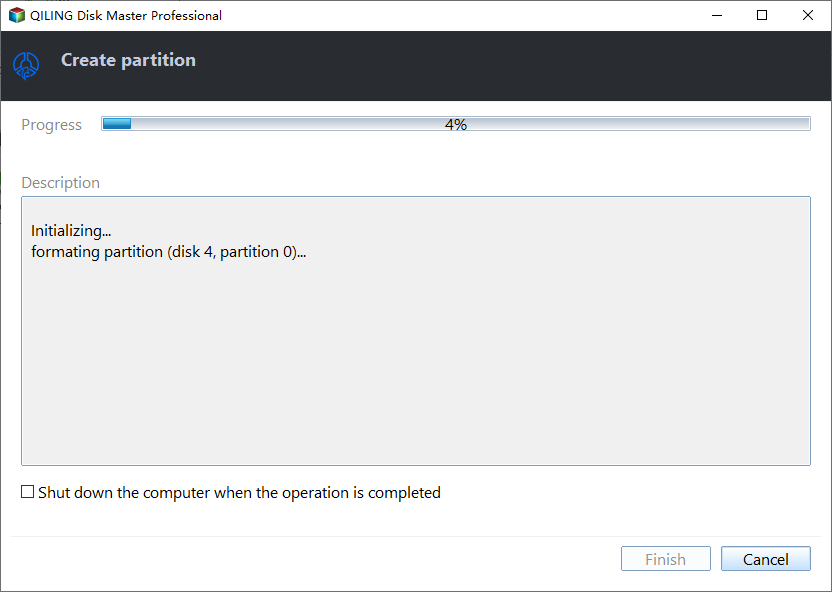
Step 4. Check the preview and click Proceed. After completion, confirm the partition in File Explorer.
Check the result
After migration or conversion, confirm the disk can be read by the target Windows version and all restored files open normally.
Related Articles
-
Dynamic Disk Converter
Convert dynamic disks only after checking volume type and backup status. -
Dynamic Disk and Dynamic Volume
Understand dynamic disk concepts before repair or conversion.
Products
Articles & Tutorials
- Data Recovery
- Data Backup
- File Recovery
- File Backup
- File synchronize
- System Backup and Restore
- Disk and Partition Clone
- Technical articles
- Disk Master Help
- Windows Deleted File and Disk Recovery Tutorials
- Windows File and Data Recovery Tutorials
- More Windows Tutorials for Install, Security, Files, and PC Tips
- Windows Boot, Repair, and Recovery Environment Tutorials
- Windows Backup Tutorials
- Windows Restore Tutorials
- Windows Clone and Migration Tutorials
- Windows Server Backup, Recovery, and Management Tutorials
- Windows Disk, Partition, and Storage Management Tutorials