How to Format SD Card on Android Phones/Tablets
Formatting an SD card on an Android phone can be necessary due to various reasons such as virus attacks, unreadable photos on the SD card, or accidental file deletions. Unlike formatting on a computer, it's not a straightforward process on a mobile device. However, the steps to format an SD card on an Android device can be outlined and explained.
- Quick Navigation
- Part 1. How to Format Memory Card in Android Phones/Tablets
- Tip 2: Recover Data from Formatted SD Card or When the SD Card is Inaccessible on Android
Part 1. How to Format Memory Card in Android Phones/Tablets
Formatting an SD card on an Android device is a straightforward process. Before proceeding, ensure the SD card is properly inserted in the device. To format the SD card, follow the steps: [insert steps here]. These steps will guide you through the process of formatting the SD card, which is necessary to ensure it is properly configured for use with your Android device.
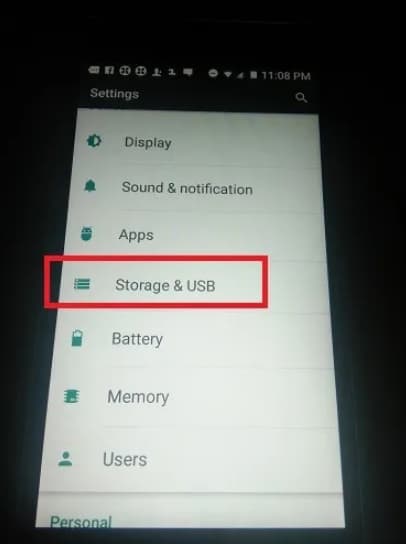
Step 1: To access your SD card on an Android device, go to Settings, scroll down to Storage and USB, and from there you can access your SD card.
The standard parameter, which is accessible on all devices, is the option to format an SD card, regardless of the device manufacturer or model. This option can usually be found under the main menu, and in Samsung devices, it is located directly under the main menu as "Format SD card".

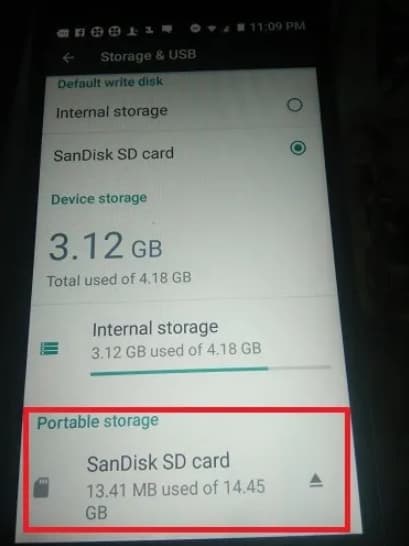
Step 2: Once you clicked the option, the operating system will show the amount of data in use for the SD card. Click the "Portable storage" at the bottom of the window.
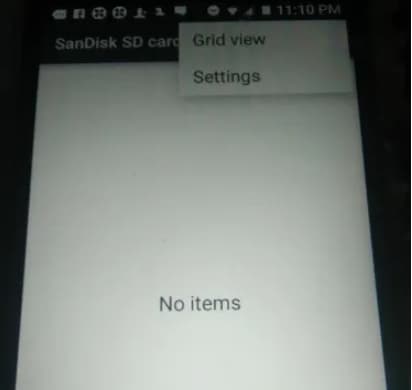
Step 3: You will see the three-dot list, which you must click to access the SD card settings.
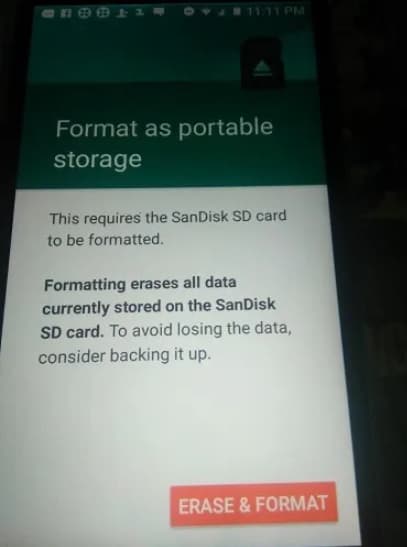
Step 4: If you're running Marshmallow or an older version, you'll see a formatting option as either "Format as portable storage" or "Format as internal". Tap the "Erase & Format" button.
Step 5: The formatting process may take some time, depending on the number of files on the card. Once it's complete, a "Success" message will appear on the screen.
The Drawbacks of Formatting SD Card on Android
Now that you know how to format an SD card in an Android phone, it's essential to be aware of the drawbacks. Formatting the card will erase all data and files on it, so it's crucial to take precautions to prevent data loss. To avoid losing important files, you can follow two tips to ensure your data remains safe.
Tip 1: Backup SD Card
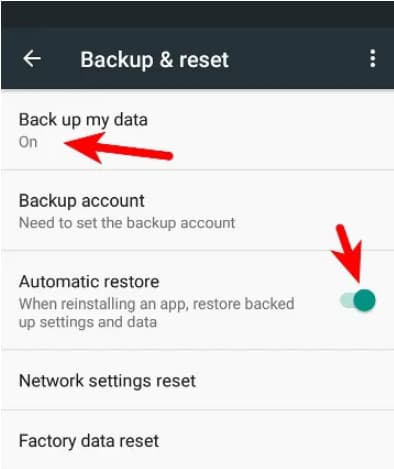
To prevent losing card contents, it's a good idea to take a backup of the card, especially if you have a lot of videos and pictures stored. If you have enabled automatic restore on your Google account, it will create a backup of the SD card contents. This way, you can save the stored information and avoid losing it in case of formatting or other issues.
For the rest of the content on your SD card, you can either connect it to a computer and manually copy the contents or use a third-party application to create a complete copy, ensuring the data isn't stored on Google's servers.
To copy the contents of an SD card, the quickest path is using Qiling Disk Master, which is ideal for learning how to reformat SD card on Android and creating a backup of the contents. This tool helps maximize the backup procedure and securely copy the contents in a few simple steps.
You want to format your SD card to FAT32 on Android to make it compatible with your tablet or phone. To achieve this reliably and quickly, you can use the DBackup software, which offers several features that make it the leading backup software.
- You can create a file backup, drive backup, or an entire system backup to protect your important data.
- You can customize the type of backup to be performed, including full image, incremental, or differential backups.
- You can set an automated schedule of the backup
- You can perform a standalone backup by selecting the needed files and folders, without needing to select the entire system, which can be useful for preserving specific data or settings.
- You can clone a drive and migrate it to a new disk, effectively replacing the old one with a new one, while preserving the original data and settings. This process involves creating a duplicate of the original disk's contents, which can then be transferred to the new disk, ensuring a seamless transition and minimizing downtime.
Tip 2: Recover Data from Formatted SD Card or When the SD Card is Inaccessible on Android
Formatting an SD card on Android will result in data loss, but you can recover data using the Deep Data Recovery tool, which scans for recoverable files and retrieves them from various devices, including SD cards, hard drives, and digital cameras.
Your Effective Android Format SD Card Recovery Software
- It can recover deleted files from the emptied recycle bin or storage media, and also retrieve contents from hidden or lost partitions.
- Data recovery software helps in retrieving data erased due to improper handling, such as restoring to factory settings or removing the device during file transfer.
- Recovers files from formatted partitions, hard drives, and USB drive
Formatting an SD card on Android deletes its contents, making it impossible to format without losing data. However, with the help of a Qiling format recovery tool, you can recover the erased contents with ease, allowing you to format the SD card without losing your data.
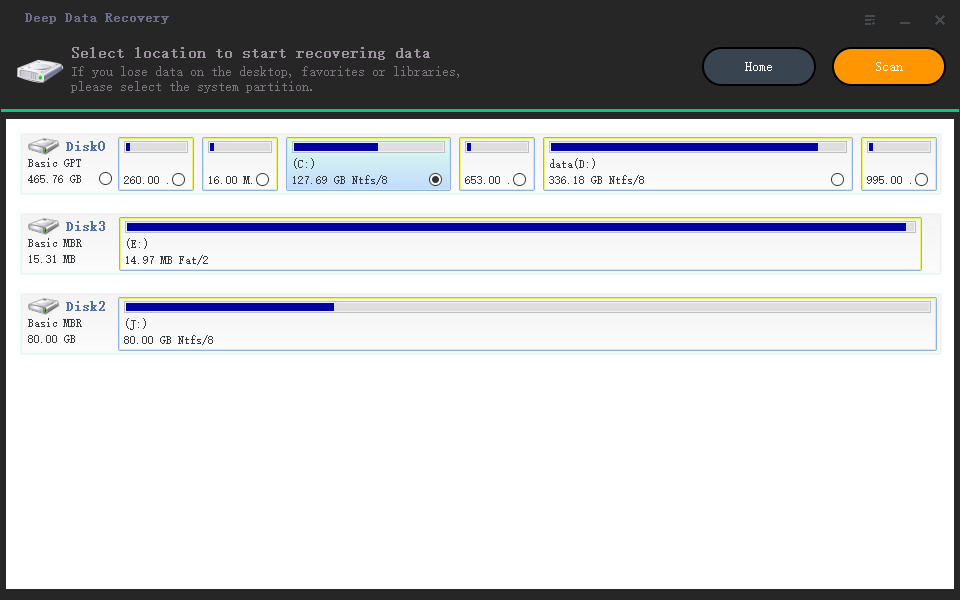
Step 1: Download and install the trial copy of the recovery tool by clicking the Download button. Launch the software.
Step 2: Navigate to the SD card location, where the software will display all internal and external storage devices, and select the correct path for scanning the desired file format.
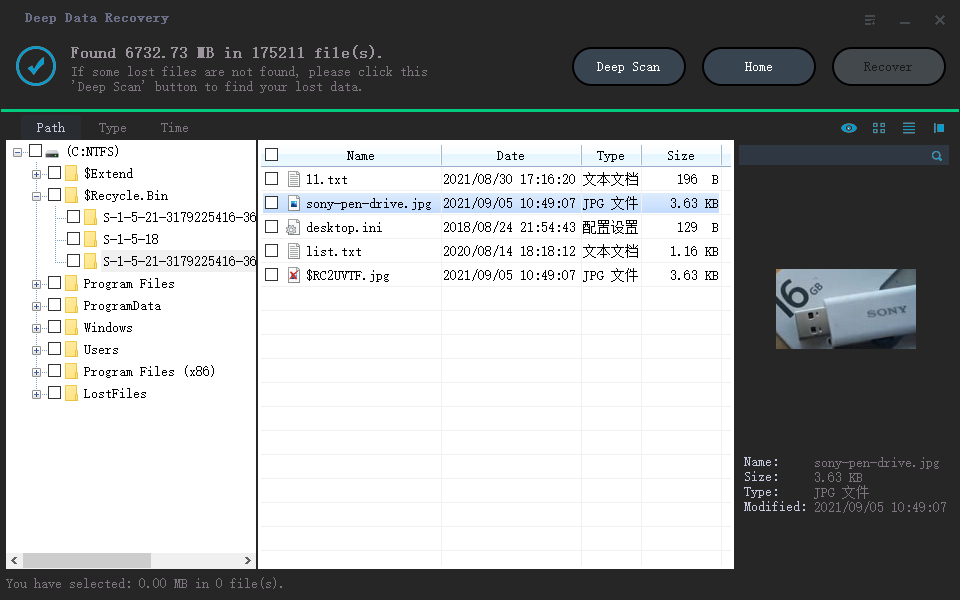
Step 3: The memory card recovery software completes the scan and displays all recoverable files. You can preview a selected file, mark essential ones, and press "Recover" to save them on your computer. Create a new folder and select it as the saving location.
Related Articles
- How to Format NTFS to FAT32 without Losing Data
- Phone Memory Recovery for Android Software
- How to Unformat SD Card in Android Phone
- How to Format Drive/HDD/Disk using CMD
- How to Format SD Card on Mac
- Recover Delete Photos from SD Card Using Android Phone
- How to Format Memory/SD card for Canon Camera
- How to Recover Data from Formatted SD Card
- How to Recover Deleted Photos from SD Card
- 10 Best Free SD Card Data Recovery Software