Convert to Dynamic Disk Greyed Out in Server 2012
Why Convert to Dynamic Disk is greyed out
In Windows Server 2012, Disk Management may grey out Convert to Dynamic Disk when the target is a removable drive, unsupported disk, clustered disk, damaged disk, or disk with layout restrictions. On newer systems, dynamic disks are also less recommended than basic disks with Storage Spaces or hardware RAID.
Check the disk before conversion
Step 1. Open Disk Management and confirm the disk is online.
Step 2. Right-click the disk label area, not a partition, and check whether Convert to Dynamic Disk is available.
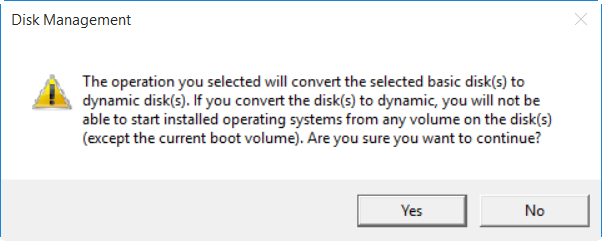
Step 3. Open an elevated Command Prompt and run diskpart, list disk. Confirm the disk is not read-only or offline.
Method 1. Convert a supported basic disk
Use this only when the disk is healthy and you understand the compatibility limits of dynamic disks.
Step 1. Back up the volumes on the disk.
Step 2. In Disk Management, right-click the disk label and choose Convert to Dynamic Disk.
Step 3. Select the disk, confirm the operation, and wait until the status changes to Dynamic.
Step 4. Restart the server if Windows asks for it, then confirm all volumes are accessible.
Method 2. Use safer alternatives to dynamic disks
If conversion is unavailable or risky, consider keeping the disk basic and using these options instead:
- Use hardware RAID for production servers that need fault tolerance.
- Use Storage Spaces for pooling disks in supported Windows versions.
- Extend a basic volume into adjacent unallocated space when only more capacity is needed.
- Clone or migrate data to a larger disk instead of creating a spanned dynamic volume.
Back up Server 2012 before disk changes
 Qiling Disk Master
Before changing disk type or volume layout, use Qiling Disk Master to create a system or disk backup that can be restored if the server fails to boot.
Step 1. Schedule a maintenance window and make sure no backup, database, or file-sharing job is actively writing to the disk you plan to change.
Step 2. Connect a separate backup disk or prepare a network destination with enough free capacity. The backup must not be stored on the disk that will be converted.
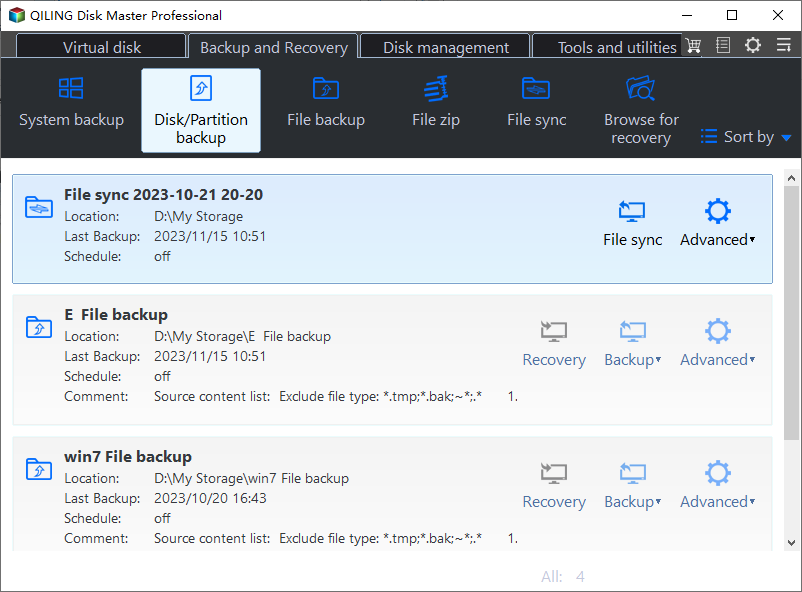
Step 3. Open Qiling Disk Master, select Backup, and choose Disk Backup to capture the entire disk layout, including partitions that may be needed for booting.
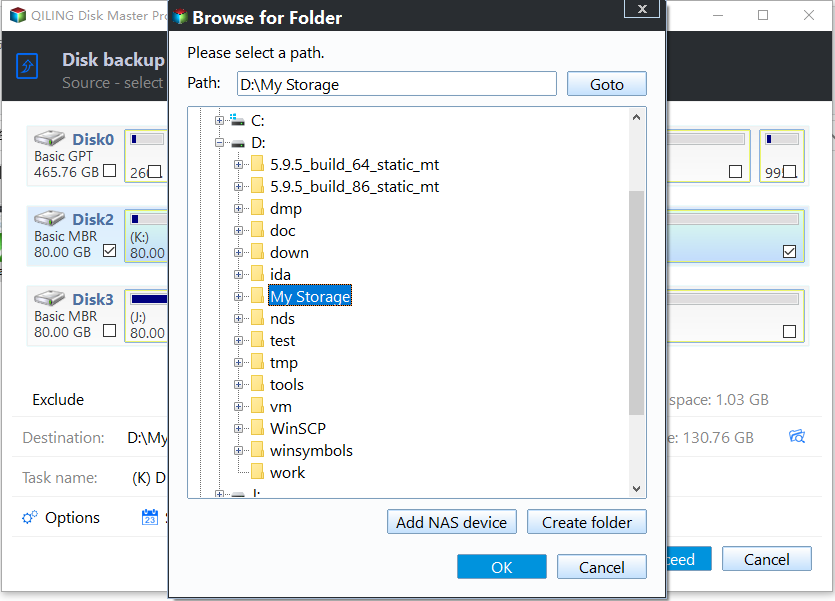
Step 4. Select the disk you plan to convert and choose the separate backup destination. Verify the source capacity and destination path before continuing.
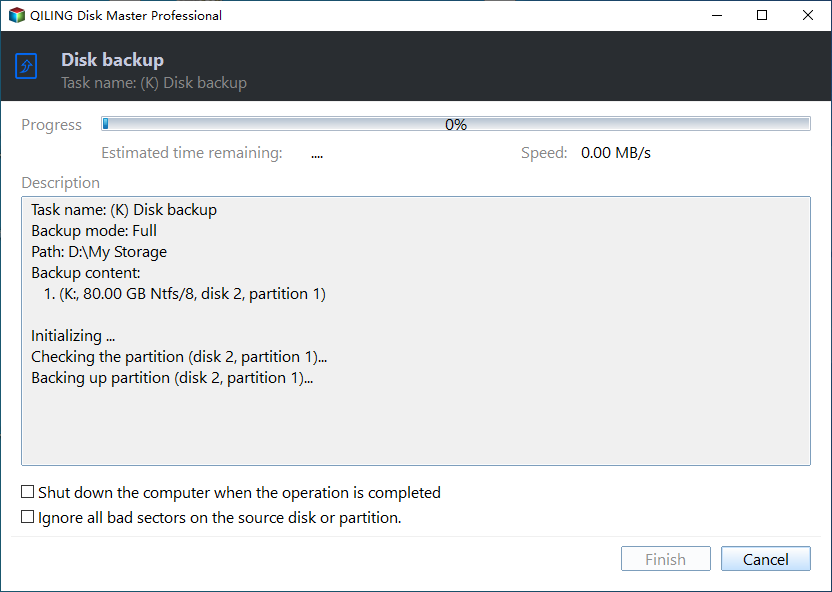
Step 5. Review the task and click Proceed to start the backup. Wait for completion, then check the task log and confirm the image can be accessed before changing the disk type or volume layout.
Conclusion
When Convert to Dynamic Disk is greyed out in Server 2012, first confirm whether the disk is supported. In many server scenarios, backup, basic disk management, Storage Spaces, or RAID is safer than forcing dynamic disk conversion.
Related Articles
-
How to Solve Convert to Basic Disk Greyed Out Question?
Understand why disk conversion options are unavailable and how to handle dynamic disk safely. -
Dynamic Disk Manager and Volume Management
Manage dynamic volumes, disk layout, and storage changes with a clearer workflow. -
Schedule Windows Server Backup to Remote Shared Folder
Set up server backups to a network location before storage maintenance.
Products
Articles & Tutorials
- Data Recovery
- Data Backup
- File Recovery
- File Backup
- File synchronize
- System Backup and Restore
- Disk and Partition Clone
- Technical articles
- Disk Master Help
- Windows Deleted File and Disk Recovery Tutorials
- Windows File and Data Recovery Tutorials
- More Windows Tutorials for Install, Security, Files, and PC Tips
- Windows Boot, Repair, and Recovery Environment Tutorials
- Windows Backup Tutorials
- Windows Restore Tutorials
- Windows Clone and Migration Tutorials
- Windows Server Backup, Recovery, and Management Tutorials
- Windows Disk, Partition, and Storage Management Tutorials