How to Resize C drive in Windows Server 2019 without Data Loss?
| 📑 Reading guide | |
| 🧐 Situation | Need to resize C drive in Windows Server 2019 |
| ✨ Solutions | Resize partition in Windows Server 2019 via Disk Management (Data Loss) |
| Better alternative to resize partition in Windows Server 2019 (Data Safe) | |
| 📌 Wrap things up | |
| 🙋♀️ FAQs about resizing C drive in Windows Server | |
Need to resize C drive in Windows Server 2019
In Windows Server 2019, it's not uncommon to find that the C drive, which is usually the system drive with the OS installed, is almost full while other partitions have plenty of space left. This can cause the machine to run slowly or even crash if the C drive is low on space, or result in other partitions being too small to store more data if the C drive is allocated too much space. To address this issue, it's necessary to resize the partition of the C drive.
Extending and shrinking a drive on Windows Server 2019 can be challenging for users unfamiliar with computers. This article will guide you through the process of resizing your C drive or other drives, including troubleshooting tips to resolve issues like the Windows Server extend C drive greyed out problem.
Resize partition in Windows Server 2019 via Disk Management
Disk Management, a built-in tool to resize partition C on Windows Server 2019, can be used to manage partitions. First, press Windows+R, enter diskmgmt.msc, and press Enter to access Disk Management. From there, you can create, delete, shrink, or delete partitions, among other actions. Simply follow the on-screen instructions to resize partition C as needed.
Opt 1. Extend C drive with deleting data partition
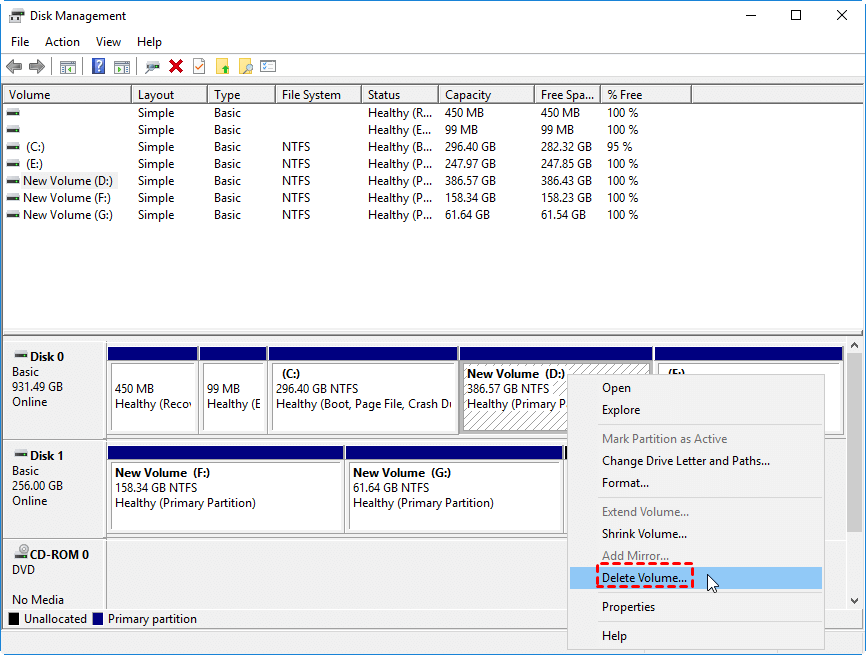
To resolve the issue of having no contiguous unallocated space behind the C drive, delete the partition directly behind the C drive (partition D), which will create a contiguous unallocated space. If shrinking partition D is attempted, the unallocated space will be behind partition D, and the "Extend Volume" option will remain greyed out.
Warning: It is recommended to back up necessary files in advance.
1. To delete the D drive partition, right-click on it, select "Delete Volume", and confirm by clicking "Yes".
2. Right-click C drive and choose Extend Volume.
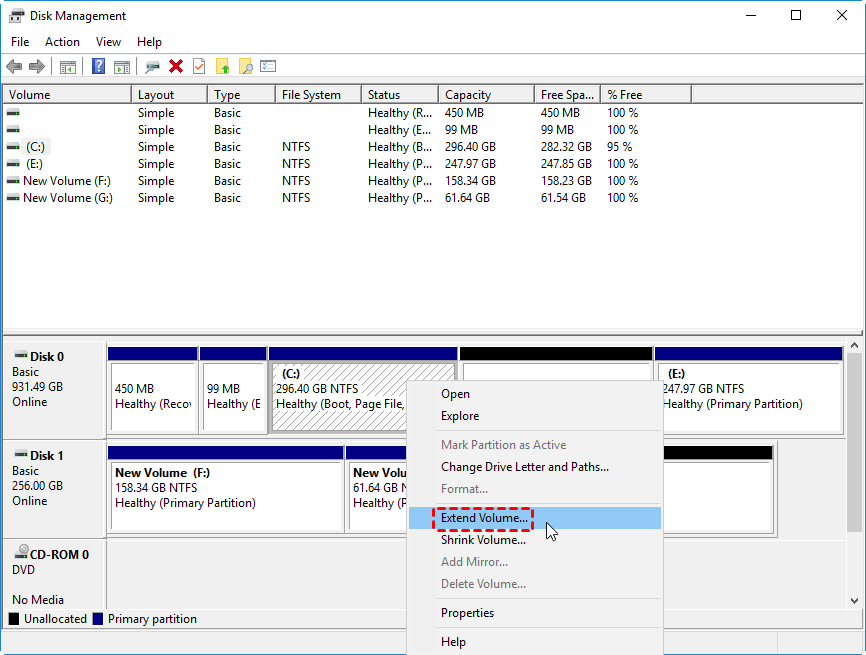
3. Follow the prompts to complete the operation.
Note: In Windows Server 2019, if there is a contiguous unallocated space behind the C drive, you can extend the C drive directly without needing to create a new volume or partition. This allows for a seamless expansion of the drive without additional steps.
Opt 2. Shrink C drive
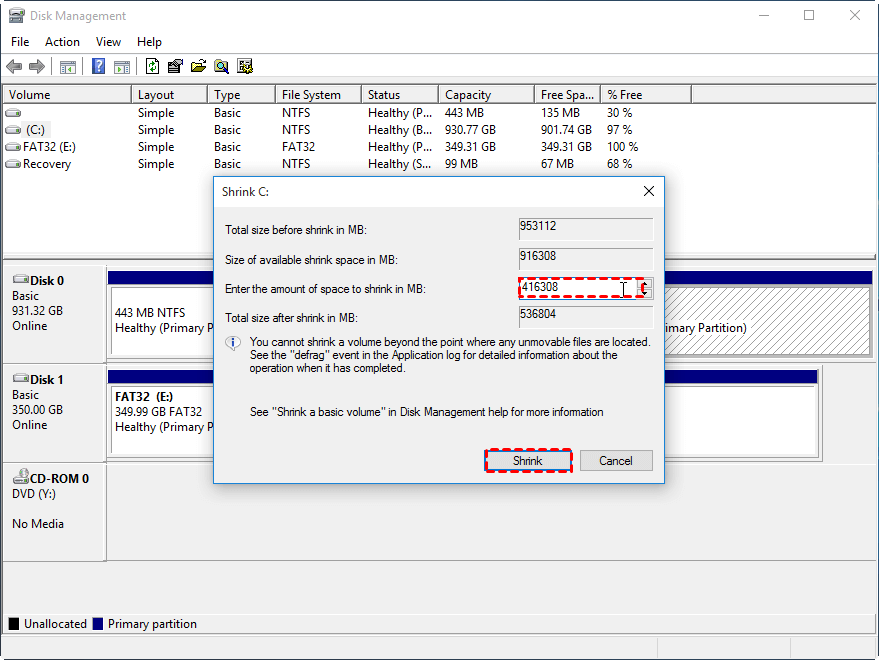
1. Right-click C drive and choose Shrink Volume.
2. In the pop-up window, type the amount of space you want to shrink by and click the "Shrink" button.
3. After a while, you may notice an unallocated space next to the C drive on your computer. At this point, you can create a new partition on the unallocated space, effectively expanding your storage capacity.
Better alternative to resize partition in Windows Server 2019 without data loss
In Windows Server 2019, you can resize the C drive using Disk Management, but extending it can be challenging due to the need to delete partitions, back up and restore data, and the risk of unmovable files preventing shrinkage, even with available free space on the drive.
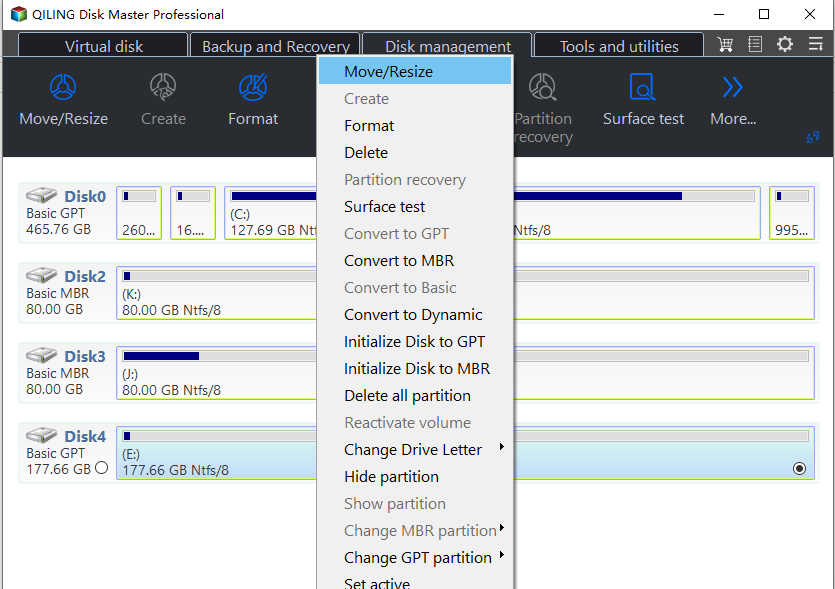
For a powerful and overall partition tool, I highly recommend Qiling Disk Master Server. It is compatible with various Windows Server editions, including Windows Server 2022, Windows Server 2019, Windows Server 2016, and Windows Server 2012. This tool allows you to extend the C drive without deleting a partition when there is no contiguous unallocated space, by directly allocating free space from another partition to it, and also enables you to decrease the size of the C drive beyond the limitation of unmovable files.
To resize C drive in Windows Server 2019 with ease, install and run Qiling Disk Master Server, and then follow these steps.
1. To extend partition C without data loss
Step 1. In the main interface, right-click the D drive and select "Allocate Free Space" from the context menu.
Step 2. You can allocate a specific size to the partition and choose the C drive as the destination drive.
Step 3. You can review the result of the operation. If you are satisfied, click Proceed to commit it.
Note: If there is a non-contiguous unallocated space, you can merge the unallocated space into C drive.
2. To shrink partition C successfully
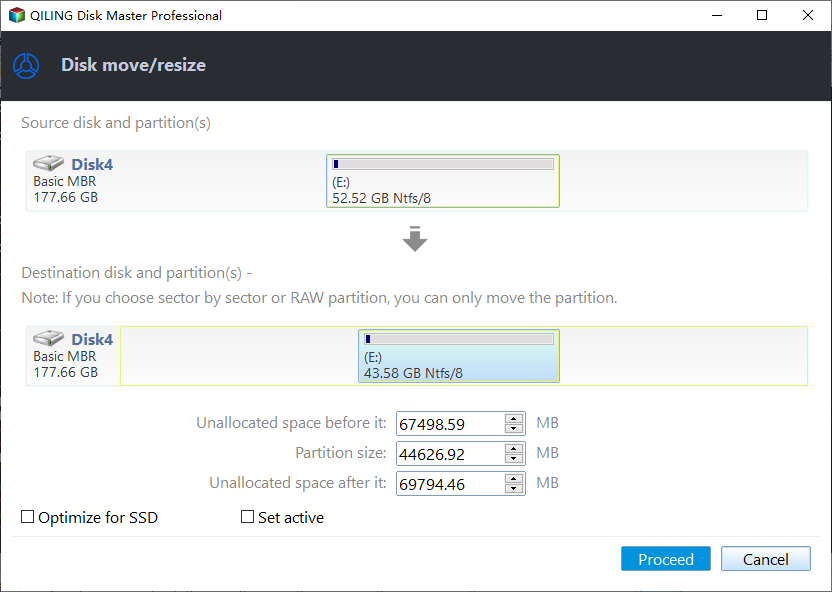
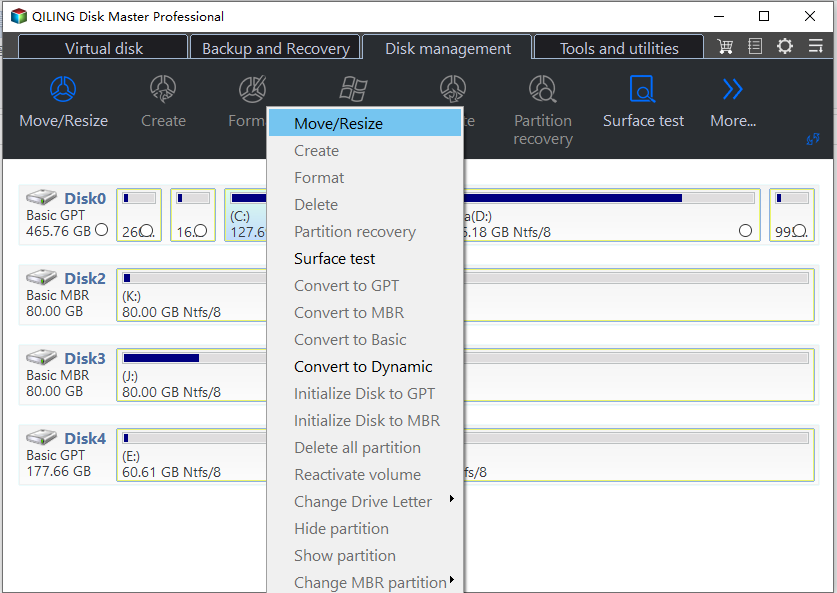
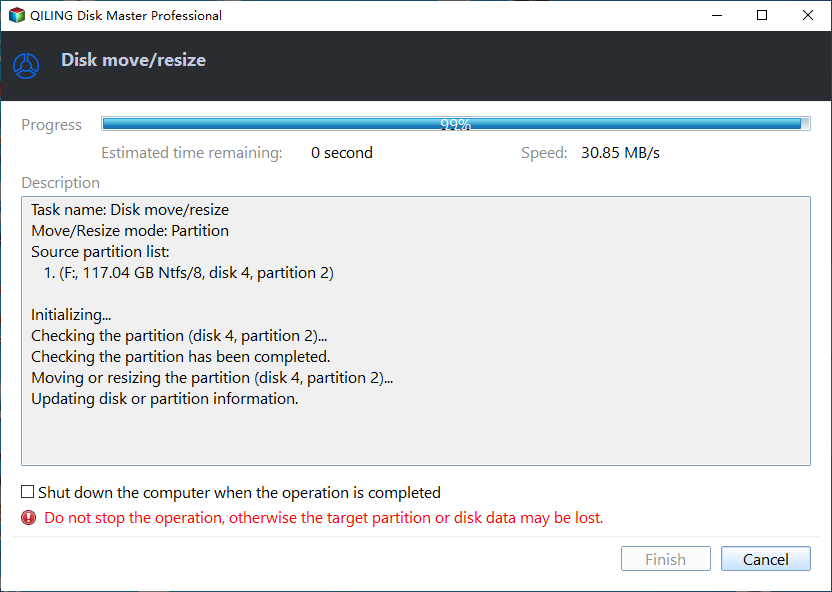
Step 1. Right-click C drive, and choose Resize/Move Partition.
Step 2. To reduce the size of the C drive, drag the slide bar to the left in the pop-up dialogue. This action will shrink the C drive.
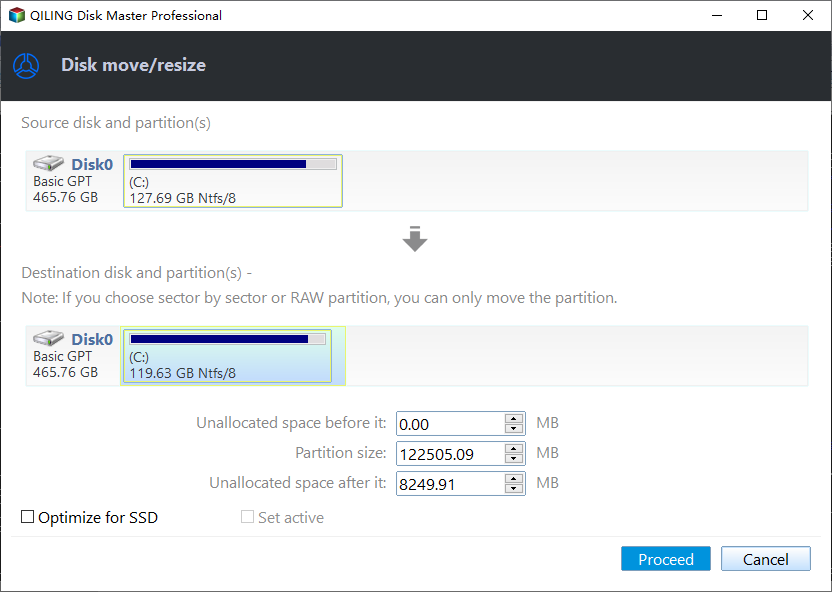
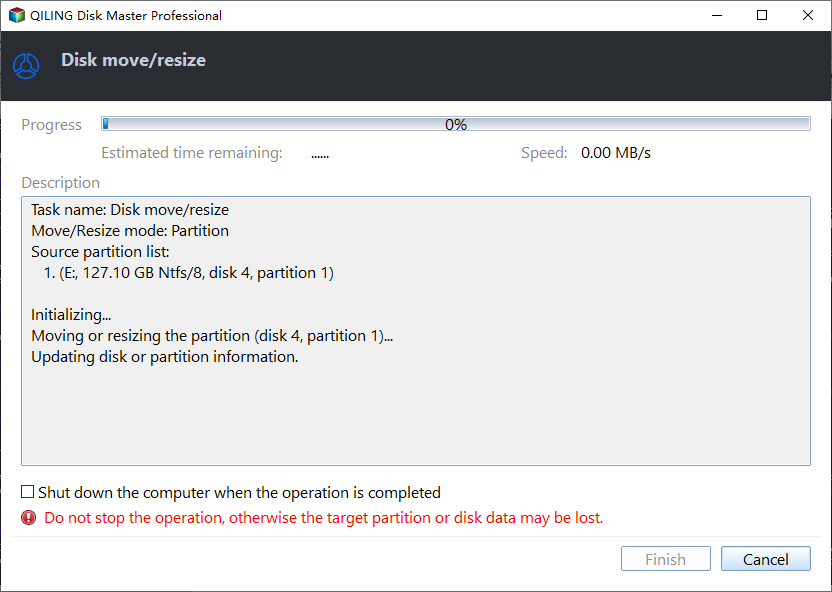
Step 3. After clicking "Proceed", you will return to the main interface. The operation will then be executed.
After shrinking C drive, you'll get an unallocated space that can be added to another partition or used to create a new partition.
Wrap things up
To resize C drive in Windows Server 2019, Qiling Disk Master Server can assist with extending or shrinking the drive, and is also useful for upgrading to Windows 11. Additionally, it offers features such as converting dynamic disks to basic without data loss, moving applications between drives, and cloning Windows Server to a new hard drive.
To experience those functions on unlimited Server or Windows PCs within one company, you can try Qiling Disk Master Unlimited.
FAQs about resizing C drive in Windows Server 2019
1. Is it possible to resize the C drive on Windows Server 2019 without reinstalling the operating system?
Our article guides you through the process of resizing the C drive on Windows Server 2019 without reinstalling the OS, providing expert tips to ensure a successful resizing while preserving your data.
2. Are there any risks associated with resizing the C drive, and how can I mitigate them using the information in the article?
Resizing the C drive can be a safe process, but it's essential to be aware of potential risks, such as data loss, if not done correctly. To minimize these risks, following step-by-step instructions is crucial, and by doing so, you can achieve a smooth resizing process.
3. Why can't I extend C drive in Windows Server 2019?
Extending the C drive can be tricky due to various limitations and factors, but our article addresses common issues that prevent this, offering practical solutions to overcome these challenges.
Related Articles
- Partition Recovery Software for Windows Server: Restore Deleted/Lost Partition Effortlessly
Recover deleted or lost partitions in Windows Server 2008, 2012 (R2), 2016, 2019, and 2022 with professional partition recovery software. - [Fixed] Bootmgr Is Missing after Marking a Partition as Active
You could notice bootmgr is missing after marking a partition as active and you cannot boot into Windows anymore. Then, what is bootmgr and how to fix the issue? Here, some most useful solutions are listed for reference. - Can I Move the Program Files Folder to Another Drive
Can I move the program files folder to another drive? The answer might not be as simple as you thought but you can find available methods in this post to reclaim C drive space. - Easily Solved: Can't Convert to Dynamic Disk (5 Methods)
To fix the issue of being unable to convert a basic disk to a dynamic disk, you can follow these steps. First, check if the disk is being used by any operating system or programs. - Fix Healthy Primary Partition RAW Problem with Top 3 Ways in Windows 7/8/10
If you find the healthy primary partition becomes RAW in Windows 11, 10, 8, 7, you can try the following methods to solve the Windows partition RAW problem successfully. - How to Hide System Reserved Partition with 3 Simple Ways?
System reserved partition contains boot configuration data and other essential data. It is a good idea to hide them to protect information. Refer to this post, it will demonstrate 3 methods helping you perform this operation.