How to: Create Windows 7 Bootable USB for Installation or Repair
Why create Windows 7 bootable USB drive?
Here are some motivations to create a bootable USB of Windows 7 with step-by-step methods:
▪ To make a fresh install of Windows 7 conveniently.
▪ To own the same Windows workplace environment in different places.
▪ To rebuild the Master Boot Record (MBR), you can check for system hard drive errors or clone the hard drive from a bootable USB drive when the PC is unbootable.
▪ To format/delete/erase C drive in WinPE environment.
Make Bootable USB of Windows 7 for Windows installation
You can easily and quickly install Windows 7 from a USB drive. To create a Windows 7 bootable USB drive for OS installation using CMD, follow these steps.
Step 1. To increase the capacity of a USB drive in Windows 7, 8, 8.1, 10, or 11, connect the drive to your computer and format it using the built-in Disk Management tool. This will erase all data on the drive.
Step 2. Press "Windows" + "R", input "cmd" to and click "OK".
Step 3. In the CMD window, run commands as follows to partition and format the USB drive.
▪ diskpart
▪ list disk
▪ select disk 1
▪ clean
▪ create partition primary
▪ select partition 1
▪ active
▪ format fs=ntfs
▪ assign
▪ exit (exit DISKPART, but doesn't exit the command prompt window)
Step 4. To prepare for a Windows installation, you need to mount the installation media. This can be done by inserting the Windows installation disc into the optical drive, or by mounting the ISO file if you have it saved on your computer.
Step 5. Use BOOTSECT command to make the USB drive bootable.
▪ D: CD BOOT
▪ CD BOOT
▪ BOOTSECT.EXE /NT60 F:
Note: Replace D with your install media drive letter, and F with your USB flash drive letter.
Step 6. To copy all files and folders from the Windows 7 installation media to a USB drive, use the ROBOCOPY command "robocopy DE:F: /s /v /mt: 16". This command will recursively copy all files and folders (/s), verify the integrity of the files (/v), and use 16 threads (/mt: 16) to optimize the copying process.
When it completes, type "Exit" to leave the command prompt. Then you can boot your computer from the bootable USB drive and install Windows.
Create Windows 7 bootable USB drive for portable Windows
To save your personalized Windows 7 OS on a USB drive, use a powerful partition manager like Qiling Disk Master Professional to create a bootable USB drive. This will allow you to have a portable Windows workspace that can be booted on any compatible computer. With Qiling Disk Master Professional, you can easily create a bootable USB drive and have a portable Windows workspace that's compatible with Windows 7/8/8.1/10/11.
Make bootable USB drive to repair OS or clone hard drive
Partition Assistant has a "Make Bootable Media" feature that allows you to create a bootable repair USB drive based on Windows PE. This enables you to repair a corrupted system by running Windows 7 from the USB and then checking and repairing the hard drive.
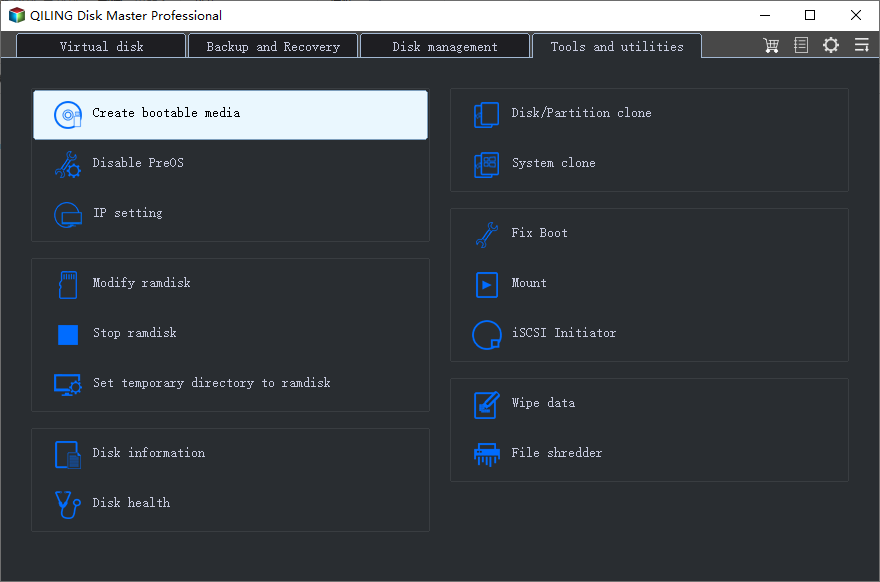
Step 1. Connect a USB drive to a working computer, run the software, click "Tools" and select "Make Bootable Media".
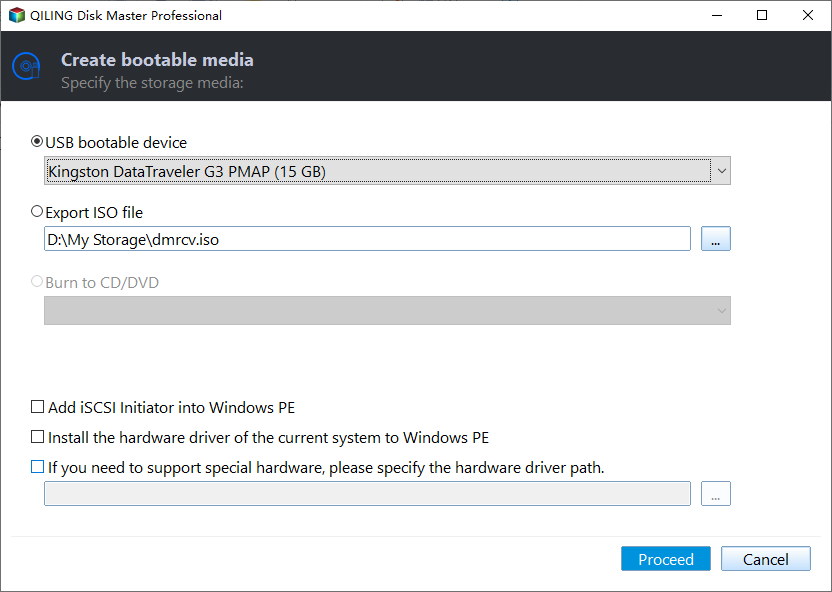
Step 2. Choose "USB Boot Device" among three options and click "Proceed",
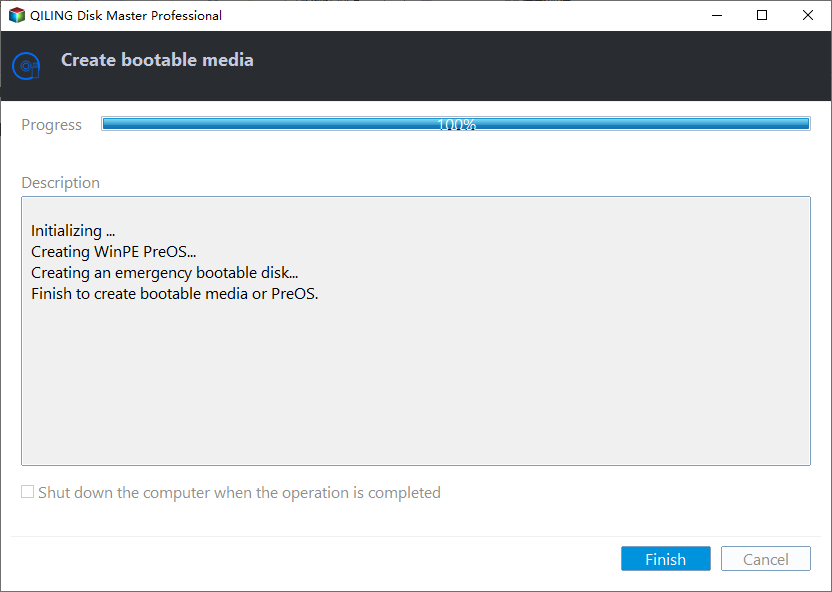
Step 3. When the operation completes, click Finish to exit.
PS.: Qiling Disk Master Professional allows users to create a bootable CD/DVD.
After creating a Windows 7 bootable USB, you can insert it into the computer you want to boot and enter the BIOS settings to configure the computer to boot from the USB drive.
Related Articles
- How to Low Level Format USB Flash Drive?
Why and how to low level format USB flash drive? You can find out answers in this paper. - How to Boot Windows 7 from External Hard Drive Successfully?
There are chances that you need to boot Windows 7 from external hard drive. This article demonstrates how to create bootable media and boot Windows 7 from the drive. - Create Windows Server 2012 Bootable USB for Repairing
When Windows Server-based computer fails to boot and you are without a recovery disk, you can turn Qiling Disk Master Server to create a bootable USB drive to repair Windows Server. - How to Boot Windows 10 from USB Flash Drive (2 Approaches)
Booting Windows 10 from USB flash drive can help you with clean installation or troubleshooting, especially when a PC crashes and fails to boot. Here's how to do it correctly. - How to Clone Hard Drive from Bootable USB Drive Easily?
Do you have any idea about how to clone hard drive from boot? In this article, you will learn the best practice to clone hard drive without any issue. - How to Make/ Create a Bootable USB Stick on Windows 10/8/7?
If you need to create a bootable USB stick on Windows, you can read through this page. It explains how to create a bootable Windows USB via CMD or a piece of professional software.