Create a Secure Encrypted Backup Container
A backup is only useful if it survives the trip and stays private on the way. An encrypted container gives you both: the backup data sits inside a single password-protected file that can be copied to a USB stick, an external SSD, or cloud storage, and remains unreadable without the password. This guide covers the decisions that make a container dependable rather than merely encrypted, including sizing, which is the step most people get wrong.
Why a container instead of an encrypted drive
- It coexists with ordinary files. The rest of the drive stays usable, so one external SSD can hold both an encrypted backup container and everyday files.
- It moves as one file. Copy it to a USB stick, upload it, or store it on a NAS without preparing the destination first.
- It unmounts completely. When dismounted, no drive letter and no file handles remain, so the backup cannot be modified by an application still running.
- It works on every Windows edition. Container tools do not depend on BitLocker, which is missing for removable drives on Windows 11 Home.
The trade-off is that a container is a single file. If it is damaged, the whole backup goes with it, whereas a plain folder backup may lose only one file. That is why the verification and rotation steps below matter.
Size the container correctly
Step 1. Measure what you need to protect. Right-click the folders you plan to back up and check their combined size.
Step 2. Add room for growth. A container cannot be resized easily, so plan for at least twice the current data if the folders change regularly.
Step 3. Decide how many backup generations to keep. Two full copies plus incremental sets is a common pattern and roughly triples the space requirement.
Step 4. Stay within the tool's limit. Qiling Safe Disk supports containers up to 2048 GB, which is enough for most document, photo, and project backups but not for a full disk image of a multi-terabyte drive.
Step 5. Leave free space on the host drive. A container that fills its volume cannot be written to, and an operating system that runs out of space while the container is mounted can produce errors that look like container corruption.
Create and fill the container
Step 1. Install Qiling Safe Disk Standard, open it, and choose to create a safe image.
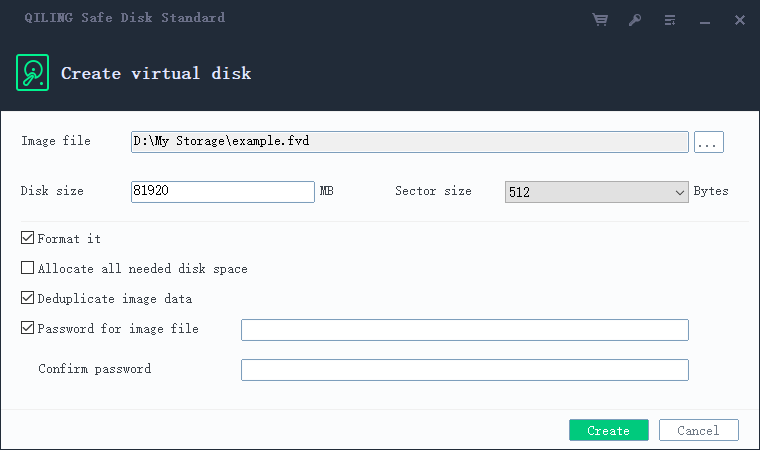
Step 2. Set the container size, choose an encryption algorithm such as AES-256, and set a password. Store the container on the backup drive, not on the drive you are backing up.
Step 3. Mount the container so it appears as a drive letter.
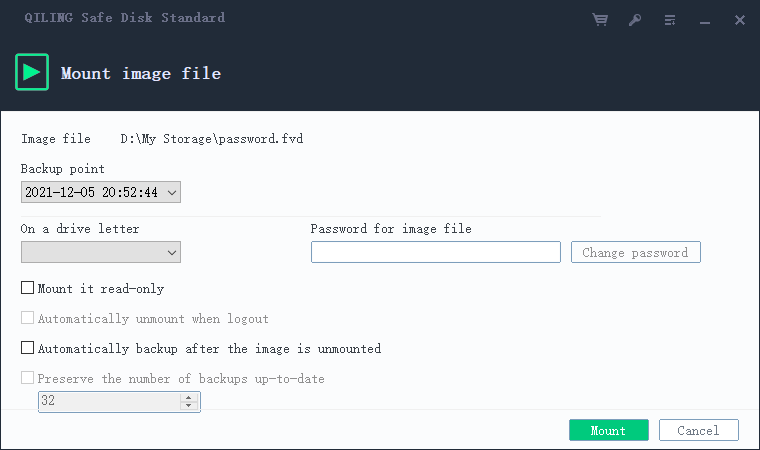
Step 4. Copy the backup data into the mounted drive, or point your backup software at the mounted drive as the destination. Use dated subfolders so each generation is identifiable.
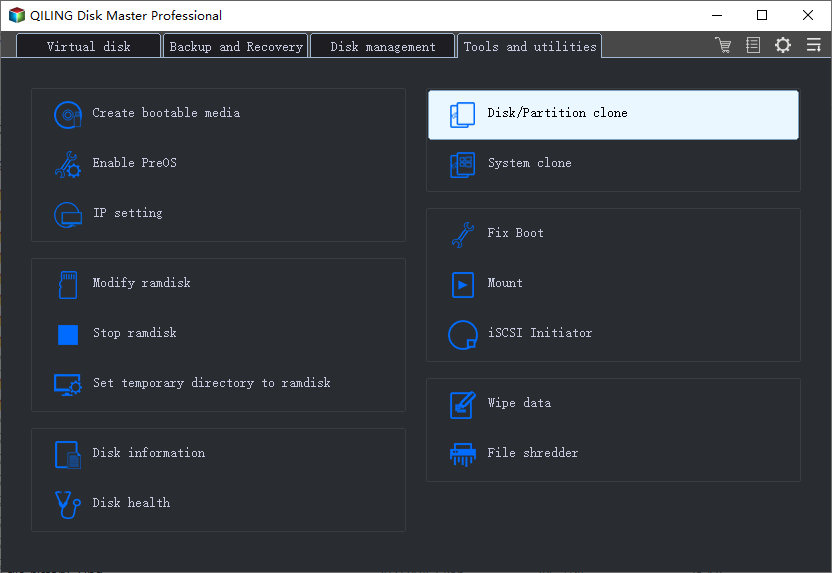
Step 5. Verify before unmounting. Open two or three files from inside the mounted container and confirm they are complete.
Step 6. Dismount the container. The drive letter disappears and the file becomes unreadable without the password.
Keep the password and the container apart
This is the part that decides whether the backup is recoverable in a real emergency.
- Never store the password inside the container or on the same drive. A sticky note on the drive is not security, and a text file on the same stick is worse.
- Use a passphrase, not a short complex string. Five unrelated words are easier to recall under stress and harder to guess than eight characters of symbols.
- Record it in two places. A password manager entry and a sealed written copy in a different physical location.
- Handling note. If someone else must be able to restore the backup when you are unavailable, a sealed copy held by a trusted person or a safe is part of the design, not an afterthought.
Verify and rotate
Step 1. Mount the container on a second computer at least once. This proves the password, the software, and the file all work together, rather than only working on the machine that created them.
Step 2. Compute a hash of the container file after each update and record it. A single command produces it: certutil -hashfile "container.img" SHA256. A changed hash on a file you have not touched indicates damage.
Step 3. Keep two copies of the container in different places. Because a container fails as a unit, a second copy is the only protection against corruption.
Step 4. Refresh the backup on a schedule you will actually keep, and start a new container once a year so that the file size does not grow without limit and old data does not accumulate indefinitely.
A workable routine
Monthly: mount, add a dated backup folder, verify sample files, dismount, update the hash, and copy the container to the off-site location. Quarterly: restore a folder from the container to a temporary location and open it. Once a year: create a fresh container and retire the old one.
Related Articles
- Mount an Encrypted Virtual Disk on Windows 11
How a container becomes a drive letter, and what to do when it will not mount. - Move an Encrypted Virtual Disk to Another Computer
Copy a container intact and open it on a machine that has never seen it. - QILING Safe Disk Standard
Create password-protected containers up to 2048 GB on a Windows PC or USB drive.
Products
Articles & Tutorials
- Data Recovery
- Data Backup
- File Recovery
- File Backup
- File synchronize
- System Backup and Restore
- Disk and Partition Clone
- Technical articles
- Disk Master Help
- Windows Deleted File and Disk Recovery Tutorials
- Windows File and Data Recovery Tutorials
- More Windows Tutorials for Install, Security, Files, and PC Tips
- Windows Boot, Repair, and Recovery Environment Tutorials
- Windows Backup Tutorials
- Windows Restore Tutorials
- Windows Clone and Migration Tutorials
- Windows Server Backup, Recovery, and Management Tutorials
- Windows Disk, Partition, and Storage Management Tutorials