Restore a Windows 11 System Image to a New NVMe SSD
Use a system-image restore when the original Windows 11 SSD has failed or you need to move a prepared system to a replacement NVMe drive. Unlike a file restore, this operation recreates Windows, installed programs, settings, and the boot partitions required to start the PC.
Before restoring
Install the new NVMe SSD and confirm that firmware detects it. Connect the drive containing the system image. The destination SSD will be overwritten, so make sure it contains no files you need. If the original PC uses BitLocker, keep the recovery key available for the first startup.
Restore the system image with Qiling Disk Master
Qiling Disk Master Professional restores a system image to a replacement disk and preserves the Windows boot layout.
Step 1. Install and open Qiling Disk Master. Select Restore, select the system backup task, and choose the image version you want to restore.
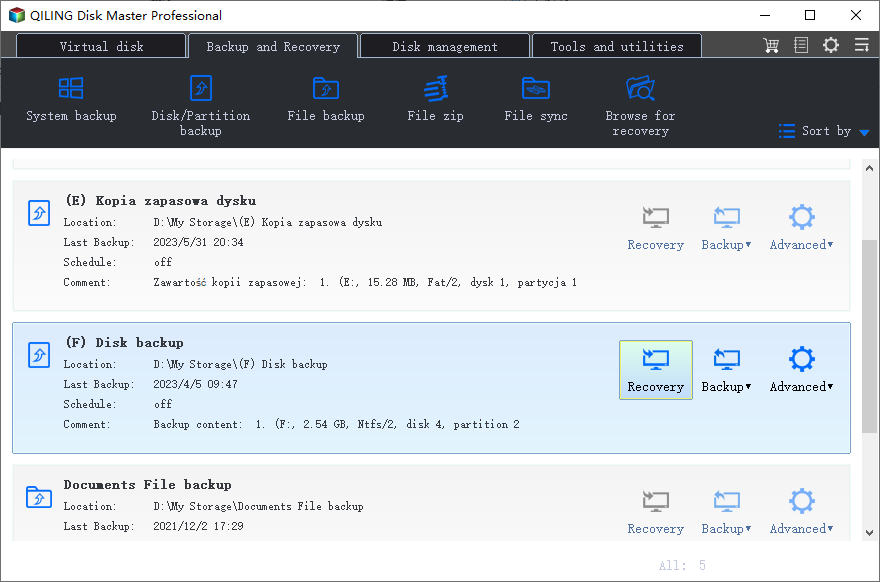
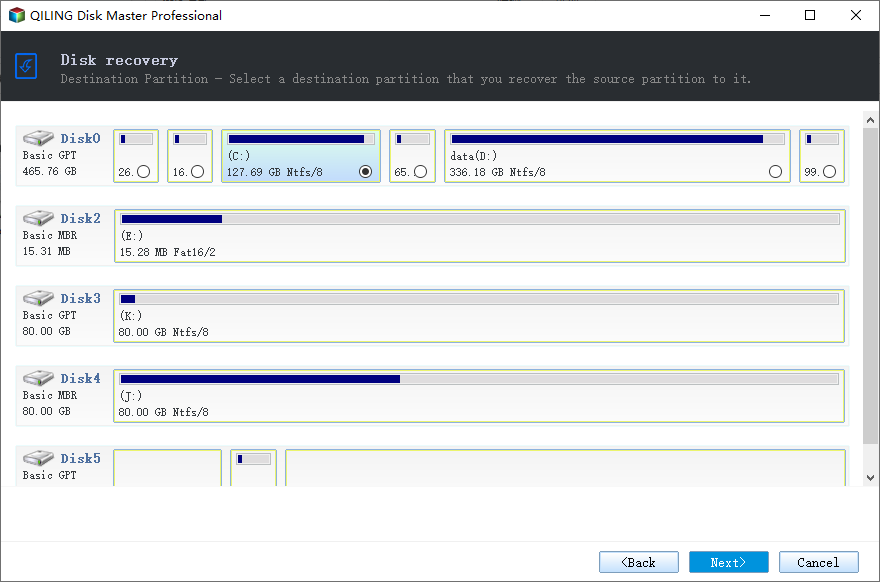
Step 2. Choose Restore this system backup. Select the new NVMe SSD as the destination disk and confirm that its capacity and model match the replacement drive.
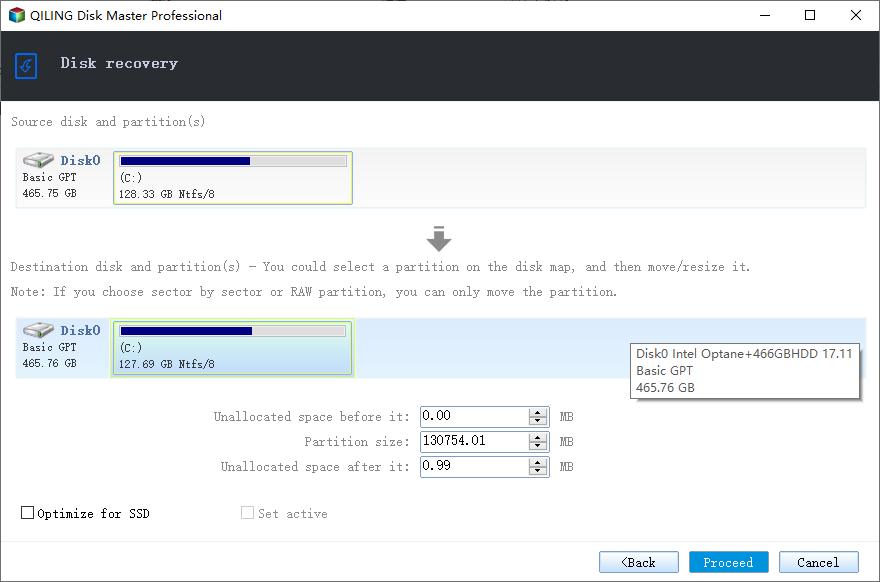
Step 3. Enable SSD Alignment, review the source image and destination disk, then click Proceed. Do not disconnect the backup drive or turn off the computer during restoration.
Start from the new SSD
When restoration finishes, shut down the PC. Set the NVMe SSD as the first boot device, or disconnect the failed/original drive for the first test. Start Windows, enter the BitLocker recovery key if requested, and verify your applications and files before deleting the backup or reusing the old disk.
Related Articles
- Back Up Windows 11 Before an SSD Upgrade
Create the system image required for a safe SSD replacement and recovery plan. - Create and Use a Windows Recovery Image
Learn how a system image differs from a file backup and how it is used for recovery.
Products
Articles & Tutorials
- Data Recovery
- Data Backup
- File Recovery
- File Backup
- File synchronize
- System Backup and Restore
- Disk and Partition Clone
- Technical articles
- Disk Master Help
- Windows Deleted File and Disk Recovery Tutorials
- Windows File and Data Recovery Tutorials
- More Windows Tutorials for Install, Security, Files, and PC Tips
- Windows Boot, Repair, and Recovery Environment Tutorials
- Windows Backup Tutorials
- Windows Restore Tutorials
- Windows Clone and Migration Tutorials
- Windows Server Backup, Recovery, and Management Tutorials
- Windows Disk, Partition, and Storage Management Tutorials