Best Free SSD Cloning Software for Windows 11, 10, 8, 7
- Why need SSD cloning software?
- Best free SSD cloning software for Windows 11, 10, 8, 7
- Preparatory work before cloning SSD
- 1. Connect the destination disk to your computer
- 2. Back up any important data to an external drive
- 3. Check out the destination disk's storage
- Start cloning SSD free in Windows 11, 10, 8, 7
- Follow-up work when SSD clone is finished successfully
- 1. Replace the old hard drive with the new one
- 2. Boot from the cloned disk
- 3. Wipe everything on the old hard drive for privacy protection
- Bottom line
- FAQs about SSD cloning
Why need SSD cloning software?
Cloning an SSD can be the quickest and easiest way to copy all contents, including system files, applications, preferences, emails, and partitions, from the SSD to another disk, such as an HDD or SSD. This process can be facilitated by using the best SSD cloning software available for Windows 10/8/7.
①Upgrade a slow HDD to a faster SSD
When your computer runs slowly on a traditional hard disk drive, you can transfer all the data to a faster solid-state drive (SSD) to improve its performance, while keeping everything intact.
②Replace failing HDD or SSD
If your old HDD or SSD is on the verge of dying, consider cloning it to a new SSD drive to ensure data security.
③Transfer mass data from HDD/SSD to SSD
Using SSD cloning software is a more effective way to transfer mass data from an HDD to an SSD, or from one SSD to another, as copying and pasting large amounts of data, especially boot or directory files, between different hard drives can make the boot files invalid.
Best free SSD cloning software for Windows 11, 10, 8, 7
To easily and efficiently clone an SSD or HDD, consider using the FREE Qiling Disk Master Standard software in Windows 11/10/8/7. This tool allows for effortless cloning of an SSD to another SSD or HDD, or an HDD to another SSD or HDD, all while preserving data. Its features make the cloning process easy and effective.
- Clone a large disk to a smaller disk If you choose the "Clone Disk Quickly" method, only used sectors from the source disk will be cloned to the target disk, making the process faster but potentially leaving out some unused sectors.
- If the source disk contains a Windows operating system, the cloned SSD or HDD can still be used to boot the OS, allowing you to use it as a replacement for the original disk.
- The "Sector by Sector Clone" method involves copying all sectors, including bad sectors, from one disk to another. This approach ensures that every single sector, regardless of its condition, is transferred during the cloning process.
- You can choose to make 4K alignment on the SSD partitions, which could optimize SSD reading and writing performance.
- This tool allows you to clone only the OS partition to an SSD and successfully boot from the cloned hard drive after migration.
Preparatory work before cloning SSD
To clone a SSD or HDD successfully, it's recommended to complete the following steps.
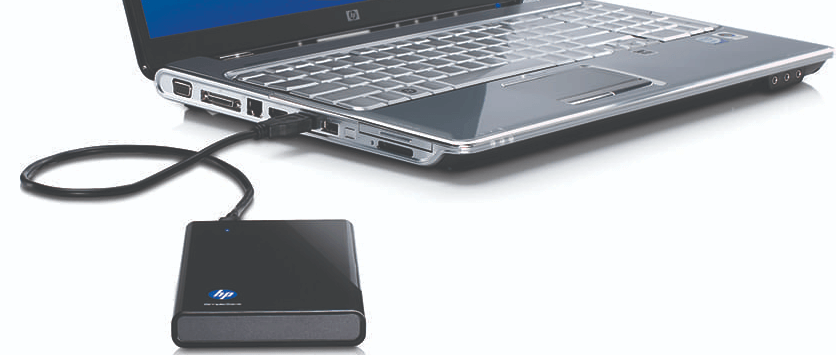
1. Connect the destination disk to your computer
To clone an SSD, you'll need a secondary disk as the destination hard drive, which you'll connect to your computer. If you're using a desktop, you can install the new drive alongside the source SSD. If you're using a laptop, you may need a SATA-to-USB cable to connect the new drive.
2. Back up any important data to an external drive
Before cloning your destination drive, back up any important data on it to an external drive to avoid losing it during the cloning process.
3. Check out the destination disk's storage
To clone a disk, ensure the destination drive has enough space to hold all the data from the source disk. If the source disk is larger in total space but has less used space than the destination, you can use the "Clone Disk Quickly" method to clone only the used space. Alternatively, free up space on the source disk to make it smaller and fit the destination disk.
Start cloning SSD free in Windows 11, 10, 8, 7
To clone a data disk from MBR to MBR in Windows 11/10/8/7, follow these steps. We'll take cloning a HDD or SSD drive as an example. First, download and install a cloning software, then launch it and select the source disk and target disk.
- ★Tip:
- The free edition only supports cloning the MBR data disk to another MBR disk, limiting its functionality.
- If you need to copy the system from MBR to MBR, MBR to GPT, GPT to MBR, or GPT to GPT, you need to upgrade to the Professional edition.
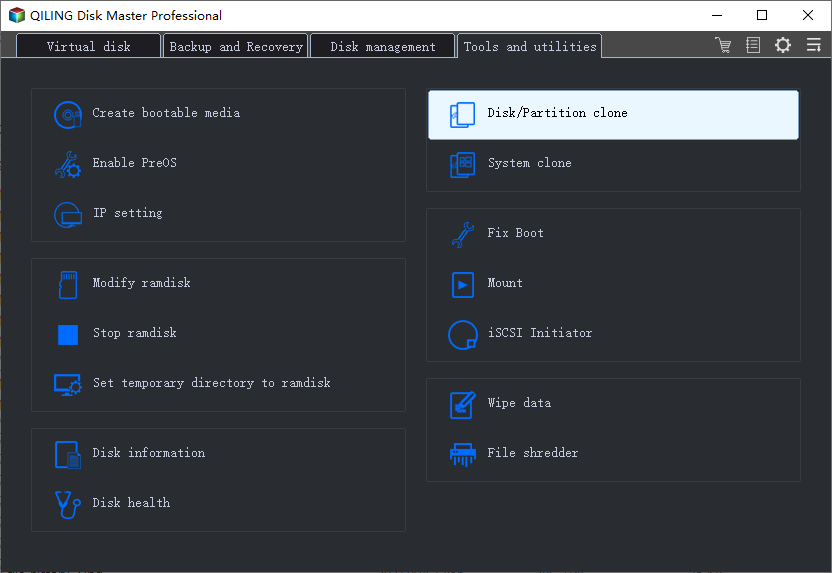
Step 1. Install and launch Qiling Disk Master, then click "Clone" in the main interface and select "Clone Disk" from the options.
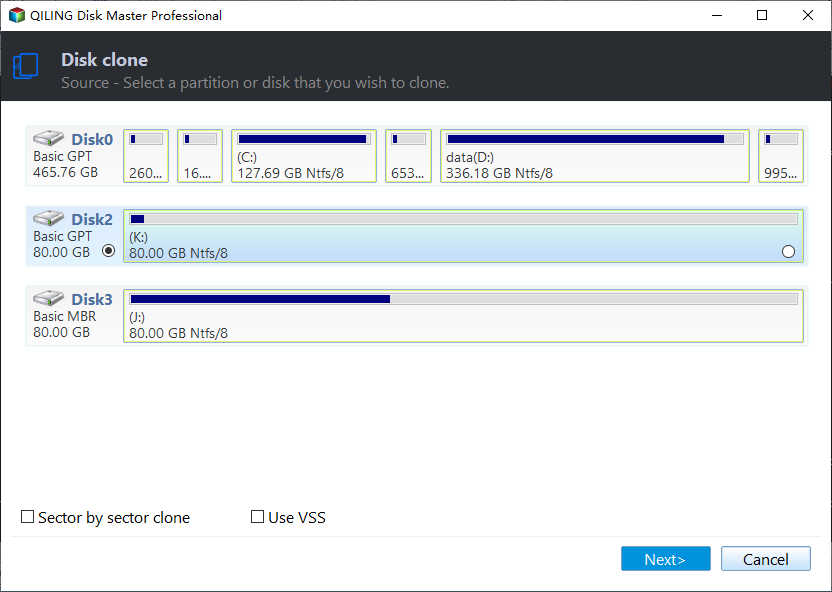
Step 2. Choose the hard disk that you need to clone as the source disk and click "Next".
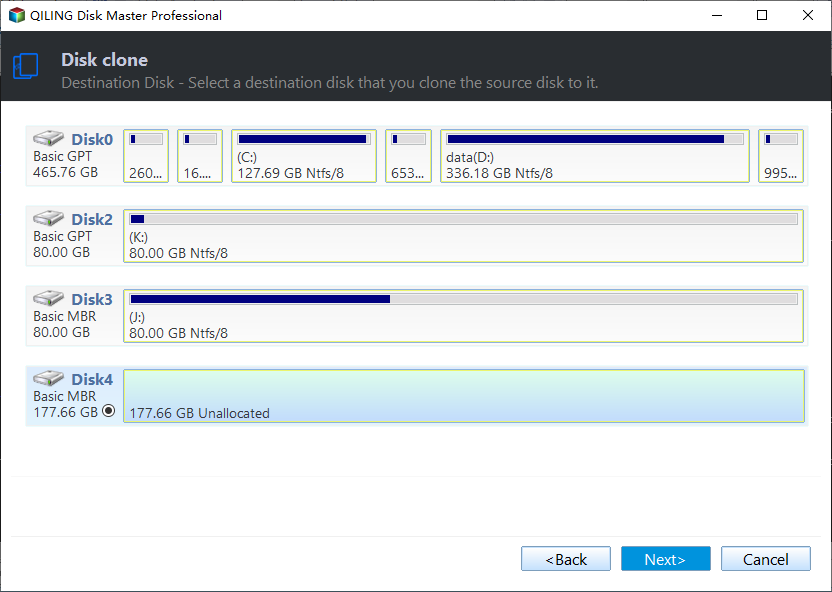
Step 3. Select the destination disk to store the data from the source disk, and then click "Next".
Step 4. After selecting the source disk, you will be prompted to verify the source and destination disk in the next window. If everything looks good, you can proceed by clicking the "Confirm" button to continue with the cloning process.
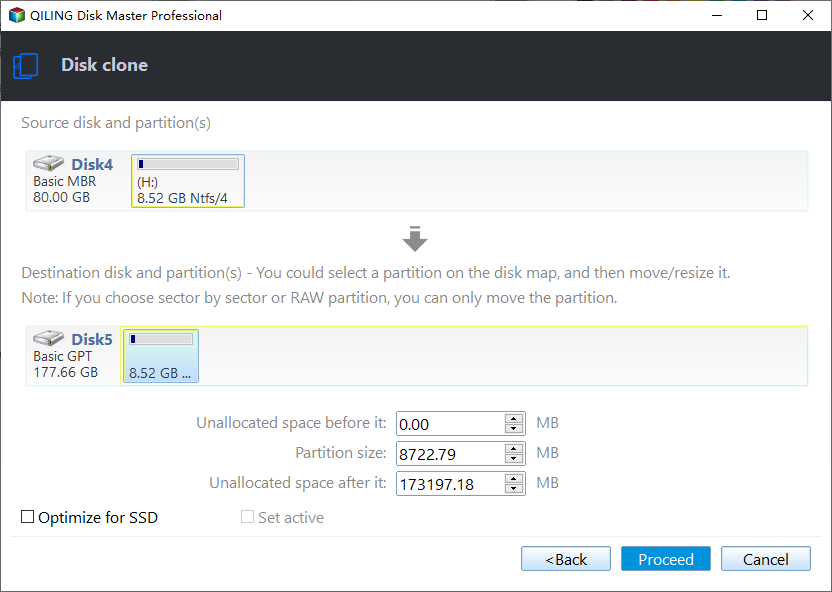
To adjust the partition size on the destination disk, click the "Settings" button and make the necessary changes. If the target disk is an SSD drive, you can also tick "4k alignment" to improve the reading and writing speed.
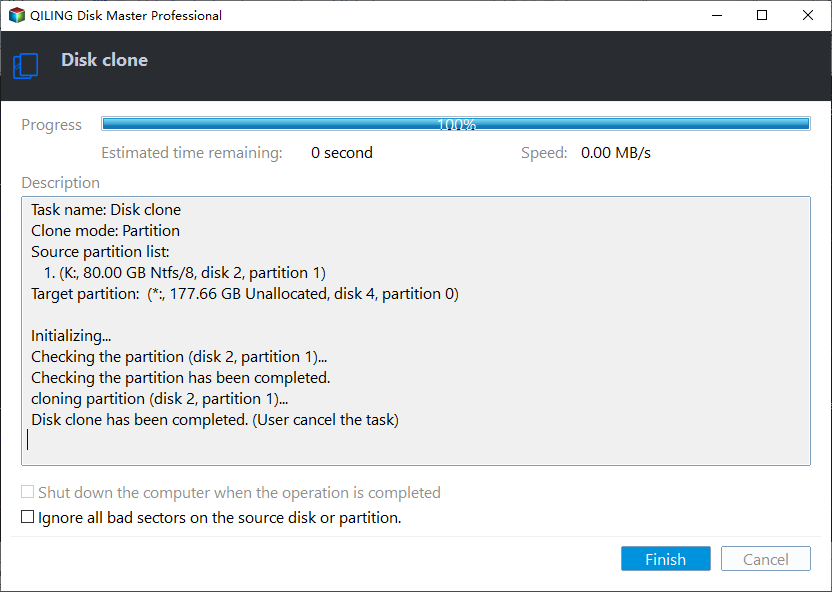
Step 5. To clone a hard drive, go to the cloning software, select the source and target drives, and then click "Apply" and "Proceed" to start the cloning process.
Follow-up work when SSD clone is finished successfully
After cloning the SSD drive, you may need to update the boot order, disable Secure Boot, and enable Legacy Boot or UEFI Boot on your PC, depending on your system's configuration. This ensures that your system can boot from the cloned SSD drive.
1. Replace the old hard drive with the new one
To replace your old hard drive with a new one, you'll typically need to physically install the new drive into your laptop or desktop. This involves opening up the device using a screwdriver, and then placing the new hard drive into the designated slot within the device.
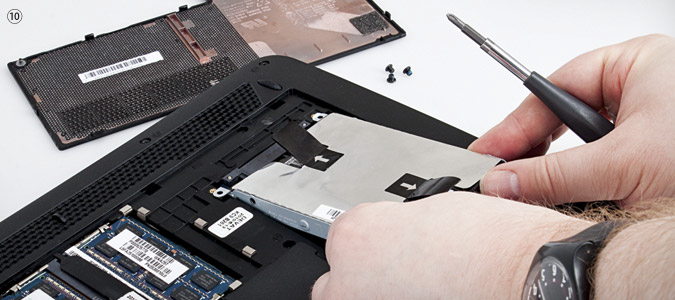
- ★Pro Tip:
- You can take a photo of your current hard drive's internal components before removing it, which will help you remember where the wires go when connecting your new drive.
2. Boot from the cloned disk
To change the boot priority, you can enter the BIOS settings by pressing a specific key (usually F2, F12, or Del) when the computer is first turned on. Once in the BIOS, navigate to the "Boot" or "Advanced" tab, and look for the option to set the boot order. Select the cloned hard drive as the primary boot device, and save the changes.
1. To enter the BIOS environment, restart your computer and during the initialization process, press and hold one of the specific keys, such as ESC, Delete, or F2, to access the BIOS settings.
2. To access the Boot tab, use the arrow key to navigate to it. On this tab, system devices will be listed in order of priority, indicating the order in which they will be accessed during the boot process.
3. To boot your computer from a cloned SSD drive, you need to move it to the top of the boot sequence list. This will allow your computer to prioritize the cloned SSD drive over any other bootable devices, such as the original SSD or a hard drive.
4. Save and exit the BIOS setup utility. Your computer will then restart with the changed settings.
If a cloned SSD drive won't boot, it could be due to bad sectors on the source disk, a loose SSD connection, a conflict between partition style and boot mode, or some boot-related drives being missed during the cloning process. Refer to the provided link for potential solutions.
3. Wipe everything on the old hard drive for privacy protection
If everything works well and correctly on the cloned hard drive, you can wipe the old one completely to protect your privacy. Qiling Disk Master offers a "Wipe Hard Drive" feature, which is "SSD Secure Erase" for SSD drives, to securely erase the old drive.
Bottom line
Qiling Disk Master Standard is a free SSD cloning software for Windows that allows users to create a 1-to-1 copy of their old hard drive, including copying partitions to another hard drive, making it a useful tool for upgrading or replacing hard drives.
The Qiling Disk Master Professional offers additional features, including cloning MBR or GPT hard drives to GPT SSDs, converting system disks to GPT without deleting partitions, and converting dynamic disks to basic disks without data loss. It can also be used to clone HDD or SSD in Windows Server 2019/2016/2012/2008/2003.
FAQs about SSD cloning
1. Why should I clone my HDD to an SSD?
- Cloning an HDD to an SSD is done to improve system performance, reduce boot and load times, increase reliability, and lower power consumption, as SSDs offer faster data access speeds and are more durable than traditional HDDs.
2. What do I need to clone my HDD to an SSD?
- To clone your HDD to an SSD, you need:
- A cloning software is a tool that creates an exact copy of an operating system, applications, and data from a hard drive or solid-state drive (SSD) to another storage device, preserving the original drive's contents and settings. This software, such as Qiling Disk Master, allows for the creation of a duplicate drive, which can be used as a backup or to upgrade to a newer storage device. Cloning software can be used in various scenarios, including system upgrades, drive replacements, and disaster recovery, providing a reliable and efficient way to protect and manage data.
- The SSD connected to your computer (via SATA, USB, or another interface) is the storage device that stores your operating system, programs, and data. It is a solid-state drive, which means it stores data on interconnected flash memory chips rather than on spinning disks.
- The SSD should have enough storage space to hold all the data from the HDD, so that everything is transferred over and the HDD can be safely removed and discarded.
3. Is cloning the same as copying files?
- Cloning creates a replica of the entire drive, including the operating system, system files, boot sector, and all partitions, ensuring the cloned drive is bootable and fully functional as a system drive.
4. What should I do if my SSD doesn't boot after cloning?
- If your SSD doesn't boot after cloning:
- Ensure the SSD is set as the primary boot device in BIOS/UEFI.
- To fix the Windows boot loader, use the installation media to access the "Repair your computer" option, then select "Troubleshoot" and finally "Startup Repair".
- Verify the cloning process included all necessary boot partitions.
5. Can I use my computer while cloning the drive?
- To ensure data integrity and avoid errors, it's recommended to avoid using your computer for other tasks during the cloning process, as the cloning software often requires exclusive access to the drives being cloned.
6. What happens to my old HDD after cloning?
- After verifying that the SSD works correctly, you can proceed to install your operating system on the SSD. This typically involves booting from a USB drive or CD containing the OS installation media, selecting the SSD as the target drive during the installation process, and following any additional instructions provided by the OS installer.
- To reuse an old hard drive for additional storage, you'll need to format it. Formatting will erase all data on the drive, so make sure you've backed up any important files.
- Keep it as a backup.
- Properly dispose of the old device by repurposing or recycling it in accordance with local electronic waste regulations.
Related Articles
- How to Clone Windows 10 to UEFI SSD Drive Successfully?
Cloning Windows 10 to SSD UEFI can speed up the OS boot process. And the Qiling Disk Master Professional can help you easily to clone Windows OS to GPT SSD and uses the UEFI boot mode. - Free Bootable USB Clone Tool: Copy Bootable USB Drive in Windows with Secure Boot
If you are looking for a bootable USB clone tool to make an exact copy of your USB drive, the free Qiling Disk Master is a great choice. It allows you to free clone a bootable USB drive in Windows 11, 10, 8, 7 with easy steps.