How to Clone Hard Drive from Bootable USB?
What are the reasons to clone hard drive from bootable USB?
Cloning a hard drive is a good option when you want to upgrade to an SSD or make a backup, saving time and energy from reinstalling OS, applications, and files.
While Windows offers some flexibility in cloning hard drives, it's limited to file and folder copying rather than partition or disk cloning. Moreover, if your computer can't start normally, using the built-in feature to clone hard drives becomes challenging. In such cases, cloning from a bootable USB flash drive is a more viable option, which is the focus of this content.
Top hard drive cloning software - Qiling Disk Master
To successfully clone a hard drive using a bootable USB, prepare a disk cloning tool and a bootable USB creator, and use a single utility like Qiling Disk Master Professional that can handle both tasks.
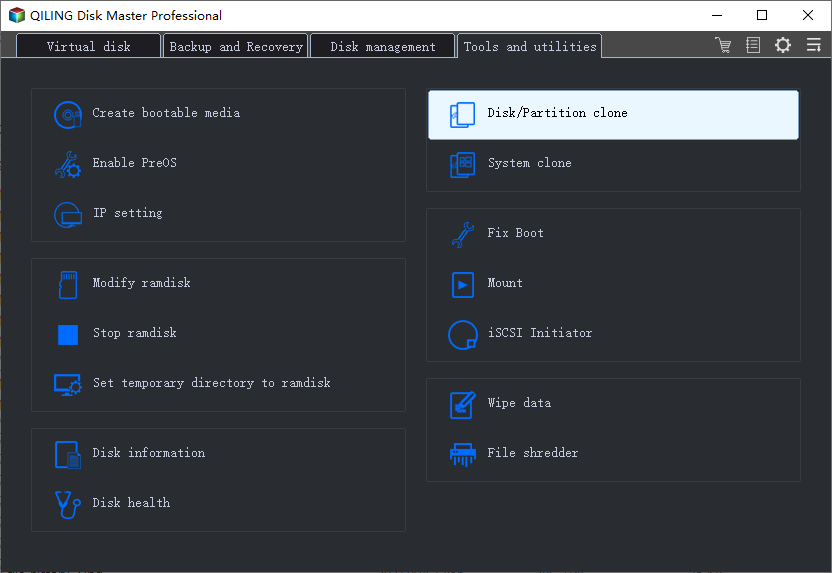
▶ Why choose Qiling Disk Master?
Qiling Disk Master Professional is a Windows partition manager that can clone a hard drive from a bootable USB, using its "Make Bootable Media" and "Disk Clone Wizard" features.
Some fantastic features of Qiling software are as follows:
◉ Easy to use. This tool allows both novice and skilled computer users to easily and quickly clone a hard drive and create a bootable USB, with a simple step-by-step guide to follow.
◉ Highly compatible. Clonezilla supports the most popular Windows operating systems, including Windows 11, 10, 8, 7, XP, and Vista. It allows you to create a copy of a disk to another disk, a bootable USB or SD card, or even copy a bootable USB to another USB stick, hard drive, or SSD drive.
◉ Intelligent clone. It allows you to copy used space to a new drive, enabling cloning of larger drives to smaller ones, and also performs sector-by-sector cloning for a full duplicate.
◉ Available size editing. This tool allows you to decide whether to keep the same layout or modify the partition size on the target disk, a decision that can be made before the cloning process starts.
◉ Unique disk optimization. CloningMaster is more than a simple disk cloner, as it also serves as a disk optimizer. If your destination disk is an SSD, it can help optimize its performance by making 4K alignment, which can significantly advance the read and write speed of the hard drive.
Easy steps to clone hard drive from bootable USB
To clone a hard drive with a bootable USB, you'll need to have two things prepared beforehand. Firstly, you'll need a bootable USB drive that can boot your computer, and secondly, you'll need a cloning software or tool that can copy the contents of the original hard drive to the new one.
▣ A Windows computer that can run normally.
▣ To prepare for a Windows 11 installation, you'll need an 8GB or larger USB flash drive. It's recommended to back up any essential files on the USB drive in advance, as creating bootable media will erase all data on the drive completely. This ensures you have a safe copy of your important files before proceeding with the installation.
Part 1. Create a bootable USB on a running computer
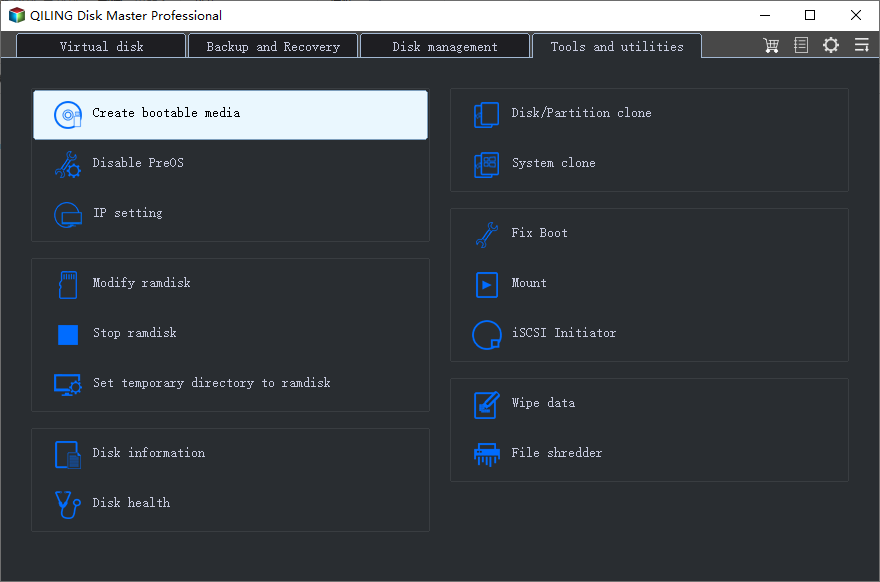
Step 1. Install and launch Qiling Disk Master Professional, plug the USB into the PC, and ensure it's detected. Click "Make Bootable Media" in the left panel under the Wizards column, then click "Next" to proceed.
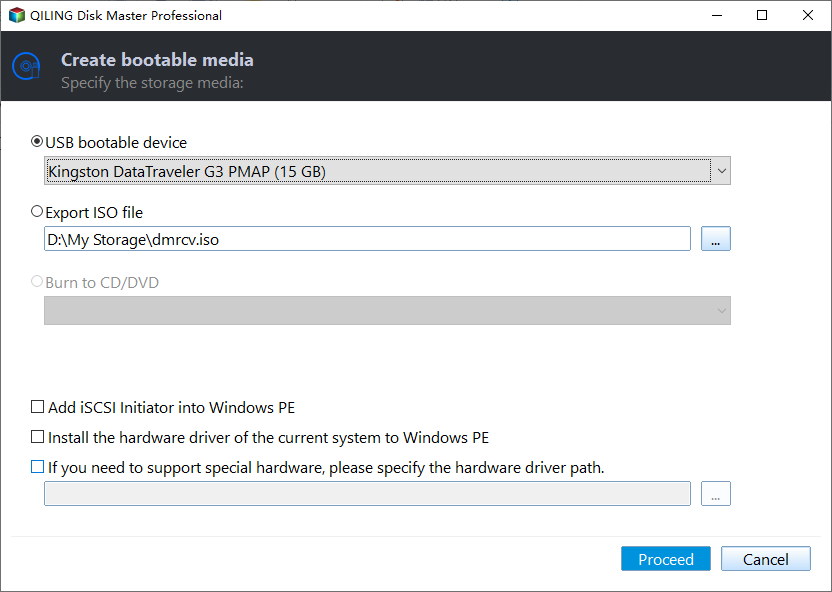
Step 2. To create bootable media based on Windows PE, you can choose from three options: creating a bootable USB drive, creating a bootable CD/DVD, or creating a bootable ISO file. Select the method that suits your needs and click "Proceed" to proceed with the process, using a USB flash drive as an example.
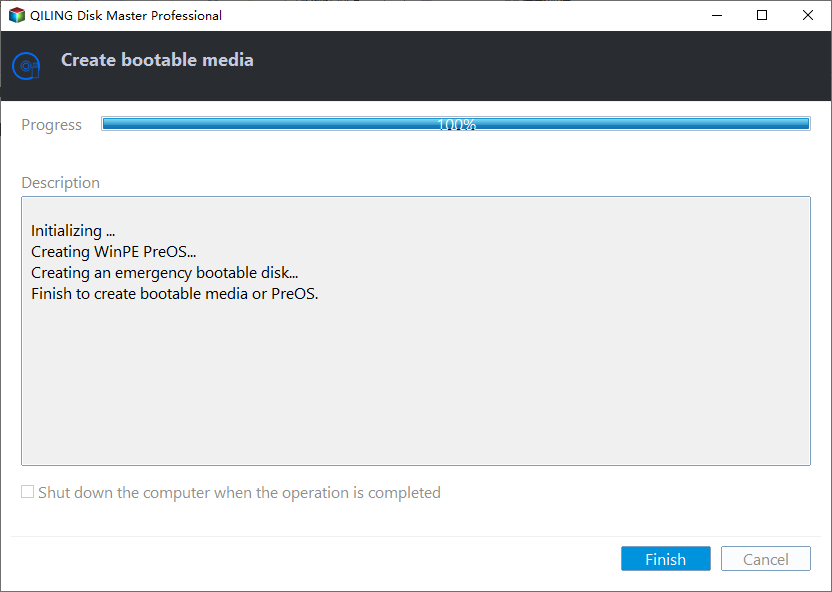
Step 3. After a few minutes, the operation is completed, click "Finish" to exit.
Part 2. Clone hard drive from bootable USB
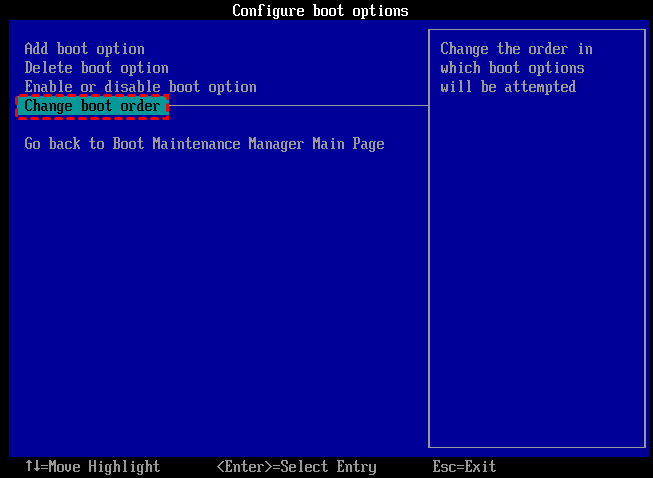
Step 1. To clone a hard drive, plug in your bootable USB into the target computer, press the functional key (usually F1, F2, Delete, or Esc) to enter the BIOS, and set the bootable USB as the boot device.
Step 2. When booting the PC, Qiling Disk Master Professional will start automatically. Click "Tools" tab page, and select "Clone Disk".
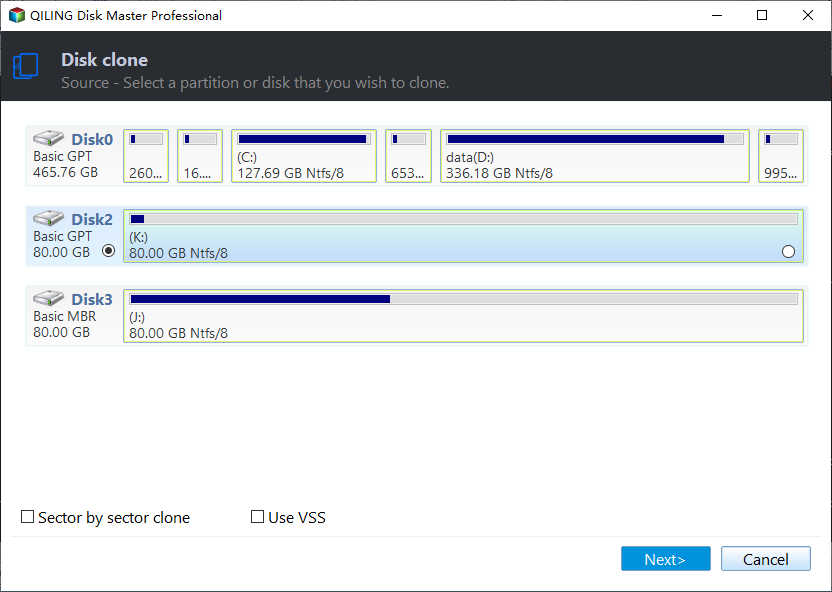
Step 3. Choose the hard disk that you need to clone as the source disk and click "Next".
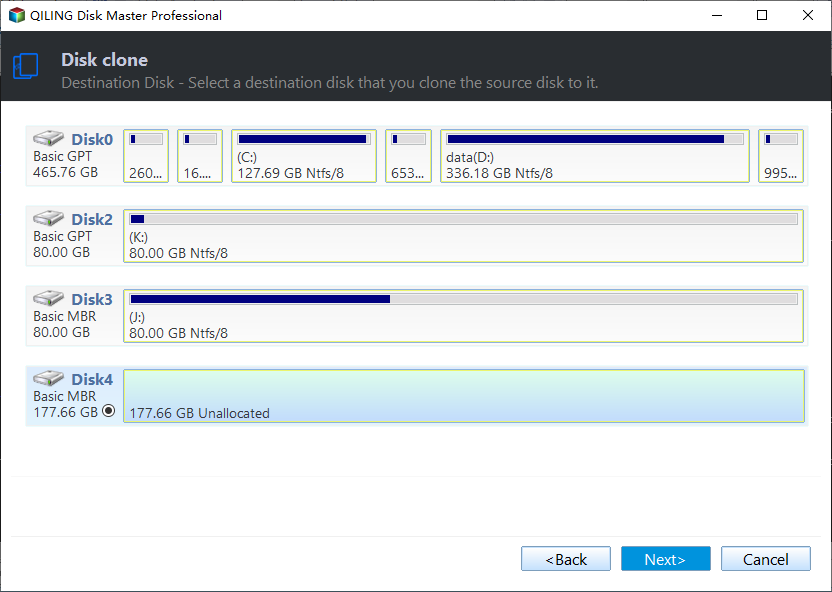
Step 4. Select another drive as the destination disk, and then click "Next".
Step 5. After selecting the clone mode, you can check the source and destination disk in the next window or change to "Sector to Sector clone". If there is no problem, click the "Confirm" button to continue.
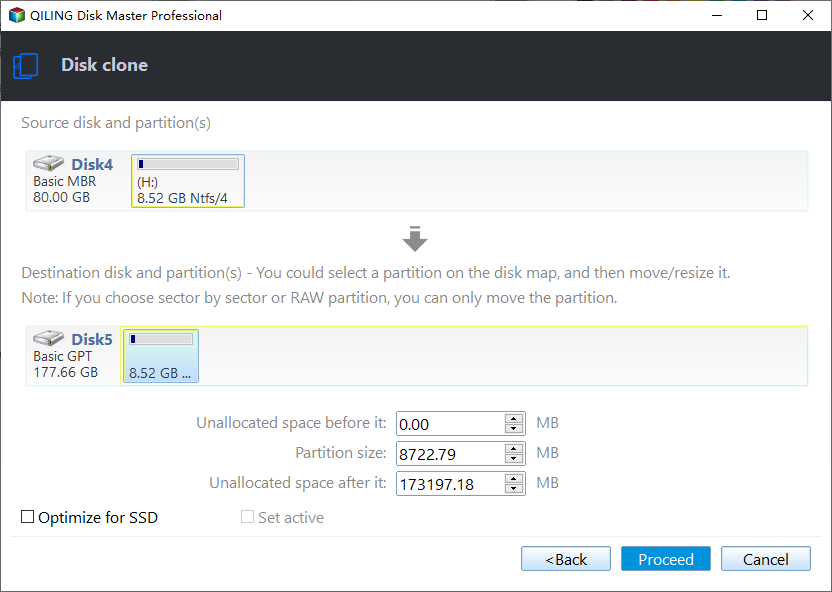
Here, you can also click the "Settings" button to adjust the partition size on the destination disk, and tick "4k alignment" to improve the reading and writing speed of the SSD, if desired.
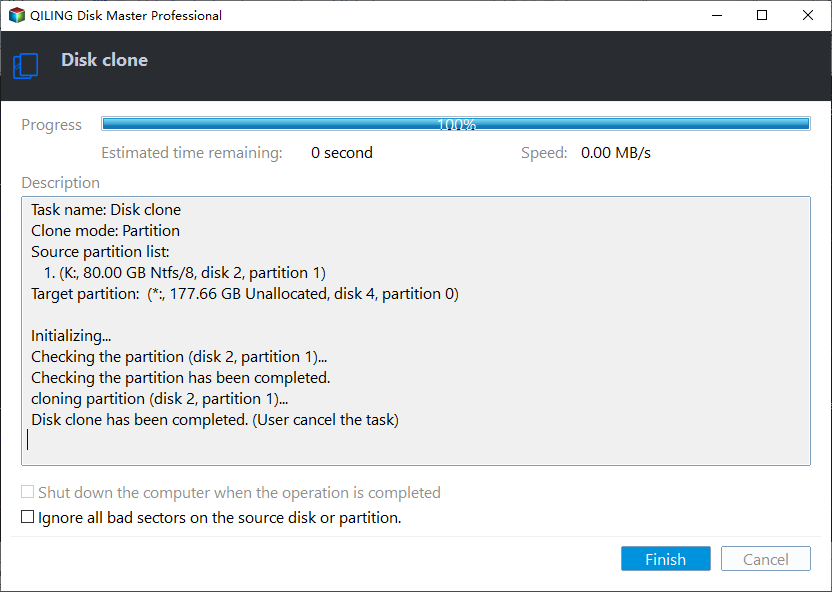
Step 6. After returning to the main interface, check the pending operation and click "Apply" and "Proceed" to commit the operation.
Conclusion
With Qiling Disk Master Professional, cloning a hard drive from a bootable USB is a breeze. The cloning process ensures that the cloned hard drive is also bootable, eliminating the risk of cloned hard drive boot failure.
Besides its main features, Qiling Partition Master offers additional features to keep partitions organized, such as transferring the OS to an SSD, extending the system drive without rebooting, and cleaning up the PC to make it run faster. It also has a version for Windows Server users called Qiling Disk Master Server.
Related Articles
- Clone Internal Hard Drive to External Hard Drive within 6 Steps
Want to clone interanl hard drive to external hard drive for backup? Refer to this post to realize how to clone internal disk to external disk in Windows 11/10/8/7. - Best Free Windows 11 USB Creator: Create Bootable Windows 11 USB Easily
The best free Windows 11 USB creator demonstrated in this post would be your best helper to create a portable Windows 11 USB drive. With it, you can enjoy Windows 11 operating system on any devices without reinstalling OS on it. - [Stepwise] How to Burn Windows 11 ISO to USB?
This passage will focus on how to burn Windows 11 ISO to USB step by step. Follow the below tutorial, you can get a portable Windows 11 bootable USB drive easily. - Super Easy | How to Install Windows After Replacing Hard Drive🔥
This is a detailed tutorial on how to install Windows after replacing hard drive. In this article, you will get how to install Windows after changing a laptop hard drive. - How to Migrate Hard Drive to SSD without Reinstalling OS?
You can migrate your hard drive to an SSD without reinstalling your operating system using Qiling Disk Master Professional, which makes the process easy and safe. - How do you Migrate OS to SSD from HDD while Keeping Files on HDD?
Learn how to migrate your Windows OS drive from a traditional HDD to an SSD while keeping your files and software on the original HDD using the reliable Qiling Disk Master tool, following a step-by-step process.