Repartition a USB Drive in Windows
Repartitioning a USB drive can fix strange capacity, remove old boot partitions, or create separate areas for files and tools. The process can erase data, so backup comes first.
Understand the problem
USB drives used for boot media often contain hidden or small partitions. Repartitioning returns the USB to a clean storage layout or prepares it for multiple uses.
- Confirm the exact disk, partition, drive letter, file system, boot mode, or Windows version before changing settings.
- Back up or recover important files before formatting, deleting, resizing, converting, reinstalling, or cleaning a drive.
- For boot or installation tasks, check BIOS or UEFI mode, disk style, boot order, and device compatibility first.
Use Windows built-in tools
Use Disk Management or DiskPart only after backup.
- Copy files from the USB drive to another disk.
- Open Disk Management and identify the USB by capacity.
- Delete old partitions only after confirming the correct disk.
- Create a new simple volume or multiple volumes as needed.
- Format with FAT32, exFAT, or NTFS based on device compatibility.
Use Qiling tools for guided steps
 Qiling Disk Master
Repartition a USB drive with a preview before creating the new layout.
Function. Back up important files before changing Windows or disk settings
Step 1. Connect an external drive or choose another safe destination with enough space for files on the USB drive.
Step 2. Open Qiling Disk Master and choose File Backup. This keeps a copy of important files before you change partitions, boot settings, cleanup options, or Windows installation files.

Step 3. In the tree control, select the files and folders that must be protected. Back up the whole USB drive before deleting or recreating partitions

Step 4. Choose another internal disk, external drive, NAS folder, or network path as the destination. Avoid saving the backup to the partition that will be changed.
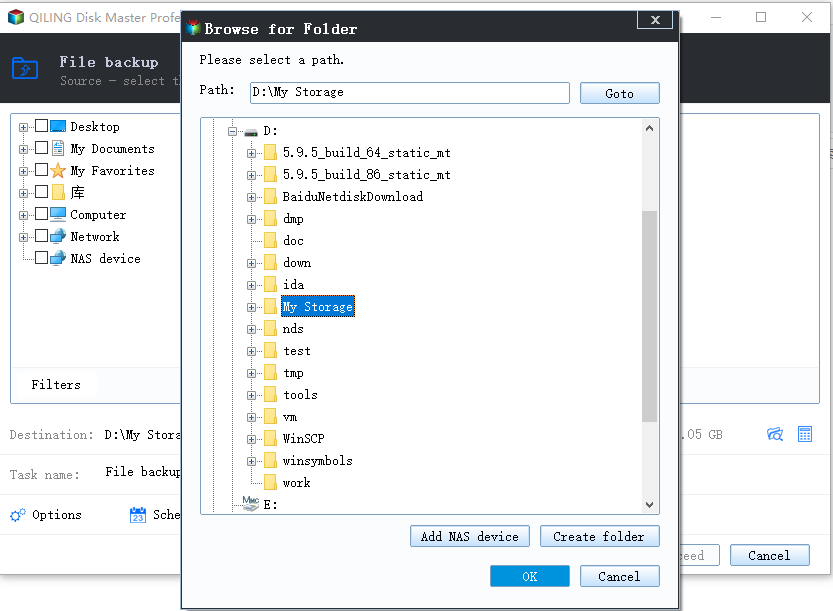
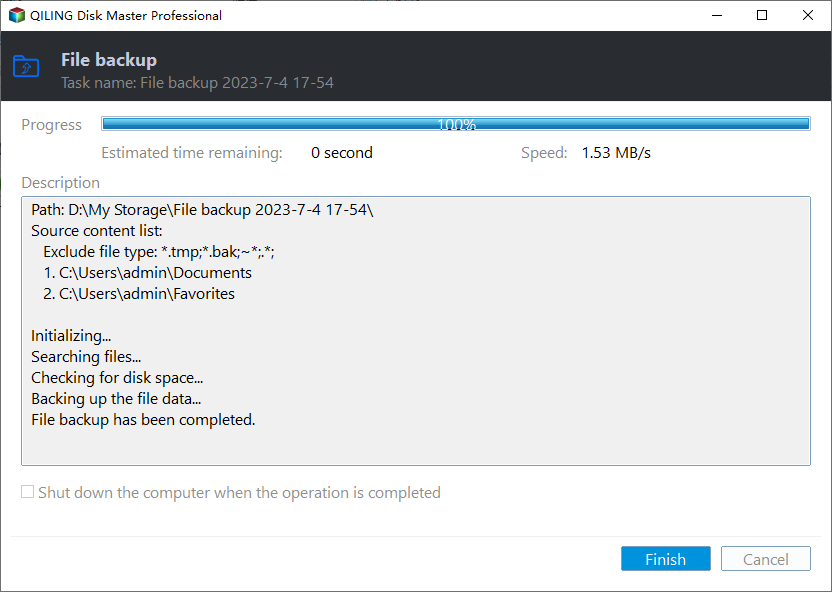
Step 5. Review the source and destination, then click Proceed. Wait until the backup completes before continuing with the repair or setup task.
Function. Create or rebuild a partition with clear settings
Step 1. Connect the USB drive and back up important files. If there is no unallocated space, shrink an existing partition first.
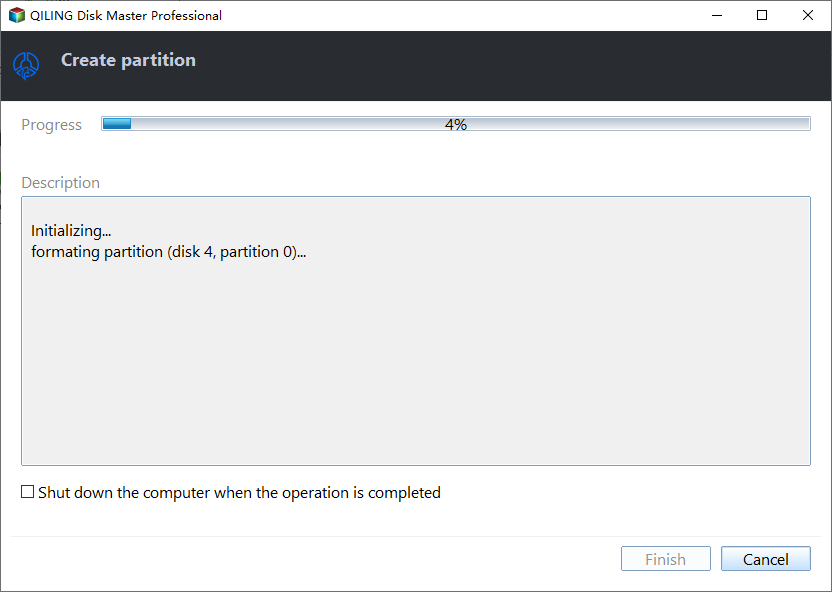
Step 2. In Qiling Disk Master, right-click the unallocated space on the USB drive and choose Create Partition.
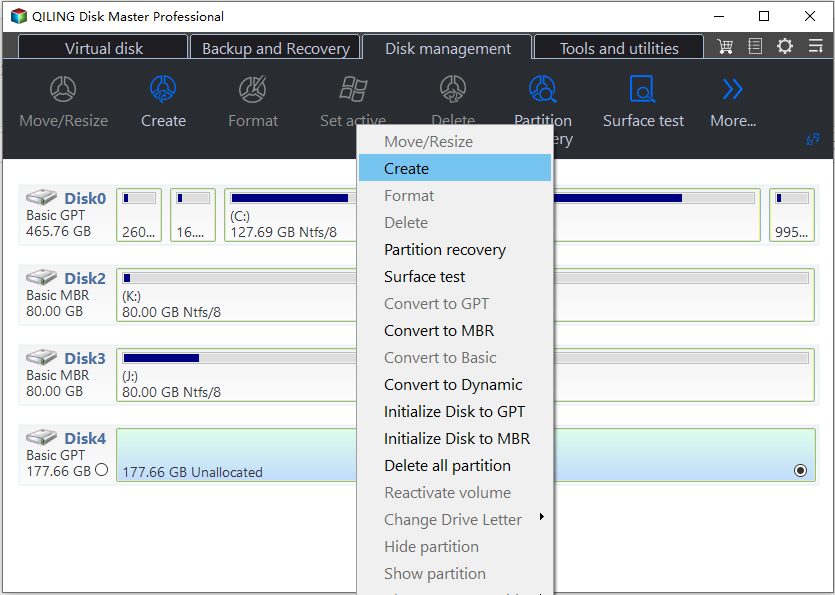
Step 3. Set the partition size, drive letter, file system, and label for separate boot files, portable tools, or ordinary storage. Use labels that make the partition easy to recognize later.
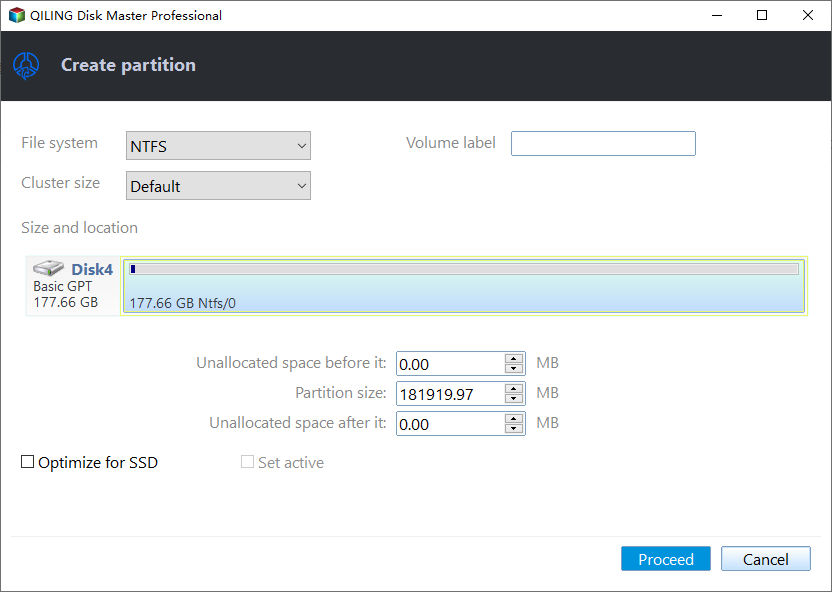
Step 4. Check the preview and click Proceed. After the task finishes, reopen File Explorer and confirm the new partition.
Check the result
Reconnect the USB drive and check that all expected partitions appear. Copy a test file to each partition.
Related Articles
-
Partition USB Drive
Create practical USB partitions for storage, boot files, or tools. -
Create Multiple USB Partitions
Divide a USB drive into multiple partitions with a clear plan.
Products
Articles & Tutorials
- Data Recovery
- Data Backup
- File Recovery
- File Backup
- File synchronize
- System Backup and Restore
- Disk and Partition Clone
- Technical articles
- Disk Master Help
- Windows Deleted File and Disk Recovery Tutorials
- Windows File and Data Recovery Tutorials
- More Windows Tutorials for Install, Security, Files, and PC Tips
- Windows Boot, Repair, and Recovery Environment Tutorials
- Windows Backup Tutorials
- Windows Restore Tutorials
- Windows Clone and Migration Tutorials
- Windows Server Backup, Recovery, and Management Tutorials
- Windows Disk, Partition, and Storage Management Tutorials