Seagate MBR Repair Tool: Fix a Damaged Seagate MBR
A damaged master boot record can stop Windows from starting when the Seagate drive is the boot disk. If it is only a data drive, recover accessible files and check the disk before attempting boot repair.
Before repairing a Seagate MBR
- Confirm the Seagate disk is the Windows boot disk, not an external data disk.
- Back up files if Windows can still start or use recovery software when needed.
- Check cables and SMART health; replace a failing disk before relying on it.
Repair MBR from Windows Recovery
Step 1. Start from Windows installation or recovery media and choose Repair your computer > Troubleshoot > Command Prompt.
Step 2. Run bootrec /fixmbr, then run bootrec /fixboot when appropriate for the boot configuration.
Step 3. Run bootrec /scanos and bootrec /rebuildbcd to search for Windows installations and rebuild boot entries.
Step 4. Restart without the recovery media. If Windows still cannot start, verify the boot order and partition style before repeating repair.
Repair Seagate MBR with Qiling Disk Master
 Qiling Disk Master
Create bootable media and repair boot records when Windows cannot start from the Seagate disk.
Step 1. Install Qiling Disk Master on a working Windows computer and connect an empty USB drive.
Step 2. Open Tools and choose Create Bootable Media.
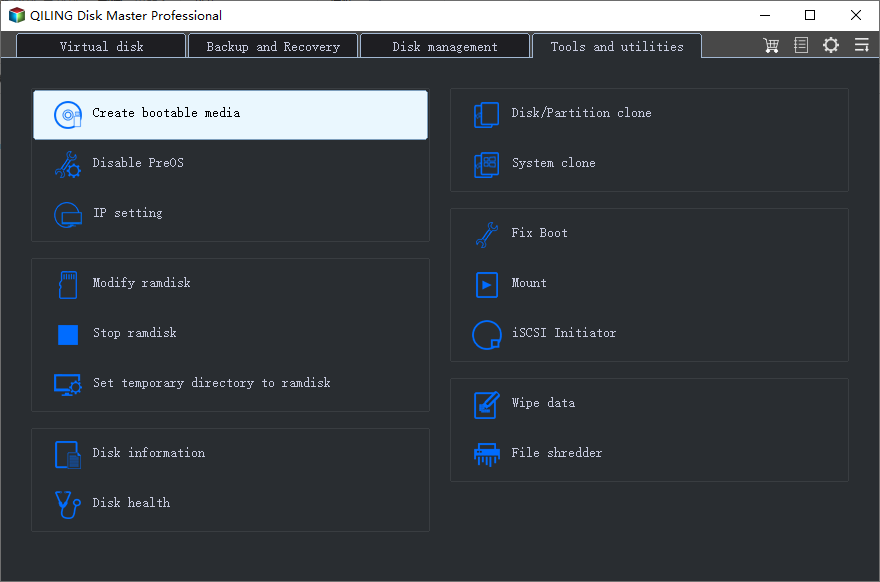
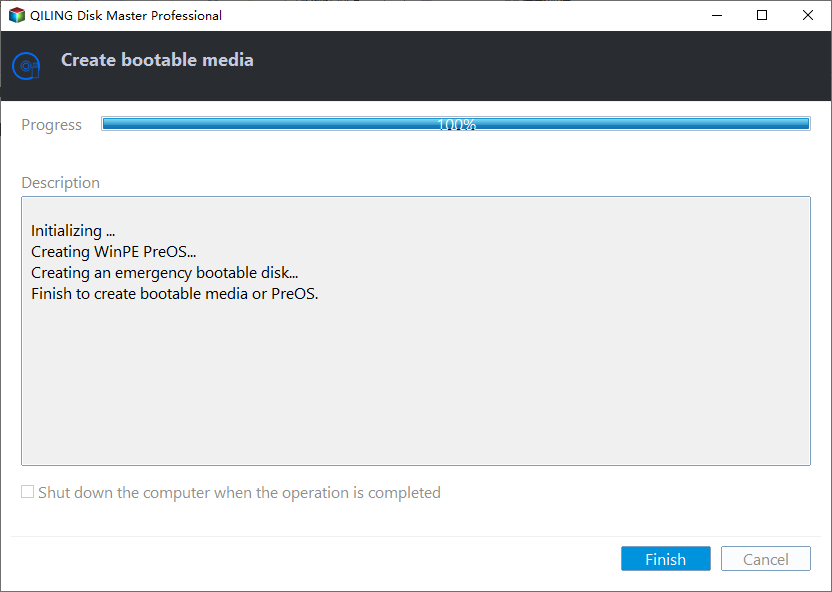
Step 3. Select USB Boot Device, choose the connected USB drive, and create the WinPE bootable media.
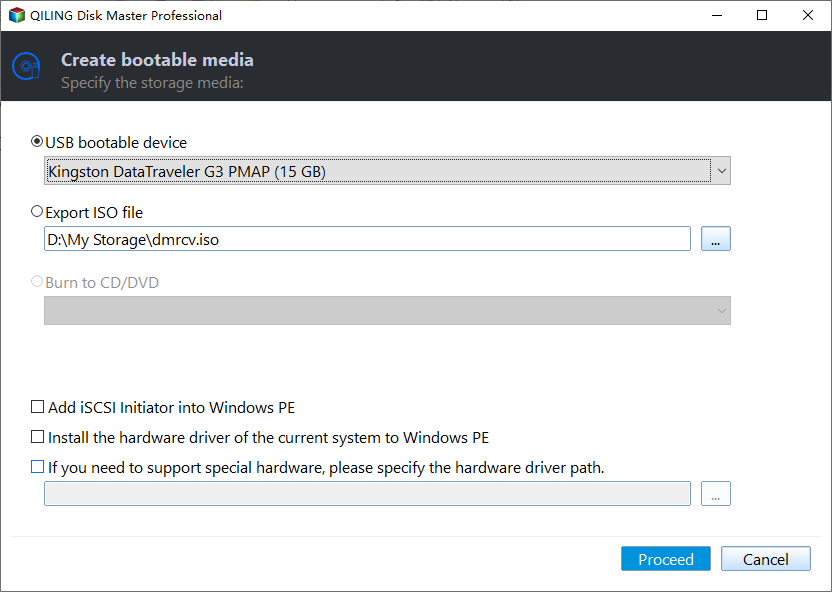
Step 4. Boot the problem computer from the USB media and identify the Seagate system disk by capacity and disk number.
Step 5. Choose the MBR repair function, select the Windows version installed on the disk, and confirm the operation.
Step 6. Click Proceed. After completion, remove the USB drive and restart from the repaired Seagate disk.
Protect the disk after repair
Create a system backup once Windows starts. If the Seagate drive reports errors, disconnects, or makes unusual noises, copy data to a replacement drive rather than repeatedly repairing it.
Related Articles
-
Repair Windows Server 2019 UEFI Boot
Rebuild EFI boot files and prepare recovery media for a server that cannot start. -
Fix Windows Server 2012 R2 Boot Loop
Repair boot files, check disk status, or restore a system image when Server 2012 R2 keeps restarting.
Products
Articles & Tutorials
- Data Recovery
- Data Backup
- File Recovery
- File Backup
- File synchronize
- System Backup and Restore
- Disk and Partition Clone
- Technical articles
- Disk Master Help
- Windows Deleted File and Disk Recovery Tutorials
- Windows File and Data Recovery Tutorials
- More Windows Tutorials for Install, Security, Files, and PC Tips
- Windows Boot, Repair, and Recovery Environment Tutorials
- Windows Backup Tutorials
- Windows Restore Tutorials
- Windows Clone and Migration Tutorials
- Windows Server Backup, Recovery, and Management Tutorials
- Windows Disk, Partition, and Storage Management Tutorials