Repair Windows Server 2019 UEFI Boot
Windows Server 2019 may fail to boot after firmware changes, disk cloning, interrupted updates, EFI partition damage, or incorrect boot order. For a UEFI system, the EFI System Partition and BCD store must be valid before Windows can start.
Check basic boot settings first
- Confirm the system disk is detected in firmware.
- Make sure UEFI mode is enabled if Windows was installed in UEFI mode.
- Place Windows Boot Manager before other disks in the boot order.
- Disconnect unnecessary external drives while troubleshooting.
Repair UEFI boot files with Windows recovery media
Step 1. Boot the server from Windows Server installation or recovery media.
Step 2. Choose Repair your computer, then open Command Prompt from the recovery options.
Step 3. Run diskpart, then use list disk, sel disk 0, and list vol to identify the EFI partition. It is usually FAT32 and around 100 MB to 300 MB.
Step 4. Assign a temporary letter with commands similar to sel vol 2 and assign letter=S:. Replace the volume number with the actual EFI volume.
Step 5. Exit DiskPart and rebuild boot files with bcdboot C:\Windows /s S: /f UEFI. If Windows is not on C: in recovery mode, use the correct drive letter.
Step 6. Restart the server and remove the recovery media. Check that Windows Boot Manager is the first boot option.
Create a recovery backup after repair
 Qiling Disk Master Server
Create a system image and bootable media after UEFI boot repair so the server can be restored quickly later.
Step 1. After the server starts, open Qiling Disk Master Server and choose System Backup.
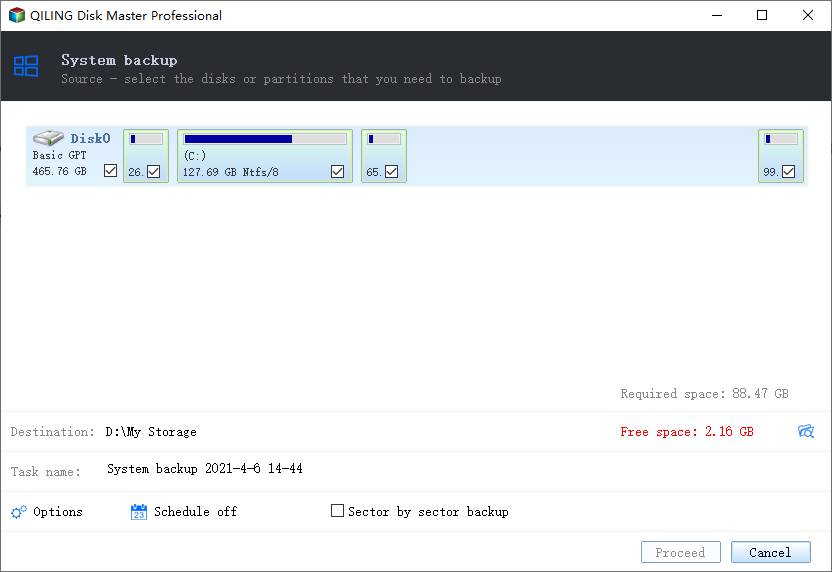
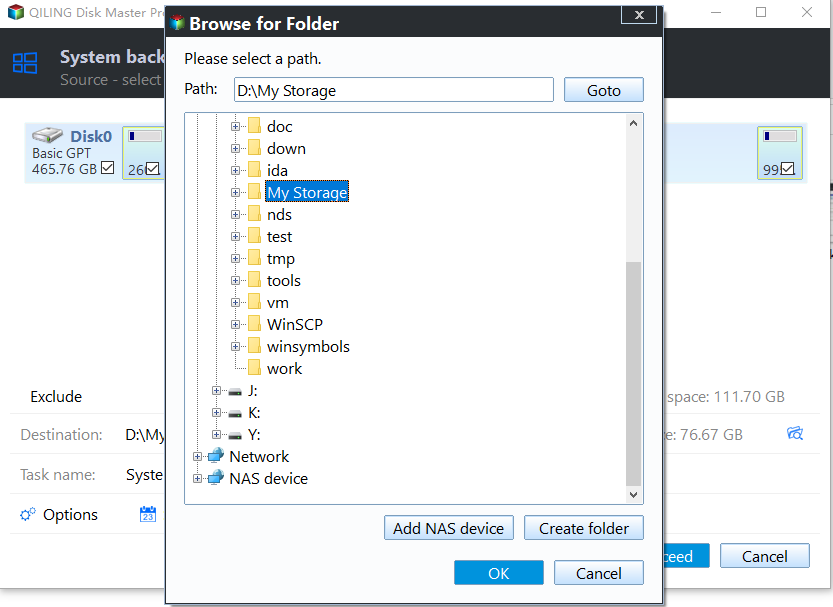
Step 2. Confirm the boot and system partitions selected by the program, then choose a separate disk or network location as the destination.
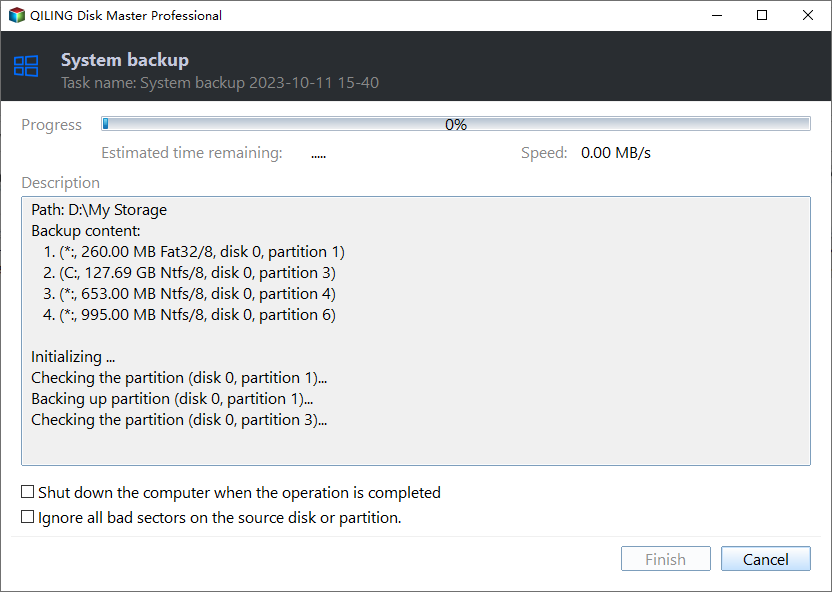
Step 3. Click Proceed to create the system image.
Step 4. Open Tools and choose Create Bootable Media to prepare a recovery USB for offline restore.
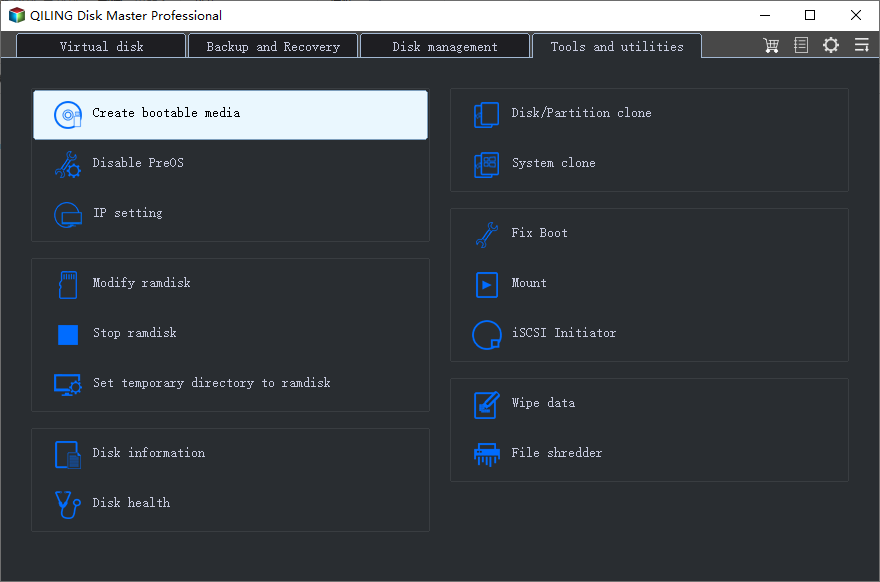
Step 5. Store the bootable USB and backup location notes together so the server can be restored quickly if boot files fail again.
Conclusion
UEFI boot repair usually requires confirming firmware mode, assigning the EFI partition, and rebuilding boot files with BCDBoot. Once the server starts, create a tested recovery backup to reduce future downtime.
Related Articles
-
Fix Windows Server 2012 R2 Boot Loop
Repair startup loops with Safe Mode, boot commands, or a verified server backup image. -
Windows Server 2012 Boot BCD Error
Fix BCD-related startup errors and prepare recovery media for server boot repair.
Products
Articles & Tutorials
- Data Recovery
- Data Backup
- File Recovery
- File Backup
- File synchronize
- System Backup and Restore
- Disk and Partition Clone
- Technical articles
- Disk Master Help
- Windows Deleted File and Disk Recovery Tutorials
- Windows File and Data Recovery Tutorials
- More Windows Tutorials for Install, Security, Files, and PC Tips
- Windows Boot, Repair, and Recovery Environment Tutorials
- Windows Backup Tutorials
- Windows Restore Tutorials
- Windows Clone and Migration Tutorials
- Windows Server Backup, Recovery, and Management Tutorials
- Windows Disk, Partition, and Storage Management Tutorials