How to Create Acer eRecovery Management USB or Similar Disk
What Is Acer eRecovery Management USB?
Acer eRecovery Management USB is a device that contains the image file of an operating system created by Acer eRecovery Management software. Not only can it be used to create an Acer eRecovery disc with a CD/DVD, but it also serves as a backup device for the operating system image.
If you make a backup before accidents happen, you can use it to quickly restore your system when it crashes due to something bad, such as a hijack/virus attack, wrong operation, physical disk damage, or software error.

How to Make Acer eRecovery Management USB
To create a USB recovery drive, prepare a USB flash drive large enough to hold your system image, then insert it into your computer.
Step 1. Click the "Start" > "All Apps" > "Acer folder" > "Acer Recovery Management" to access Acer eRecovery Management.
Step 2. Click the "Backup" tab and "Create Factory Default Backup" link.
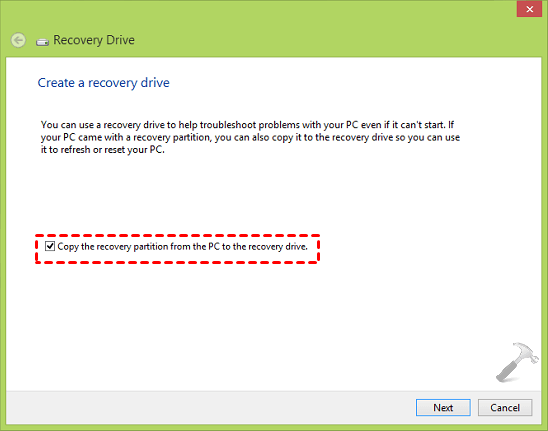
Step 3. In the Create a recovery drive page, make sure the option "Copy the recovery partition from the PC to the recovery drive" is checked and click Next.
Step 4. To create a Windows Recovery Drive, select the drive you want to use and click "Next". Note that this will erase everything on the selected USB drive, so make sure it's empty or back up any important data before proceeding.
Step 5. To confirm the operation and create an Acer eRecovery Management USB drive, click the "Create" button after waiting patiently for about 30 minutes.
Easier Way to Create Boot Disk for Acer
Acer's eRecovery Management boot disk is a useful tool for backing up and restoring computers, but the company no longer supports or updates it, making it difficult to find information about the software. The eRecovery Media is the only available resource.
To enjoy a better user experience or advanced features, consider using a third-party software like Qiling Disk Master for system backup and recovery. This allows you to create a system image with everything as Acer eRecovery USB, saving it to a recovery partition or other devices like USB, external disks, CDs, or DVDs, and scheduling daily, weekly, or monthly backups to keep your computer up-to-date.
To start the process, install and launch Qiling Disk Master. In its main interface, select the "OneKey System Backup" option.

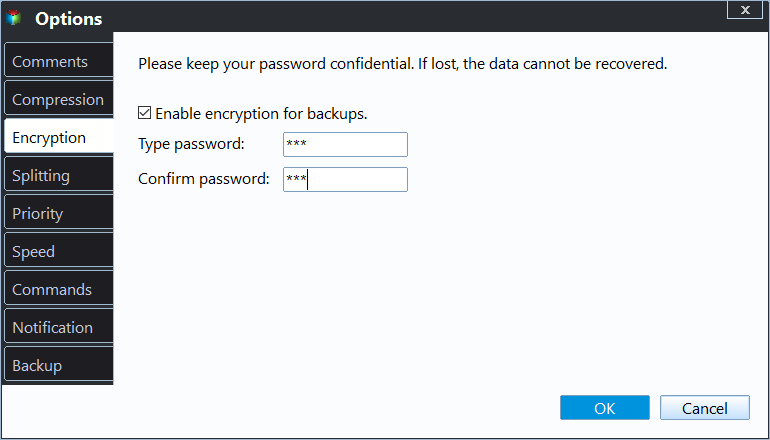
Step 2. You can compress and encrypt backup image file by clicking "Backup Options" in the interface below.
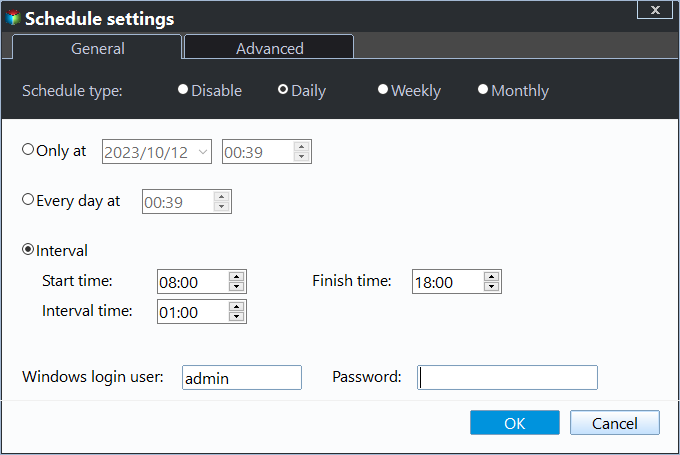
Additionally, you can schedule backups for this task using the Scheduler, ensuring your computer includes all newly installed programs or stored data since the last backup.
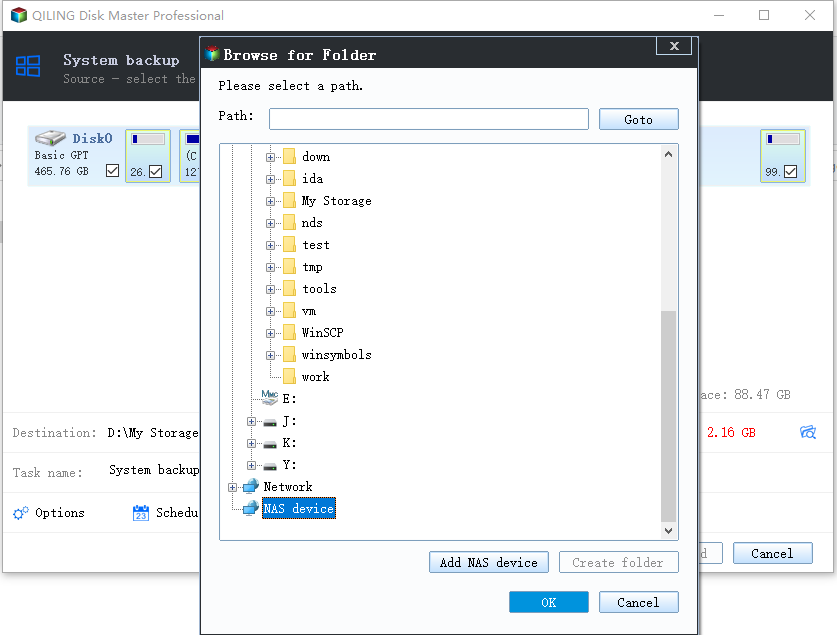
Step 3. To create an Acer boot disk, click "Browse" to find and select your USB device as the backup destination, and then click "Proceed".
The software creates a recovery partition on the system disk, enabling booting from F11, a recovery disk, or boot menu at startup. It allows users to specify the name and location of the recovery partition by clicking "Advanced" in the lower left corner.
Summary
Acer eRecovery Management USB is a device that allows you to restore or factory reset your computer, containing everything on the system partition. However, the software used to create such disks is no longer maintained or upgraded by Acer.
It's recommended to use third-party software like Qiling Disk Master for system backup and recovery, as it's safer, more compatible, and feature-rich. This software allows you to backup your system to a hidden recovery partition or other locations, such as a USB drive, and can be set to run automatically. For advanced users, the Technician or Customization edition may be suitable.
Related Articles
- Acer eRecovery Management Missing Fixed [2 Ways]
How to fix Acer eRecovery Management missing problem in Windows 7, 8, 10? This essay will fix acer erecovery management is missing problem with 2 simple solutions. - How to use Acer eRecovery Management in Windows 7
Acer eRecovery Management in Windows 7 is to help to backup operating system in case of accidents and restore system back after accident happens. - Backup and Restore with Acer Recovery Management in Windows 10
This article will show you how to backup and restore with Acer Recovery Management in Windows 10. With a backup in hand, you can restore Acer to a good state. - Stop Using Qiling Disk Master Crack, Activate with Official License Code [Latest]
Stop trying Qiling Disk Master crack, keygen, or serial numbers. Free download Qiling Disk Master 6.0 with office license code to transfer system, files, programs, settings between Windows and move local applications between local hard drives. - [7 Solutions] How Do I Backup Computer to Cloud? Here Is the Complete Guide
Backing up your computer to the cloud has become increasingly popular, allowing you to free up local disk space and protect your data from potential loss due to hard drive failure, OS crashes, or other issues. To help you achieve this, we've compiled a list of 7 cloud backup solutions that you can... - How to Backup Data from Hard Drive without OS in 3 Ways
If your Windows OS is corrupted and can't boot anymore, you can try to format the internal hard drive and reinstall OS to make your computer work normally. However, before doing so, it's essential to back up the data stored in the hard drive to prevent losing any important files. Fortunately...