Acer Completely Restore Operating System to Factory Default Settings
What Is Acer Restore Factory Settings?
Acer restore to factory settings is a process that completely recovers the Windows operating system on an Acer computer to its original factory default settings. After restoration, the OS appears as it did when you first got the machine from the store, with all personal settings, saved data, and downloaded applications erased. The process will then prompt you to set up your personal customization as if you were doing it for the first time.
Why Need Acer Restore Factory Default?
In daily computer usage, restoring the system to factory default settings is unnecessary and will erase important information, so it's not required unless the computer is in good condition. However, there are situations where restoring the operating system to its factory defaults is necessary, such as when the computer is malfunctioning, experiencing frequent crashes, or has been compromised by malware, in which case restoring the system to its original settings can help resolve the issue.
- The system failed to boot up due to a hacker/virus/malware attack, incorrect operation, or accidental deletion, resulting in a system crash.
- The system has become slow over time due to accumulated data and low disk space on the system partition, leading to performance issues.
- OS loses some functions under the influence of Trojan.
- Cannot log into machine and stuck in blue or black screen.
- Just want to refresh the computer and make a new start.
How to Completely Restore System to Factory Defaults Acer?
✅Solution One: Acer Restore Factory Settings with Acer eRecovery Management
Note: The steps below are based on Acer eRecovery Management for Windows 7, but similar processes can be followed for other Windows operating systems. To start the recovery process, go to the Start menu and click on "All Programs," then select "Acer eRecovery Management." From there, you can choose to restore your system to its default settings, create a backup, or restore from a backup.
1. If you can still boot into Windows, access Acer eRecovery Management by going to "Start – All Programs – Acer eRecovery Management". Alternatively, press "Alt + F10" when powering on the machine to access the recovery software if you can't boot into Windows.
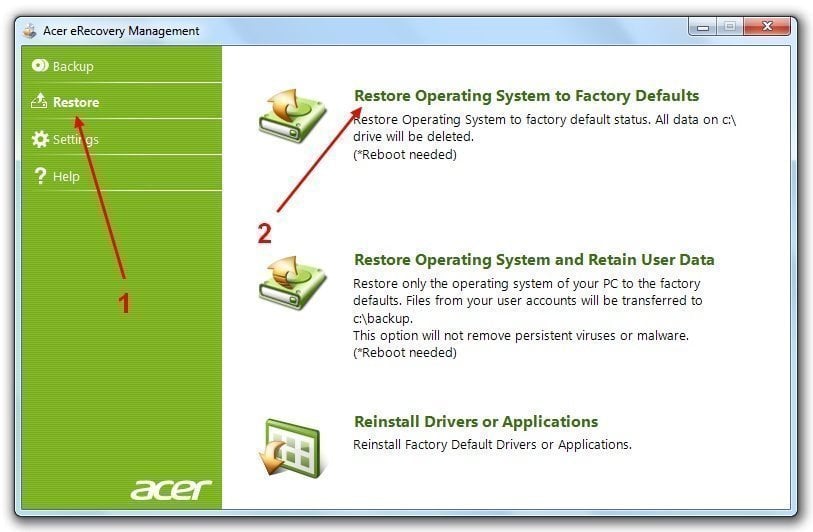
2. In the main window of Acer eRecovery Management, choose "Restore" and then "Completely Restore System to Factory Defaults".
3. Select "Yes" and click "Start".

4. I will make sure that the data is not overwritten. I will click "OK" to confirm.

5. The computer will restart and a notice screen will appear, prompting you to click "Next" to continue after reading it carefully.
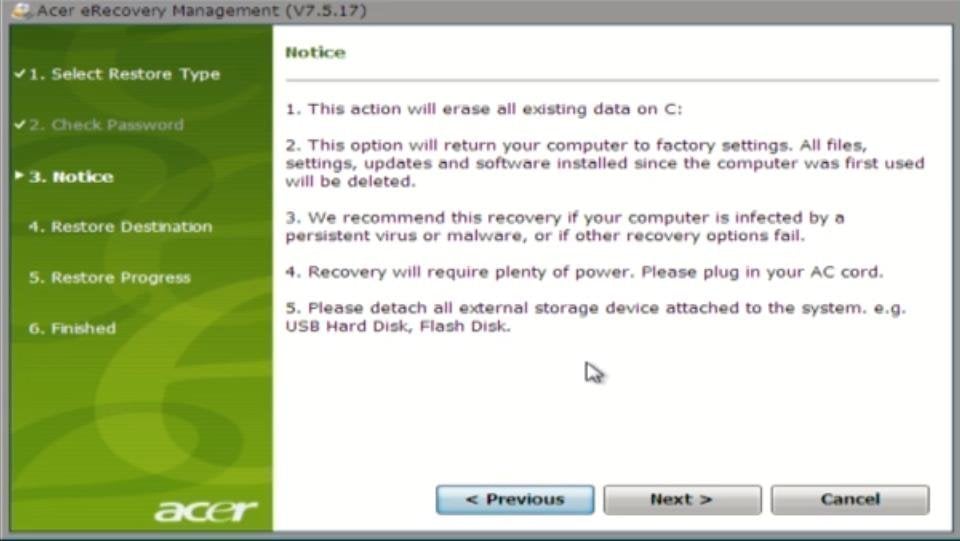
Note: If you have important data on your computer that you haven't backed up, do it now.
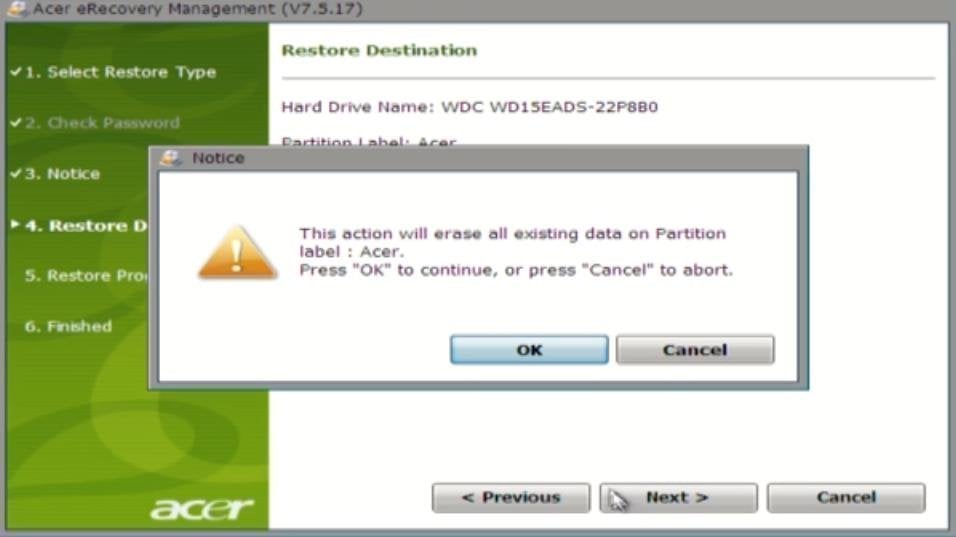
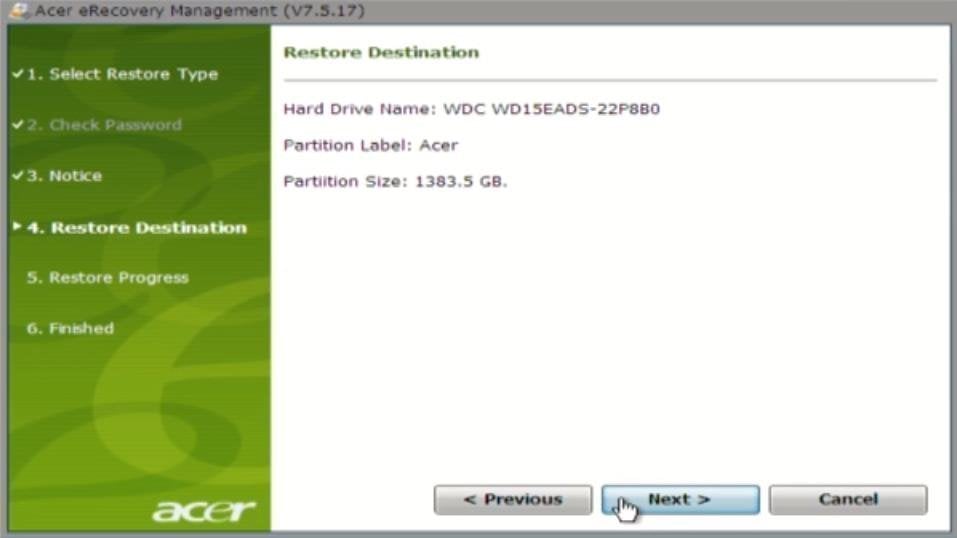
6. The final confirmation will appear, and you'll need to click "OK" to initiate the Acer Restore factory settings process.
7. Acer restore to factory settings is a process that allows users to reset their Acer computer to its original factory settings, erasing all installed software, user data, and settings. This process is typically used to troubleshoot issues, remove malware, or sell the computer.
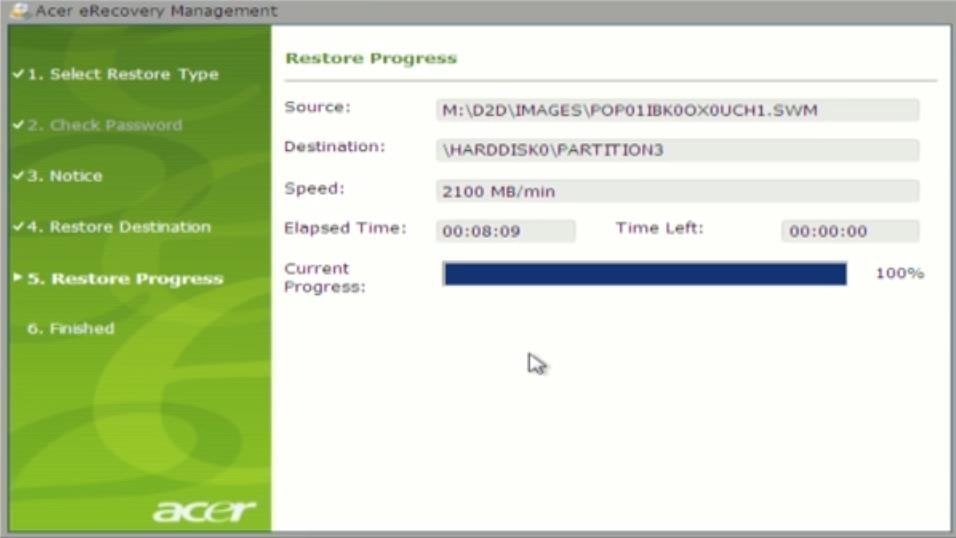
8. The Acer Restore Factory Default process will display its progress, showing you the steps being taken to restore the computer to its original factory settings.
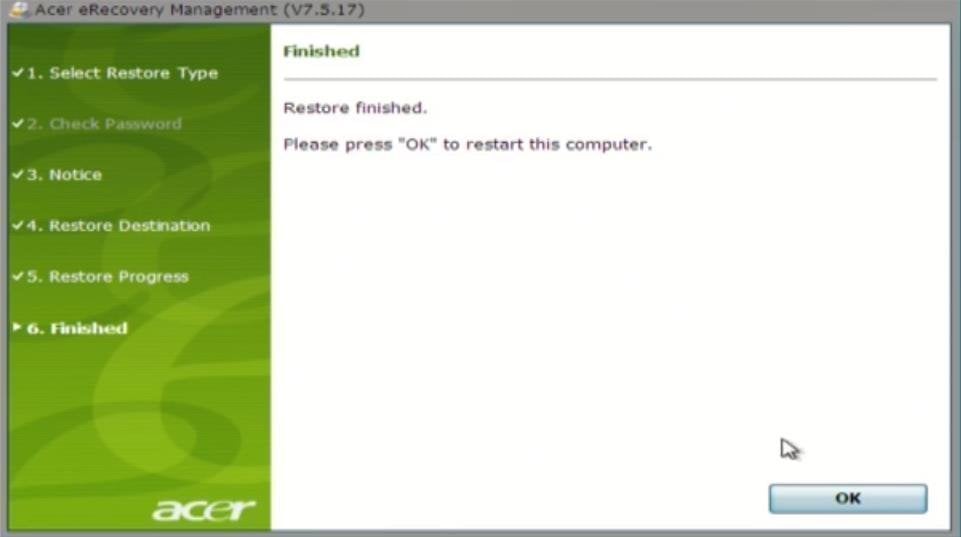
9. After completing the restoration process, click "OK" to allow the computer to restart. Once it finishes, it will restart again to finalize the Windows setup process.
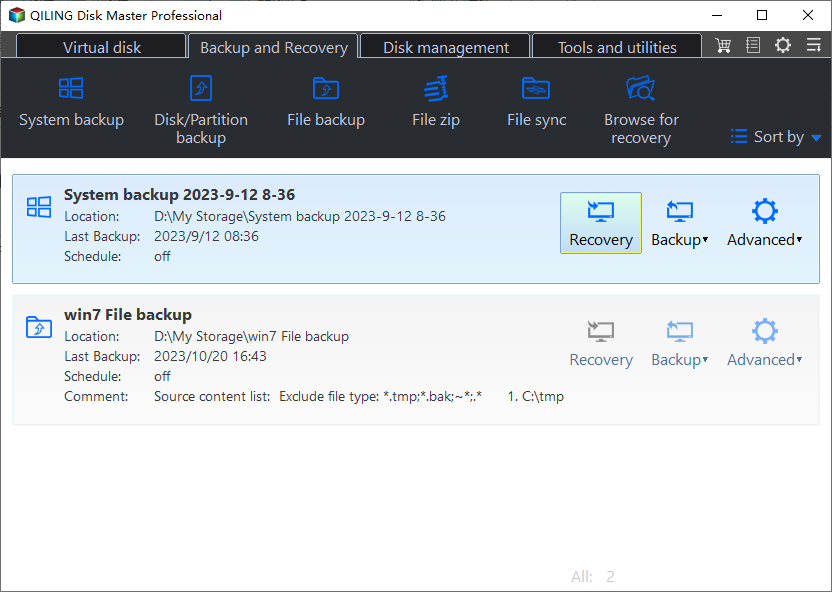
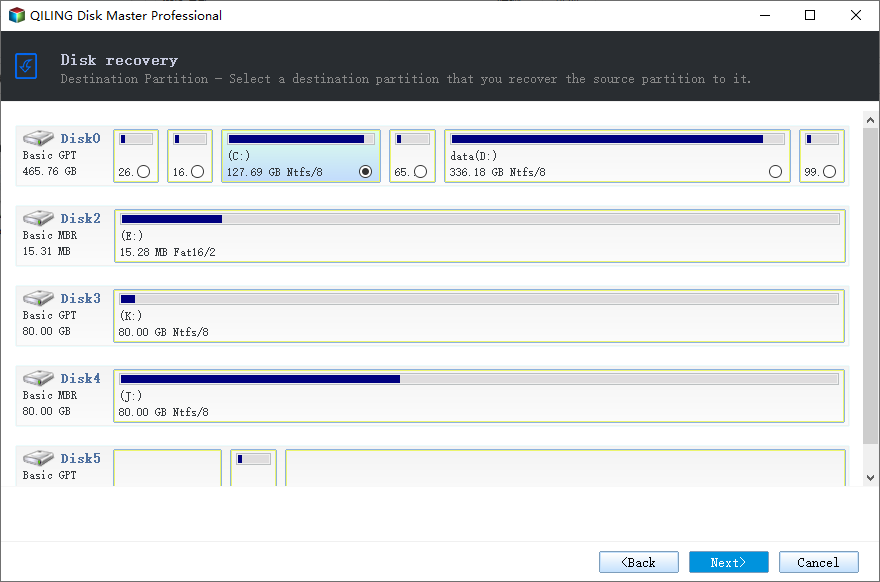
✅Solution Two: Acer Restore Factory Settings with Qiling Disk Master
Qiling Disk Master is a professional and safe system backup and restore tool for computers of any brand, including Acer, Lenovo, HP, Dell, Toshiba, Sony, Samsung, and Asus.
Note: To restore Acer to factory settings, first create a recovery media (partition or USB) before system crashes occur, and do it immediately if you can still boot into the system now.
1. To access OneKey Recovery, find and open it in Windows. Alternatively, when starting the computer outside of Windows, press "F11" or "A" (depending on your settings when creating the recovery device) to automatically open OneKey Recovery.
2. In its main interface, choose "OneKey System Recovery".
3. You can select from where to restore, either the Master Partition of Qiling Disk or a system image file.
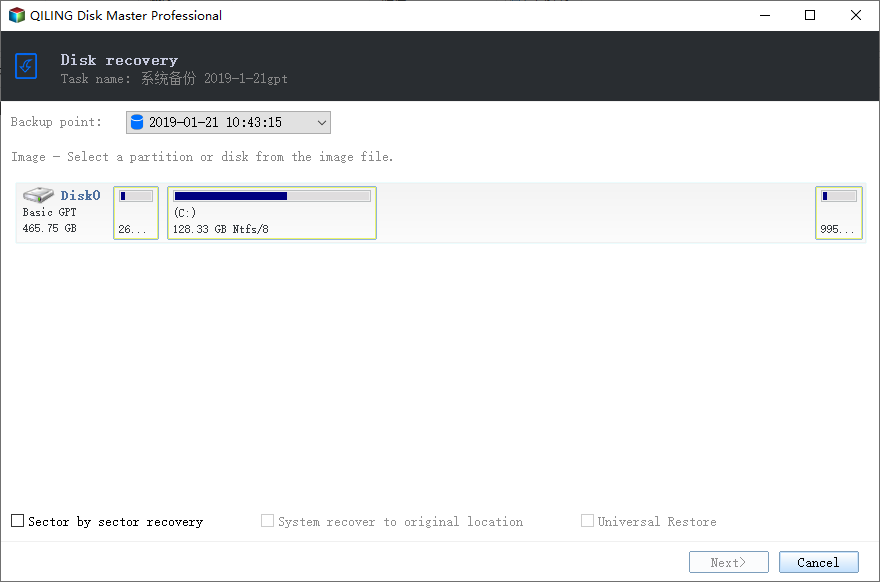
4. Confirm the restoration result by clicking "Proceed".
5. When the process finishes, it will restart several times to completely restore Acer's factory settings, similar to the eRecovery process.
If Acer eRecovery Management is unavailable for some reason, you can rely on Qiling Disk Master or onekey recovery, both of which are excellent system recovery software.
- Acer eRecovery hard drive configuration is not set
- Acer eRecovery Management cannot install bootable file
Related Articles
- Use Acer Restore Key (Alt + F10) for Factory Reset
You will learn what is Acer restore key and how to use it for factory reset. Besides, you still can use Acer eRecovery Management. - How to Do a System Restore on Acer Laptop (Windows 7/8/10)
How to do a system restore on Acer laptop in Windows 7/8/10? This guide will show you two efficient methods to make it. - How to Perform Acer Aspire Recovery in Windows 10, 8, 7
Would you like to restore Acer Aspire to factory settings? Normally you can do it with the built-in recovery management. But if it fails, here's an alternative. - Samsung Data Migration Software Download and Perform
If you want to move your HDD or SSD to a Samsung SSD, Samsung data migration software download is an easy-to-use and efficient utility. However, it also has some restrictions. If you want a program to not only use on samsung products, this guide will introduce a free alternative to help you. - [3 Effective Tips] How to Backup Firefox Bookmarks
This post will show three ways to backup Firefox bookmarks, including exporting Firefox bookmarks to HTML files, syncing the Firefox browser on different devices, and using a professional backup tool to save a copy of Firefox bookmarks. Read on to learn the pros and cons of each of the three meth... - [Handy & Fast] How to Backup Google Drive to Another Google Drive in 3 Ways
How do I backup Google Drive to another Google Drive? This article describes three ways to back up Google Drive to another Google Drive, including using Qiling Backup and Google Drive built-in feature.