Full Guide: Clone C Drive Server 2022 and Boot from Destination Disk Successfully
- What's new in Server 2022?
- When need to clone C drive in Server 2022?
- Preliminary work for cloning Server 2022 system drive
- Start cloning C drive in Server 2022 step by step
- Follow-up work
What's new in Server 2022?
Microsoft officially launched Windows Server 2022 on August 18, 2021, built on the foundation of Windows Server 2019, and featuring innovations in areas such as security, performance, and hybrid capabilities.
✦Advanced multi-layer security
The Windows Server 2022 offers advanced multi-layer security, providing defense-in-depth protection against sophisticated threats, which is a significant benefit for most businesses worldwide.
✦Hardware Improvements
Windows Server 2022 has been improved to support the highest server hardware limitations, with capabilities to support up to 48 terabytes of memory and 2,048 logical cores running on 64 physical sockets.
✦Firmware protection
Firmware executes with high privileges and is potentially vulnerable to threats and attacks, but Server 2022's secured-core server processors support measurement and verification of boot processes with DRTM and DMA, effectively preventing cyber attacks.

When need to clone C drive in Server 2022?
In Windows Server 2022, users can clone the C drive for various reasons, including upgrading to a faster SSD to improve performance, expanding storage space by moving to a larger disk, or backing up the OS to a new disk before an old one fails.
Preliminary work for cloning Server 2022 system drive
Before cloning a system drive in Windows Server 2022 or other Server OSes like 2019, 2016, 2012, 2008, or 2003, it's essential to take several important steps beforehand.
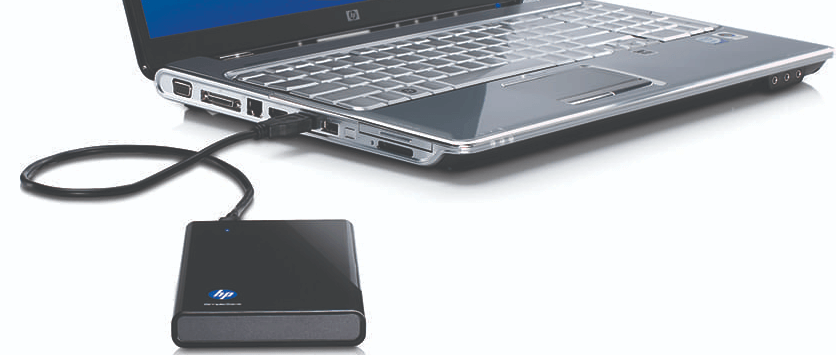
1. Connect the destination disk to your computer
Connect the destination hard drive to your computer, making sure it's detected successfully. If using a desktop, install it internally. For laptops with only one drive bay, use an external SATA-to-USB adapter, dock, or enclosure to connect the disk.
2. Check out the available free space of the destination drive
To clone C drive Server 2022, the destination hard disk needs a large enough unallocated space to hold all contents in the Server 2022 system partition, if not, you need to free up unallocated space or shrink the C drive on the source disk to fit into it.
3. Make sure the constant power supply
Cloning a system drive on a laptop requires a stable power supply to avoid data loss in case of a power failure during the process. This is crucial to ensure a successful and safe cloning operation.
4. Check the boot mode the computer's motherboard supports
When cloning a Windows Server C drive from an MBR disk to a GPT disk, or vice versa, ensure the motherboard supports UEFI boot mode or Legacy BIOS boot mode. If changing from Legacy to UEFI or vice versa is required, update the boot mode accordingly.
5. Find a reliable Server cloning tool
To clone the C drive in Windows Server, the key step is to use a professional cloning software that can safely transfer the system partition from one disk to another, making the cloned disk bootable as well.
The Qiling Disk Master Server is a perfect tool that works seamlessly on all Windows Server operating systems, including Server 2022, and all Windows PCs, including the latest Windows 11. Its "Migrate OS to SSD Wizard" feature allows for cloning system-related partitions from one hard drive to another (SSD or HDD), enabling successful booting from the destination disk after cloning. Additionally, it supports OS drive cloning from MBR to GPT, GPT to MBR, MBR to MBR, or GPT to GPT disk.
Start cloning C drive in Server 2022 step by step
Once everything above is verified and done, you can download the Qiling Disk Master Server Demo and try it out.
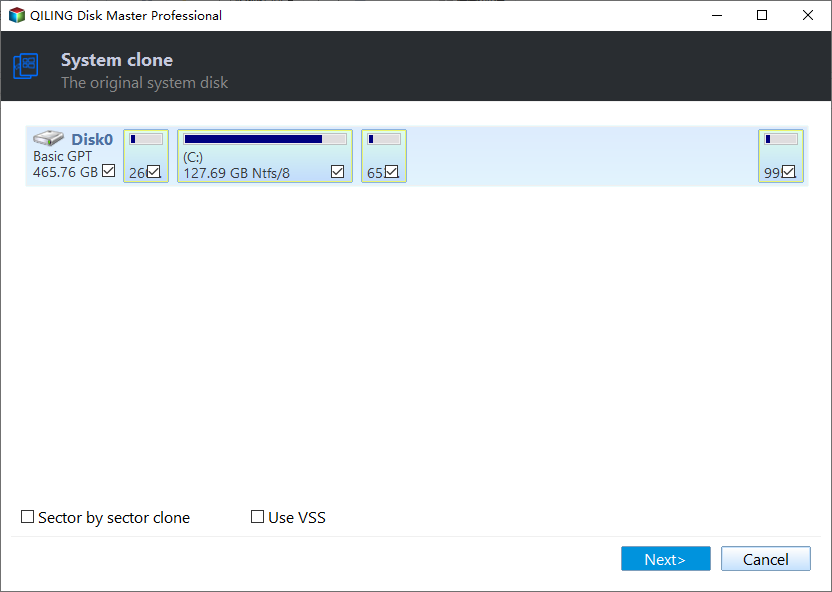
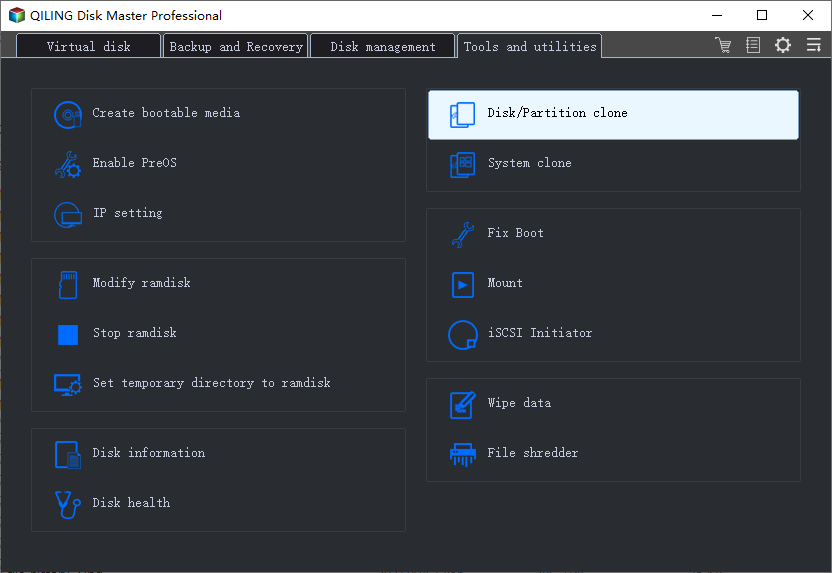
Step 1. Install and launch Qiling Disk Master Server. Click "Tools" in the top toolbar, and choose "System Clone", click "Next".
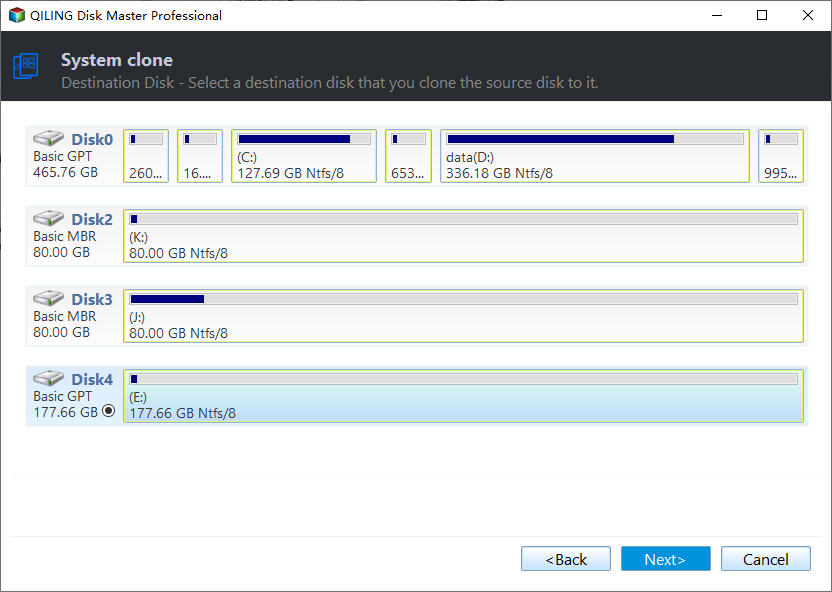
Step 2. Choose an unallocated space on the destination disk and click "Next" button.
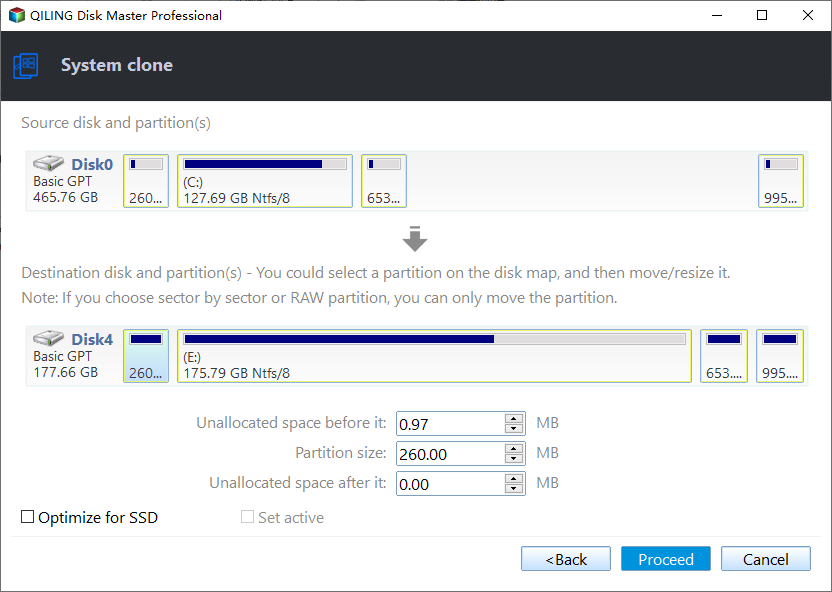
Step 3. Here you can adjust the system partition on the new disk as you need. Then, click "Next" button.
Step 4. Here is a note about how to boot from the cloned disk. Read it carefully if necessary.
Step 5. Click "Apply" and "Proceed" to commit the pending operation.
Cloning the C drive in Windows Server 2022, 2019, 2016, 2012 (R2), 2008 (R2) to a different hard drive can be done in just five steps, and it also enables the cloning of the whole server disk to another one via the "Disk Clone Wizard".
Follow-up work
When cloning the Windows Server 2022 C drive to an SSD or HDD using the "Migrate OS to SSD Wizard" or "Disk Clone Wizard", you need to follow these steps to boot from the destination drive.
Step 1. To replace the original drive with the new boot disk, shut down your computer, locate the existing boot drive, carefully remove it, and connect the new drive to the system.
Step 2. Restart PC, press F2/F8/F11, Del key or other keys (depending on the motherboard manufacturer) to enter the BIOS screen.
Step 3. To set the cloned disk as the boot drive, go to the boot section in the BIOS settings, select the cloned disk as the boot drive, save the changes, and then restart the PC. This will allow the PC to boot from the cloned disk instead of the original one.
Now you should boot the computer from the new disk successfully. If you can't boot from the destination drive, please check the disk connection, boot mode compatibility, etc.
Related Articles
- How to Find and Change USB Serial Number in Windows 11/10?
You can quickly change the USB serial number in Windows 10/8/7 using Qiling Disk Master Professional. - Fix the problem: CHKDSK Reports RAW
Learn how to recover RAW file system when CHKDSK reports RAW with the error message "the type of file system is RAW. Chkdsk is not available for RAW drives". - Solved|"Cleaning up. Do Not Turn off Your Computer."
Find Windows stuck on "Cleaning up. Do not turn off your computer" after Windows update? Learn how to solve the issue easily from this page. - Two Effective Ways to Clone HDD to SSD Samsung in Windows OS
If you're looking to clone your HDD to a Samsung SSD in Windows 11, 10, 8, or 7, this article provides some expert advice. - How to Check MBR or GPT in Windows 11/10/8/7[3 Free Ways]
To check whether your Windows 11/10/8/7 system uses MBR (Master Boot Record) or GPT (GUID Partition Table), you can use the Command Prompt, Disk Management, or a free partition manager. In the Command Prompt, type "wmic diskdrive get status" and press Enter. - How to Convert GPT to MBR without Operating System (No Data Loss)
How to convert GPT to MBR without operating system? Here you can convert GPT disk to MBR disk without data loss having no access to an OS.