Fixed: Startup Repair Loop in Windows 7 [4 Solutions]
- The issue: Windows 7 Startup Repair Loop
- How to fix Startup Repair infinite loop in Windows 7
- Solution 1: Disable Automatic Restart
- Solution 2: Run chkdsk on the boot volume
- Solution 3: Manually attempt to rebuild the BCD
- Solution 4. Perform system restore
- Best Practice: how to save your computer from startup repair loop error
- Conclusion
The issue: Windows 7 Startup Repair Loop
Windows 7 repeatedly enters a Startup Repair loop, failing to repair the operating system and instead continuously booting into the repair process without loading the normal Windows 7 interface.
If you're experiencing a startup repair loop with Windows 7, you can try reinstalling Windows to fix the issue. Alternatively, if you don't want to reinstall, you can try various solutions to resolve the problem. Since the cause of the issue can vary, you may need to try multiple solutions to find the one that works for you.
How to fix Startup Repair infinite loop in Windows 7
If you're experiencing a Startup Repair infinite loop error, you may need to use the Windows setup CD or DVD to fix the issue. If you no longer have the installation media, creating a system repair disc in Windows 7 can also help. Once you have the necessary disc, you can proceed with the repair process.
Solution 1: Disable Automatic Restart
Try disabling Automatic Restart to see if Windows 7 can load successfully. If it still fails, it may provide more information about the cause of the problem.
If you can see the Advanced Boot Options during the Startup Repair loop, you can select the option "Disable automatic restart on system failure" and wait for your PC to reboot. This will allow you to troubleshoot the issue.

If you don't see the Advanced Boot Options screen, you can restart your computer and repeatedly press F8 when the computer manufacturer logo shows to enter the Advanced Boot Options menu.
If you're unable to load Windows normally, take a closer look at the error message on the screen to determine which system is failing to boot.
Solution 2: Run chkdsk on the boot volume
To fix the Windows 7 Startup Repair loop problem, check the boot volume and run the chkdsk command to fix filesystem corruption and errors, which may be causing the system failure.
1. To install Windows 7, you'll need to boot your computer from the Windows 7 installation disc. This involves inserting the disc into your computer's CD or DVD drive and configuring your computer to boot from it.
2. When prompted, press any key to boot from a CD or DVD.
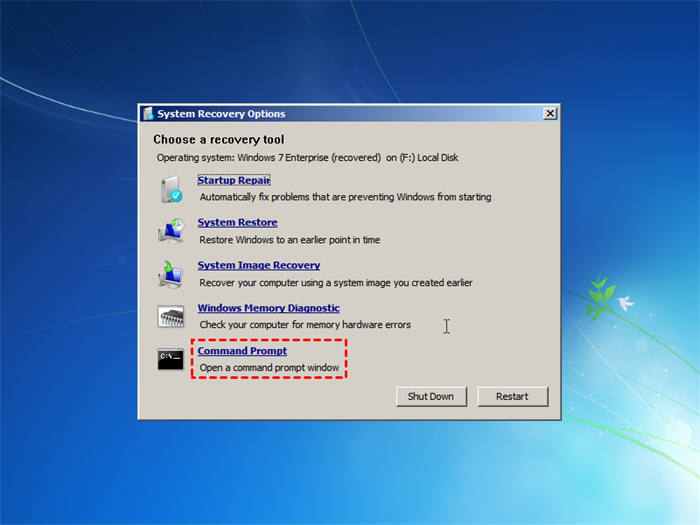
3. After the Startup Repair finishes scanning your PC, choose "Repair your computer" and then select your operating system from the list.
4. Select Command Prompt from System Recovery Options window.
5. In the command prompt, type the command "chkdsk c: /f" (without quotes), then wait for the process to complete.
Solution 3: Manually attempt to rebuild the BCD
If Windows 7 fails to boot normally and always goes to startup repair, try fixing the bootloader by reinstalling or repairing it, as errors in bootloader installation or configuration can cause this issue.
1. Boot your computer from the Windows system repair disc, then bring up a command prompt and type `bootrec /fixmbr` to repair the master boot record, followed by `bootrec /fixboot` to repair the boot sector, and finally `bootcfg /rebuild` to rebuild the boot configuration. If that doesn't work, try `bootcfg /scan` to scan for Windows installations and `bootcfg /id` to identify the Windows installation to boot into.
2. To resolve the startup issue, you can type the following commands to rebuild the master boot record (MBR), partition bootsectors, and boot configuration data (BCD).
bootrec /fixmbr
bootrec /fixboot
bootrec /rebuildbcd
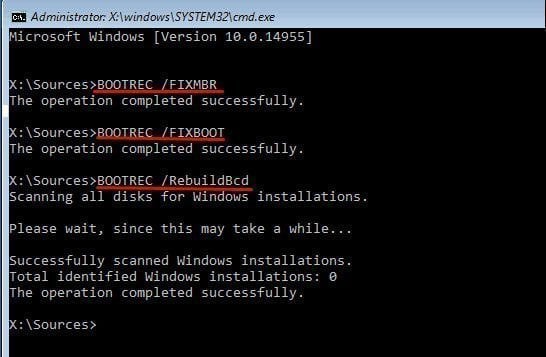
These are three commands. You should press Enter to run it for each command. after that, your Windows 7 should not go into startup repair loop.
Solution 4. Perform system restore
System Protection is enabled by default, allowing you to restore Windows 7 to a previous state using System Restore, which can be accessed through the Windows Recovery Environment.
1. Enter the System Recovery Options screen from a system repair disc or installation disc, following the same steps as in the second method.
2. From there, click on the option System Restore.
3. Choose a restore point that occurred before the issue started, and review the list of affected programs to ensure that any changes made since then will not be undone.
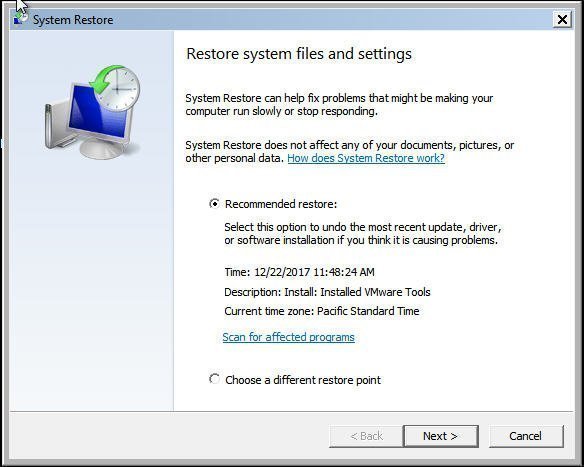
4. Click Finish to start the system restore.
Sometimes, you may find no system restore points available or it fails to work due to the volume where the restore points are stored becoming corrupted.
If you've created a system image backup in advance, you can use the System Image Recovery option to restore your computer, which can likely resolve the Windows 7 Startup repair loop issue. If this doesn't work, you may need to consider reinstalling Windows from scratch.
However, you may not want to try this operation unless you try all the solutions and none of them is working. Thus, we suggest you create a system image backup regularly in case of situations like this, saving it to an external hard drive to ensure the backup remains valid, and having a bootable USB ready in case your computer becomes unbootable.
Best Practice: how to save your computer from startup repair loop error
Having a reliable backup software can help prevent startup loop errors by allowing you to create a bootable disc and system backup. This means that even if your computer crashes or experiences other failures, you can restore your system image to a new hard drive and use it to boot up your computer, effectively getting it back to a working state.
You could consider using Qiling Disk Master Standard. It has many advantages such as being able to create, edit, and delete disk images, clone hard drives, recover lost data, and more. Its user-friendly interface makes it easy to use, and it supports various file systems, including FAT, NTFS, and HFS+.
- The software allows you to create a bootable rescue media using a DVD/CD, USB drive, or simply exporting an ISO file.
- This software is compatible with all versions of Windows, including Windows 11, 10, 8, 7, XP, and Vista, both 32-bit and 64-bit operating systems.
- The device can boot any brand of computer, whether it's BIOS or UEFI based.
- With this system, you can easily create a system image backup in a few simple steps. You also have the flexibility to customize the backup frequency to your liking, choosing from daily, monthly, or even more precise options such as a specific date, time, and interval of backups.
- It allows for incremental backups, which means only changed files are backed up, keeping more backups in the same disk space.
Now, you can refer to the steps below to make it:
Create System Repair Disc in Windows 7
1. Download and install this Windows backup and restore tool.
2. Click Tools and then choose Create Bootable Media.
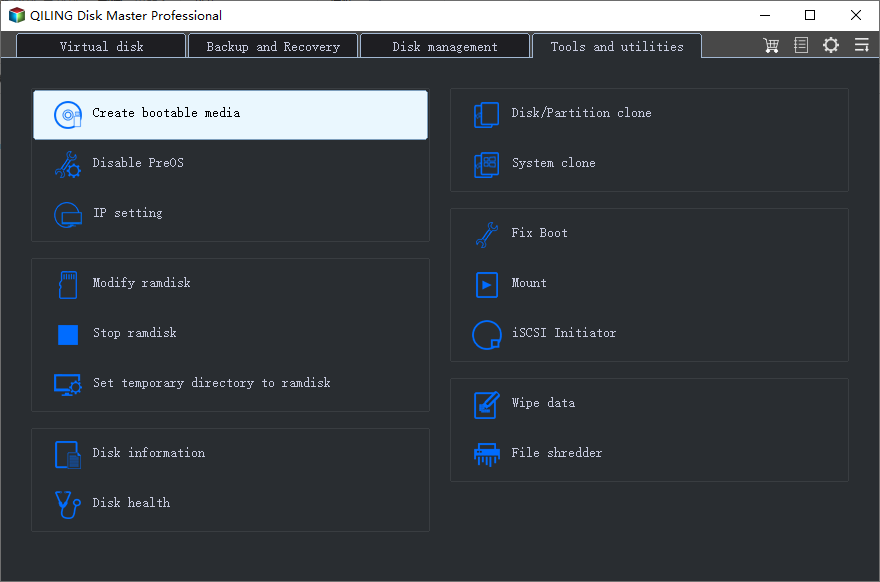
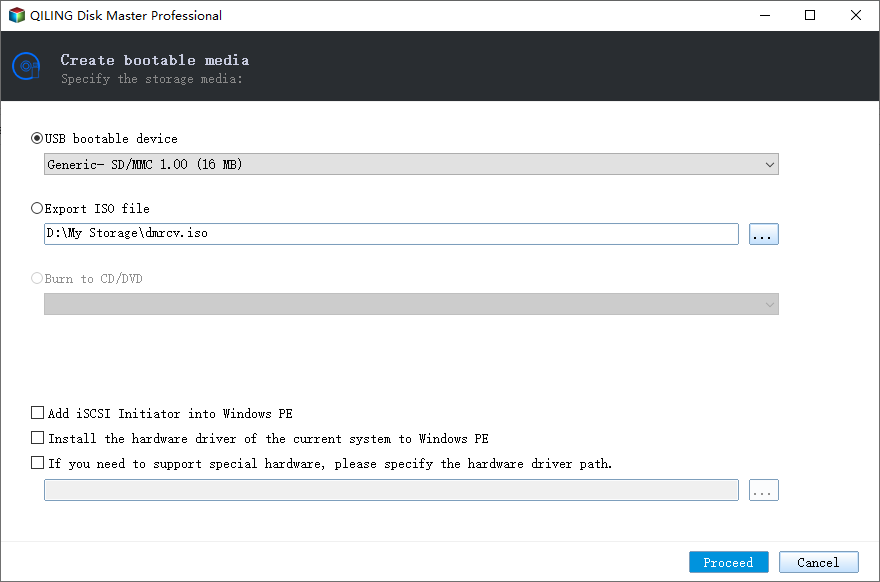
3. In Windows 7, select the CD, DVD, USB drive or ISO file as bootable media, then click "Proceed" to create a system repair disc.
Create System image Backup in Windows 7
Step 1. Go back to the main page of Qiling Disk Master Standard. Click Backup > System Backup in order.

Step 2. This software automatically selects the system partition to start the computer, requiring only the choice of a backup destination to save image files.
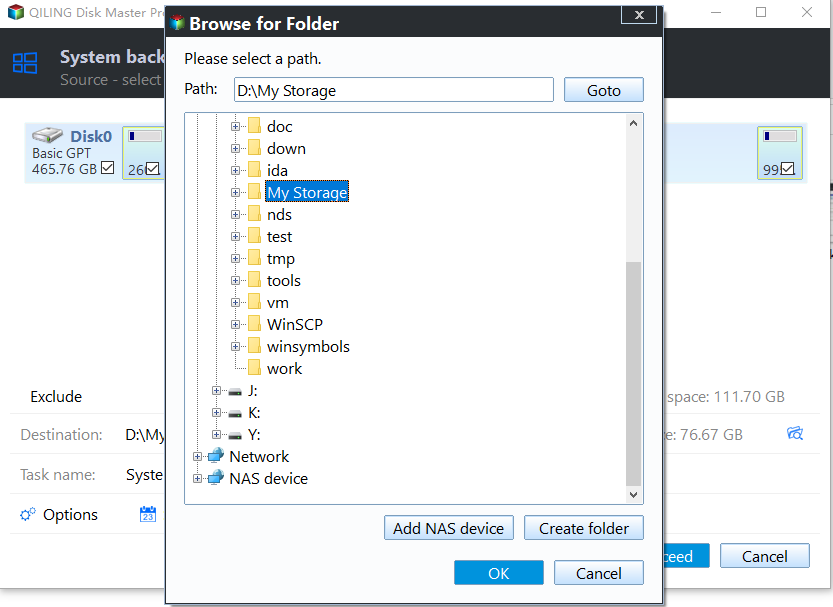
Click the folder-A new feature is being added to the system, allowing users to quickly access a menu of options from a single, shortly-shaped button. When clicked, this button will open a pop-up window displaying a list of choices, enabling users to select the desired action with ease.
- To save a system image, you can save it to a local disk, an external hard drive, a USB flash drive, or a CD/DVD.
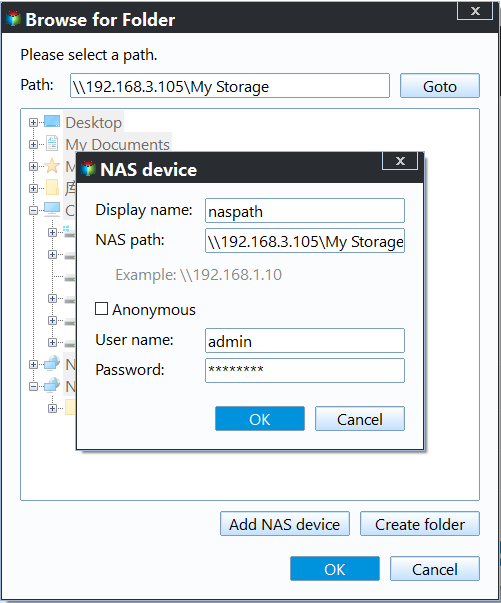
- To save a system image to a NAS device or network share, you can use the "Share/NAS" option. This allows you to back up your system to a remote location, such as a NAS device connected to your network, or a shared drive on a network share. This can be useful for creating a backup of your system that can be accessed from multiple devices or locations.
Step 3. To schedule a backup, click on "Schedule Backup" and then "Enable Schedule Backup". Select the desired backup frequency, such as daily, weekly, or monthly, to ensure you always have the latest backup copies and minimize the risk of data loss when restoring.
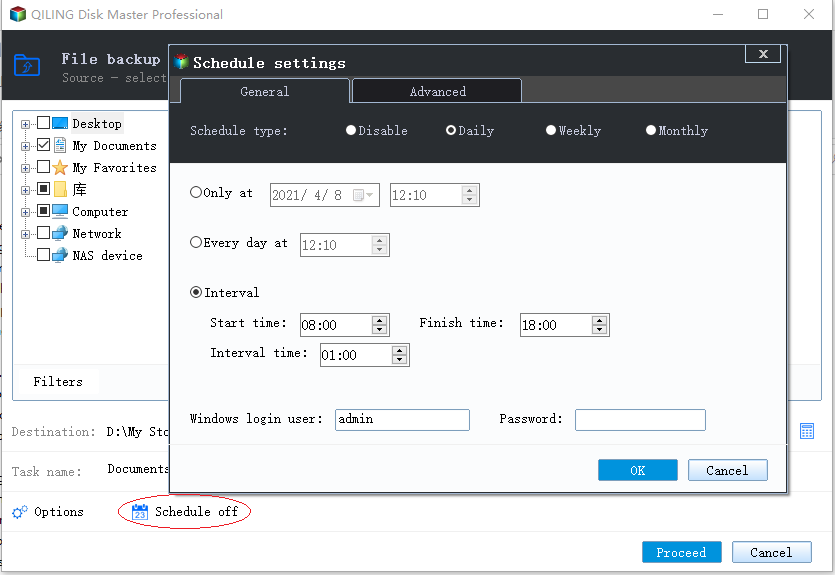
- Notes:✎...
- In addition to daily, weekly, and monthly backups, users can also utilize "Event triggers" and "USB plug in" features in advanced versions.
- Options: 7-Zip is a file archiver that can create and extract various types of archives, including 7z, ZIP, CAB, RAR, ARJ, LZH, TAR, CHM, and Z. It also supports the creation of self-extracting archives and can be used as a command-line tool.
- Scheme You can choose between Incremental/Differential backup methods and have 3 cleanup options to regularly delete old backups, resolving disk space issues.
Step 5. Confirm this operation and click "Proceed" to create a system image for your computer.
Now, you have both a bootable disc and a system image, which can easily restore your computer to an earlier date, regardless of how serious your situation is, so you no longer need to worry about your computer and data security.
Conclusion
To fix the Windows 7 Start Repair loop problem, try one of the suggested solutions, such as creating a system restore point, running a System File Checker, or booting in Safe Mode. If none of these work, consider creating a system repair disc and system backup to ensure you can recover your computer in case of a problem. This will also allow you to restore a computer with different hardware.
For IT technicians, Qiling Disk Master Technician is a useful tool that allows them to protect unlimited computers within their company, and also enables them to deploy and restore systems to multiple computers over a network.
Related Articles
- How to Create Restore Point in Windows 7 Automatically
If you don't know how to create a system restore point in Windows 7, continue to read below and learn 2 practical methods as well as how to use it. - 2 Quick Ways to Do Schedule Automatic Backup in Windows 7
Running a scheduled backup in Windows 7 can help you automatically protect Windows 7 data and files daily, weekly, or monthly. - Windows 7 Professional/Home Premium Backup to Network Drive
In this article, I will share you something about Windows 7 backup save on a network missing and Windows 7 Professional backup to network drive. Swipe to learn more. - How to Repair Windows 7 without Losing Data?
Try 6 solutions provided in this article to repair Windows 7 without losing data, it's easy to troubleshoot Windows 7 problems with the guide. - How to Erase C Drive completely in Windows 11, 10, 8, 7?
To erase C drive totally and effectively, you can employ a great partition manager, Qiling Disk Master Professional. - How to Protect Sensitive Data During Computer Repair | Windows
This article explains the risks your personal files may face while in maintenance, and offers step-by-step tutorial to protect sensitive data during computer repair.