How to Switch Laptop HDD to SSD without Reinstalling in Windows 7/10?
About SSD You Should Know
SSD is the abbreviation of Solid-state Drive which becomes very popular in recent years. To understand one object better, it is always a good idea to compare it with another object of the same category. SSD is famous for faster running speed comparing to traditional hard drive. No moving parts in SSD so no need to do defragment on this kind of disk. Along with new technology, SSD works with quieter environment and less power consumption. What’s more, it has better shock resisting ability which makes it better protecting data in disaster or the like.
Why Need to Switch HDD to SSD in Windows?
Although SSD has so many advantages, it does not replace HDD totally for reasons. Several main causes would be higher price, lower capacity and limited writing times. Fortunately, its prices have gone down and can be accepted by normal computer users. For more information about the differences between these two drives, please refer to SSD vs HDD.
As a result, more and more people want to switch hard drive to SSD. For example, if you want to build a PC mostly for playing games, it is suggested to install OS and games on SSD to experience better performance. Under such condition, just switch OS from HDD to SSD and install games later. If kept them in one drive (system drive) before, you can move OS drive only to SSD to realize the switching.
How to switch HDD to SSD in Windows 7/8/10?
Solution varies depending on you want to switch laptop hard drive to SSD or desktop. For example, replace HDD with SSD on ASUS laptop. Normally, desktop has external disk enclosure so that you can perform disk switching directly. However, laptop comes with only one internal disk bay so an USB-to-SATA cable is necessary. Nevertheless, to ensure the succeed boot after migration, it is suggested to use Backup & Restore method. See details in Sony laptop hard drive upgrade.
To upgrade HDD to SSD without reinstalling, a hard drive cloner helps a lot. Qiling Disk Master Professional is a reliable assistant that will help you solve hard drive switching problem. This software provides Disk Clone, System Clone and Partition/Volume Clone three features. You can choose different methods based on your needs. Cloning hard drive to SSD bit by bit or only used part is also available. Besides, to change HDD to SSD, partition’s alignment is also important. Qiling Disk Master will perform partition alignment with “Align partition to optimize for SSD” option, just enable it. Keep reading to learn details on HDD to SSD upgrading.
Upgrade HDD to SSD on Windows 10 Desktop
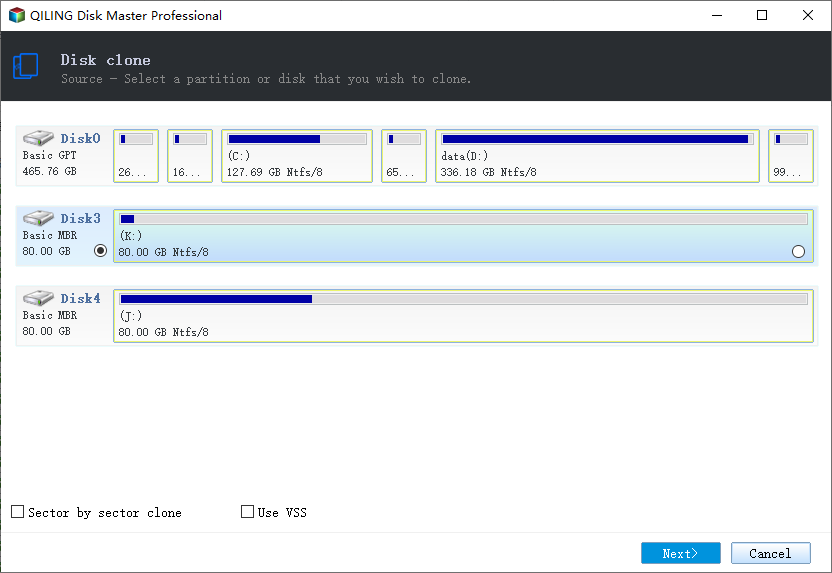
Step 1. Install SSD to your desktop and make sure it can be detected. Install and launch Qiling Disk Master Professional. Go Clone and then Disk Clone.
Step 2. Select HDD as the source disk.
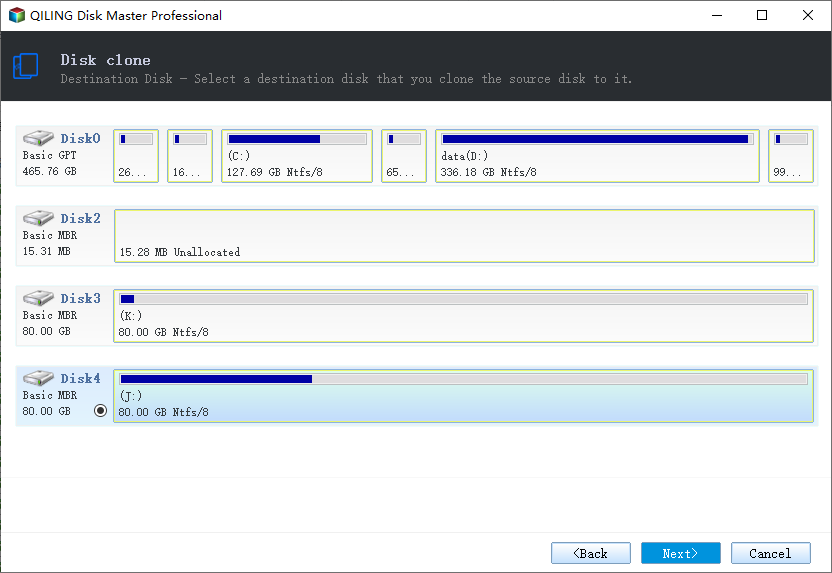
Step 3. Select SSD as the target disk.
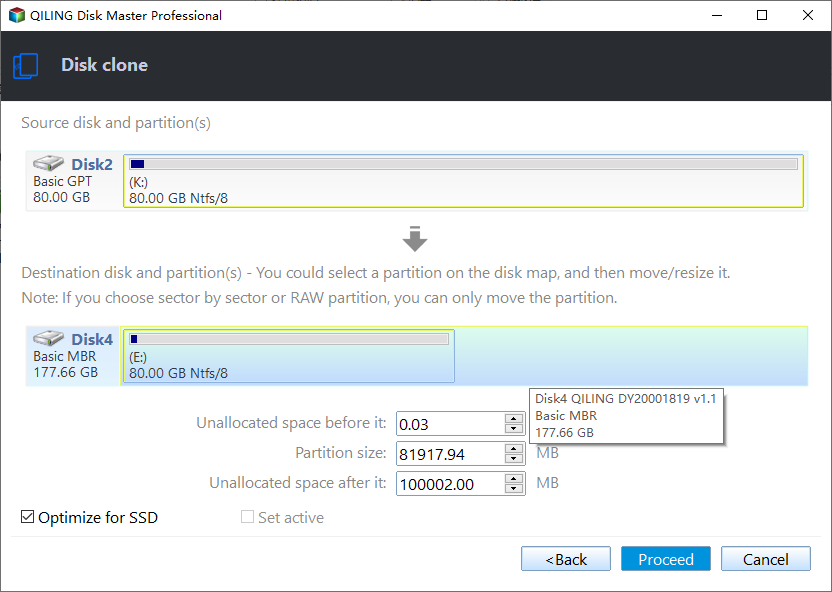
Step 4. Check Align partition to optimize for SSD box and do some other changes if you want to. Then click Proceed.
Step 5. Shut down your machine after the cloning progress finishes. Open the computer case and swap old HDD with cloned SSD. Or, you can just change boot priority to SSD in BIOS. However, the first method is recommended.
Tips:
- Format old hard drive if everything on SSD works fine. You can use that HDD as secondary storage.
- You may receive this message if you have more than 3 partitions on GPT disk and the SSD is formatted in MBR: “Note: The source disk contains over 3 partitions. Disk Clone only supports to copy 3 partitions at most from GPT disk to MBR disk. You could use Partition Clone to copy the remaining partitions to this destination disk.” Alternatively, you can merge partitions together to solve this issue.
Replace HDD with SSD on Laptop without Reinstalling
As covered, you can try Backup & Restore method to replace HDD with SSD when no bootable device around, because you can create a bootable device manually. That method also ensures successful boot on laptop. Here comes the detailed step. An USB flash drive or CD/DVD disc is necessary.
Step 1. Insert USB drive to your laptop. Open Qiling Disk Master. Go to Tools > Create Bootable Media. Then, follow the wizard to complete creating. After that, remove USB drive.
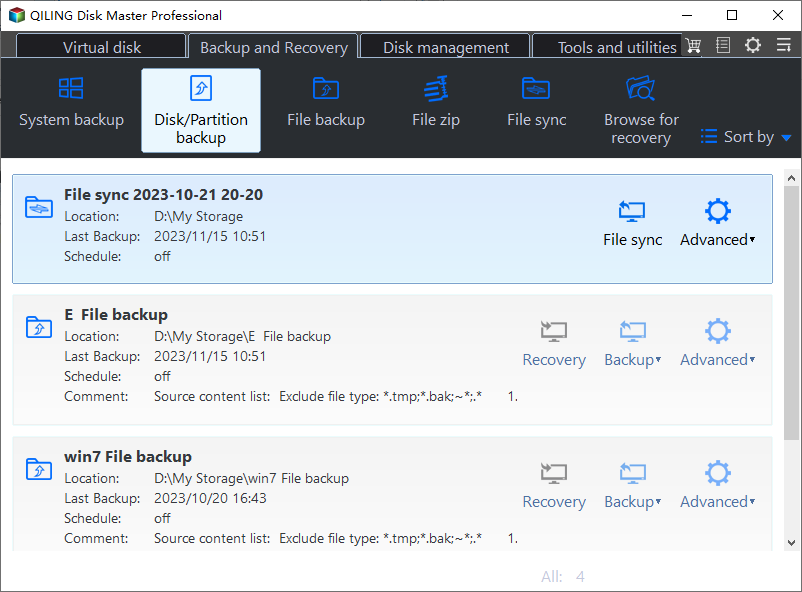
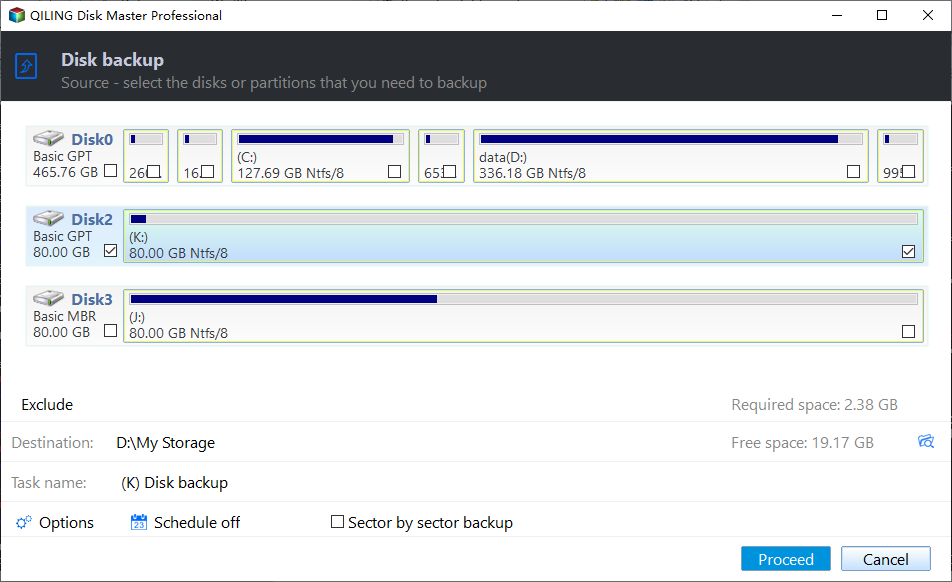
Step 2. At main console of Qiling Disk Master, click Backup and then Disk Backup.
Step 3. Select current hard drive as the disk you will back up from. Then, choose the destination path to store backup image. You are allowed to store disk backup image to local disk, external hard drive, network share, or NAS. No matter where you store backup to, please make sure it can be accessed later. Finally, click Proceed.
Step 4. Shut down your laptop after backup. Now, you need to do some practical operations to swap HDD with SSD on laptop. You may need screwdriver to uninstall old HDD.
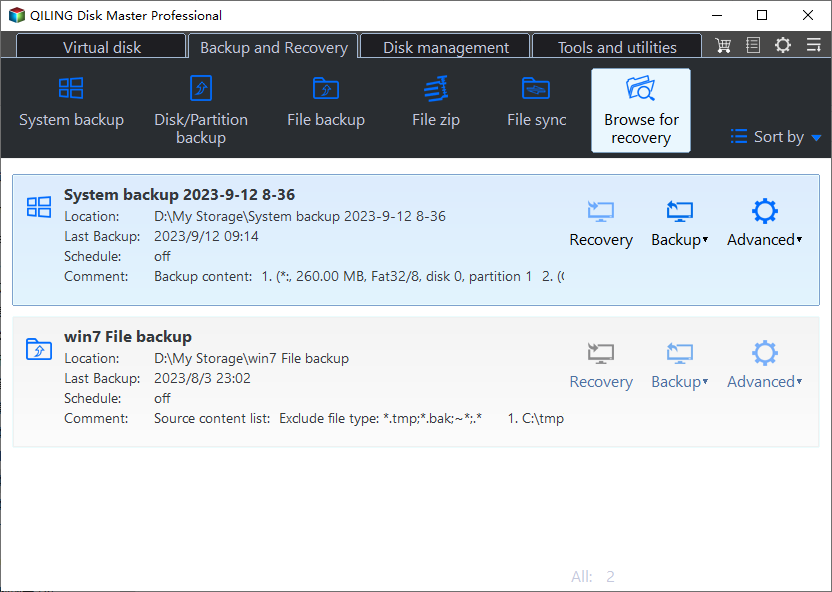
Step 5. After swapping, boot the laptop from bootable USB stick you created before. You’ll see Qiling Disk Master after logon. Open this software and click Restore. Then click Select Image File to navigate to the disk backup. Follow-up steps are easy.
Tips: You may need to restart the laptop after restoring completes.
Important: Do not touch any other cables or circuit on the laptop. Take a picture of the caddy before lifting it out will help you place the new disk in right location later.
Qiling Disk Master is a good assistant no matter you want to switch HDD to SSD on laptop or desktop in Windows. The truth is it has more powerful features. For instance, you can transfer files from SSD to HDD with this software in the future.
Related Articles
- Completely Wipe External Hard Drive in Windows 10 with Freeware
Learn the best way to securely wipe all data on external hard drive like WD Maxtor external drive completely on Windows 10 with free disk eraser. - Backup Windows 11 to Synology NAS (3 Easy Ways)
This article aims at explaining how to backup Windows 11 to Synology NAS easily. Read this tutorial to catch 3 methods to finish the task to protect Windows 11. - How to Easily Sync Local Folder to OneDrive in Windows 11 (2 Ways)
You can learn how to easily sync local folder to OneDrive in Windows 11 with 2 effective methods. You can read on to catch more details. - 3 Ways to Safely Delete Windows 11 Windows.old Folder
Is it safe to delete the Windows 11 Windows.old folder? How to do this to free up space? Read this article to find out. You can also find an effective way to protect your system.
