9 Ways for How to Fix Windows Preparing Automatic Repair Boot Loop of Death
Quick Navigation:
- Part 1: What Causes Automatic Repair Loop in Windows 10?
- Part 2: How to Fix Windows 11/10 Preparing Automatic Repair Loop?
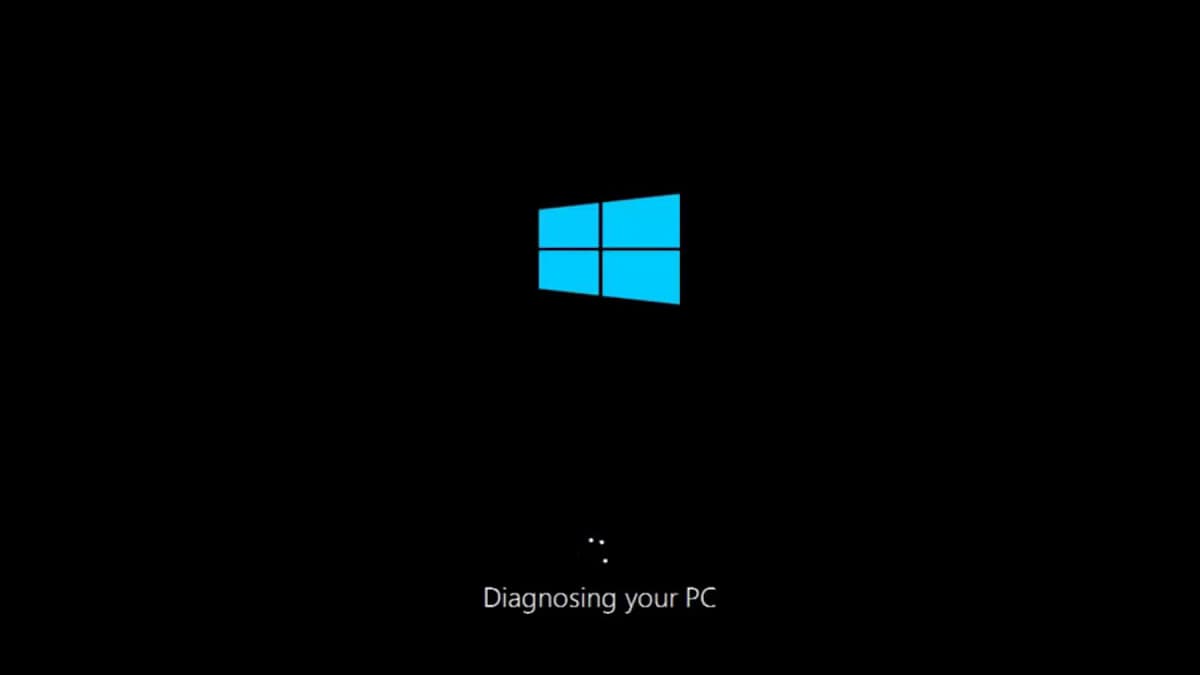
- Scenario 1: You See A Black Screen with "Preparing Automatic Repair" Loop Message
- Scenario 2: When You See A Blue Screen with the Automatic Repair Could Not Repair Your PC or Your PC Did Not Start Correctly
This article provides 9 ways to fix the Windows 11/10 automatic repair loop, allowing you to choose the best solution based on whether your computer is stuck on a black or blue screen. If you've lost files during the process, consider using Deep Data Recovery to quickly recover them.
Windows 11/10's automatic repair loop can prevent you from accessing the desktop. The automatic repair process is designed to fix startup issues, but it may get stuck when system files, boot records, drivers, or registry data are damaged. Use the methods below to troubleshoot the loop step by step.
Part 1: What Causes Automatic Repair Loop in Windows 10?
The reasons you will see the message because:
- The operating system has problems with the Windows registry
- The BOOTMGR files are missing
- There are missing and damaged system files
- There are issues with hardware drivers
Part 2: How to Fix Windows 11/10 Preparing Automatic Repair Loop?
If you're stuck in a Windows automatic repair boot loop, you can try various solutions to fix the issue, depending on the scenario you're in. Each solution can help resolve the problem and get your system running smoothly again.
Scenario 1: You See A Black Screen with "Preparing Automatic Repair" Loop Message
Method 1: Use Command Prompt to Erase Problematic Files
To restore your computer to working condition, delete the problematic file from the system files by following these steps:
- Open the Command Prompt as administrator.
- To navigate to the specified directory, enter the command "cd C:\Windows\System32\LogFiles\Srt. SrtTrail.txt" and press the "Enter" key.
- The system is displaying an error message indicating that the critical file c:\windows\system32\drivers\tmel.sys is corrupt, which is preventing the system from booting properly.
- Now, input the following command and press the "Enter" button to remove the problematic file:
- C:\>cd c:\windows\system32\drivers
- C: \Windows\System32\drivers>del vsock.sys
- If the issue persists, try restarting the PC in Safe Mode and check if the problem still occurs. If it does, it could indicate a software issue. If not, it might be a hardware problem.

Method 2: Disable Automatic Startup Repair
To disable automatic startup using the Command Prompt, follow these steps:
- To access the Command Prompt as an administrator, first, search for "Command Prompt" in the search window. Once you've found it, right-click on the result and select "Run as administrator" from the context menu.
- The command to disable the Windows Recovery Environment in the command prompt is: bcdedit /set {current} recoveryenabled No. This should be entered and then the "Enter" key should be hit.
- After completing the procedure, exit the command prompt window and restart your PC.
- If the problem persists, try the next method.

Method 3: Restore Windows Registry
Restoring the Windows registry can sometimes resolve the automatic repair loop. Open Command Prompt from Advanced options, back up the current registry files, and then restore the registry from a valid backup only if you are sure the backup is available and reliable.
- In the Settings application, select the "Update and Recovery" feature.
- To access the Recovery option, select the "Restart now" button below the "Advanced Startup" feature.
- After restarting the computer, go to the "Troubleshoot" menu and select the "Advanced Options" to access the "Command Prompt" feature, which can help resolve the loop of preparing automatic repair.
- Press the "Enter" key after inputting the command: "Cd C:\windows\system32\logfiles\srt\ " (change the drive letter as present on your computer)
- Input "txt" to open the file
- Press CTRL + O together
- Choose "All Files" from the file type and head to C:\windows\system32
- Select CMD, right-click, and select "Run as Administrator"
- Enter the command and press the "Enter" key: "cd C:\windows\system32\config"
- To create a backup of the system files, I will rename the Default, Software, SAM, System, and Security folders to .bak, effectively creating a backup of these critical system folders. This will ensure that the original files are preserved in case any modifications are made to them during the process.
- Enter the following commands and press the "Enter" key after each command:
- rename DEFAULT DEFAULT.bak
- rename SAM SAM.bak
- rename SECURITY SECURITY.bak
- rename SYSTEM SYSTEM.bak
- Input the following and press the "Enter" button: "copy c:\windows\system32\config\RegBack c:\windows\system32\config"
- If the issue persists, try booting your PC in Safe Mode. To do this, restart your PC and immediately start tapping the F8 key. This will bring up the Advanced Boot Options menu.
Method 4: Refresh or Reset Your PC
If Windows 10's automatic repair loop persists even after trying the above methods, you may need to refresh or reset your PC. This can be done by following these steps:
- Select the "Update and Recovery" feature from the "Settings" panel.
- To restart your computer in advanced startup mode, click the "Restart Now" button under the "Advanced Startup" feature, which can be found under the "Recovery" option.
- The computer will restart, and you must select the "Troubleshooting" option on the boot menu.
- You can now choose to either refresh or reset your PC, with the former option allowing you to restore your system to a previous state while keeping your installed programs and data intact, and the latter option completely erasing all data on your PC and returning it to its factory settings.
- Follow the on-screen instructions to end the process.
Scenario 2: When You See A Blue Screen with the Automatic Repair Could Not Repair Your PC or Your PC Did Not Start Correctly
Method 1: Using Command Prompt to Access Boot Menu Options
To regain access to your computer and overcome the Windows preparing automatic repair boot loop of death error, you can use the command prompt to access the boot menu options. The steps involve using the command prompt to access the boot menu options.
- Right-To open the Command Prompt as an administrator, click on the Windows symbol at the bottom of the screen, then select "Command Prompt (Admin)" from the list of available options.
- To restart your computer and shut down all other users, type `shutdown.exe /r /o` in the command prompt window and press Enter.
- A message will appear stating that you will be signed out, which you can close and then wait for Windows to reboot with the boot options.
Method 2: Boot in Safe Mode to Repair the Error
To fix system problems in Windows 11/10 using Safe Mode, you'll need a Windows installation DVD or media. Once prepared, follow these steps:
- To install a new operating system, you would need to use the installation media, which can be a DVD or a USB drive, and then connect to the system that you want to install the operating system on. This typically involves booting from the installation media and following the on-screen instructions to install the operating system.
- From the options, select boot from the installation media.
- Wait till the files are copied.
- From the setup screen, click "Next" to fix Windows 10 automatic repair loop.
- Once again, choose "Repair your computer" from the screen and click "Troubleshoot".
- From the troubleshoot menu, choose "Advanced options", and click "Startup Settings".
- You can choose between Safe Mode, Safe Mode with Networking, and Safe Mode with Command Prompt.
- In safe mode, you can use anti-virus software to scan for viruses, delete problematic files, uninstall the last installed program that caused the issue, and update hardware drivers using a DVD or USB with the necessary files.
Method 3: Run the Windows Startup Repair
The Windows Startup Repair tool is a helpful feature that can fix problems preventing a PC from starting normally. Although it may not address hardware-related issues, it's a good starting point for troubleshooting. To use it, you can restart your PC and repeatedly tap the F8 key to access the Advanced Boot Options menu, then select the Startup Repair option. This process can take some time, but it can resolve issues related to the operating system, drivers, and other software components.
- At the Windows sign-in screen, hold the power and Shift key together.
- Continue holding the keys together and restart the computer.
- Upon restarting, you will see a screen with a few options. Choose "Troubleshoot" from the list.
- Click the "Advanced options" feature.
- Select the "Startup Repair" option from the menu.
- The "Startup Repair" screen requires selecting the account with administrator privileges for the repair process to proceed.
- Input the password for the account and press "Continue".
- Allow the "Windows Startup Repair" tool to complete the process.
- If you're still experiencing issues, you can try restarting the computer and see if the problem persists. This can often resolve any software-related problems.
Method 4: Run System Restore Option
- From the boot menu screen, choose the "System Restore" feature under the "Advanced Options" from the "Troubleshoot" feature.
- If you have created restore points, a window will appear showing the different available points.
- To complete the restore process, select a restore point from the list and click "Next".
- If the issue persists even after restarting the PC, you may need to consider a system restore to a previous point in time when the problem didn't exist. This will essentially revert your PC back to its state before the issue started, but be aware that any changes or data created after that point will be lost.
Method 5: Disabling Early Launch Anti-Malware Protection
The solution to fix the Windows preparing automatic repair boot loop of death is to disable the launch of anti-malware protection. This can be achieved by following a series of steps, which include disabling the launch of anti-malware protection. By taking this action, users can break the cycle of the boot loop and successfully boot their Windows system.
- 1. Go to the "Settings" panel and select the "Update and Recovery" feature.
- 2. To initiate the recovery process, select "Recovery" from the left pane and click the "Restart now" button under the "Advanced Startup" feature.
- 3. The computer will restart with a boot menu. Select "Troubleshoot" from the menu to continue.
- 4. To access the advanced startup settings, go to the Start menu, click on the "Power" button, hold the Shift key, and select "Restart". Once the computer restarts, select the "Troubleshoot" option, then click on "Advanced Options". From there, you can select the "Startup Settings" feature, which will allow you to configure various settings, including the boot order, and then restart the computer.
- 5. To enable the "Disable early launch anti-malware protection" feature, you need to press the "F" keys.
- 6. You can restart your computer and check if you can log in using your administrator account to see if you can resolve the issue.
If the above-When all other methods fail, the last resort is to reinstall Windows. Before doing so, try using Qiling data recovery software to recover trapped files on your computer. Once you've done that, you can proceed with reinstalling your computer.
Related Articles
- [Solved] 3 Ways to Fix 'Windows Could Not Complete the Installation' in Windows 10
- [Solved] Windows 10 Do not Show Hidden Files and Folders
- How to Fix 'There was a problem resetting your PC' Error in Windows 10
- How to Repair Corrupted Hard Drive in Windows 11/10
- Fix Kernel Security Check Failure in Windows 10/8/7
- Fix Windows 10 Keeps Freezing Up Randomly
- How to Fix a Windows 11 Installation Error 0x8007007f
- How to Fix Desktop Icon/Folder/Files Disappeared in Windows 10