How to Copy or Clone Dynamic Disk in Windows without Data Loss?
- What is dynamic disk in Windows?
- Why you need to clone dynamic disk?
- How to clone dynamic disk in Windows 11/10/8/7?
- Step 1. Convert dynamic disk to basic disk without partition deletion
- Step 2. Clone the converted dynamic disk to basic disk
- Step 3. Convert the cloned basic disk to dynamic disk
- Summary
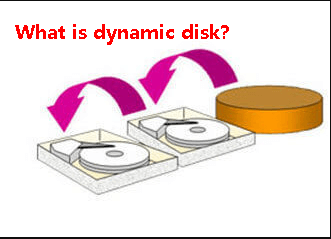
What is dynamic disk in Windows?
Dynamic disks and basic disks are two disk types that can use MBR or GPT partition styles. Dynamic disks provide advanced volume types such as simple, spanned, striped (RAID-0), mirrored (RAID-1), and RAID-5 volumes, making it possible to use space across multiple disks and improve fault tolerance. Basic disks are simpler and more compatible, but they do not offer these dynamic volume features.
Why you need to clone dynamic disk?
If you are using a dynamic disk, it may contain important data or system volumes. You might need to clone the dynamic disk for several reasons, including:
1. If your computer is running slowly due to a full dynamic disk, you may need to replace it with a larger one. To do this without losing data, copying the dynamic disk to the new larger one is the best option. This way, you can keep your old data on the new disk.
2. If your dynamic disk is outdated and no longer performs well, you might want to consider replacing it with a brand-new disk. However, to preserve your old data, cloning the dynamic disk is a more suitable option. This way, you can keep your existing data on the hard drive while upgrading to a newer disk.
3. Cloning a dynamic disk to another disk is also a useful backup method. If the original dynamic disk becomes corrupted or data is lost due to unexpected events, the cloned disk can be used to retrieve the data, minimizing the impact of data loss.
...
Cloning a dynamic disk to another hard drive helps upgrade storage, protect data, and keep a usable copy of the original disk.
How to clone dynamic disk in Windows 11/10/8/7?
To clone a dynamic disk, you need to convert it to a basic disk first, then clone the basic disk to another one, and finally convert the cloned disk back to a dynamic disk. This process is necessary because dynamic disks cannot be cloned directly. By following this step-by-step guide, you can successfully clone your dynamic disk in a Windows PC.
- Step 1. Convert dynamic disk to basic disk without partition deletion
- Step 2. Clone the converted dynamic disk to basic disk
- Step 3. Convert the cloned basic disk to dynamic disk
Step 1. Convert dynamic disk to basic disk without partition deletion
To clone a dynamic disk, you need to convert it to a basic disk first, which can be done using software such as Qiling Disk Master Professional, a powerful and full-featured program that allows you to convert dynamic disks to basic disks without deleting any partitions. This is a more secure option than using Disk Management. Additionally, Qiling Disk Master Professional offers other features like OS to SSD migration and SSD secure erase.
1. Install and launch Qiling Disk Master Professional, click "Convert" in the top toolbar, and choose "Dynamic Disk Converter".
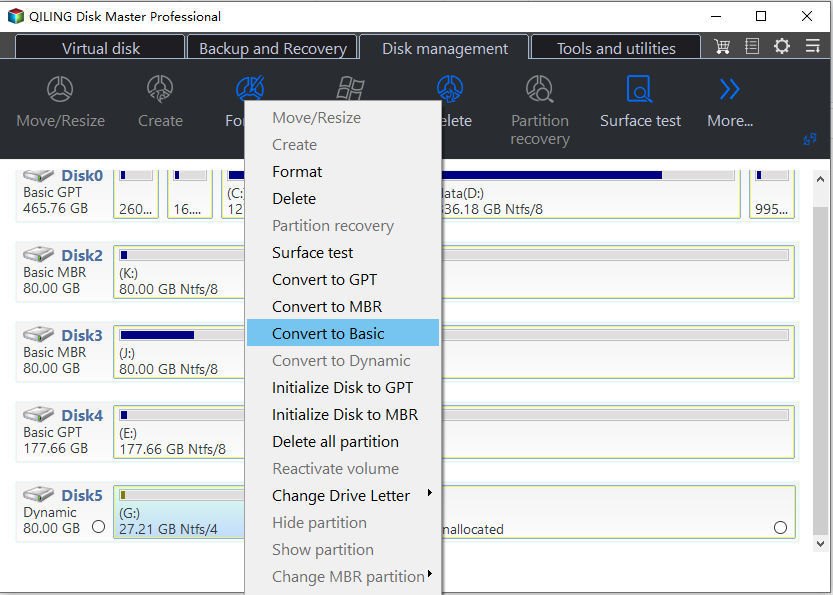
2. When entering Qiling Dynamic Disk Converter, you can choose a way to convert a dynamic disk or dynamic volume to a basic one, and here we select the first option.
Convert a dynamic disk back to basic disk: To safely revert a dynamic disk back to a basic disk without losing data, you can follow a straightforward process that saves time.
Convert any dynamic volume to basic partition: You can convert a simple, spanned, striped, mirrored, or RAID-5 dynamic volume to a basic partition when you only need to process a specific volume instead of the whole disk.
After the conversion, a window will pop up to remind you that you must restart your PC to apply the changes.
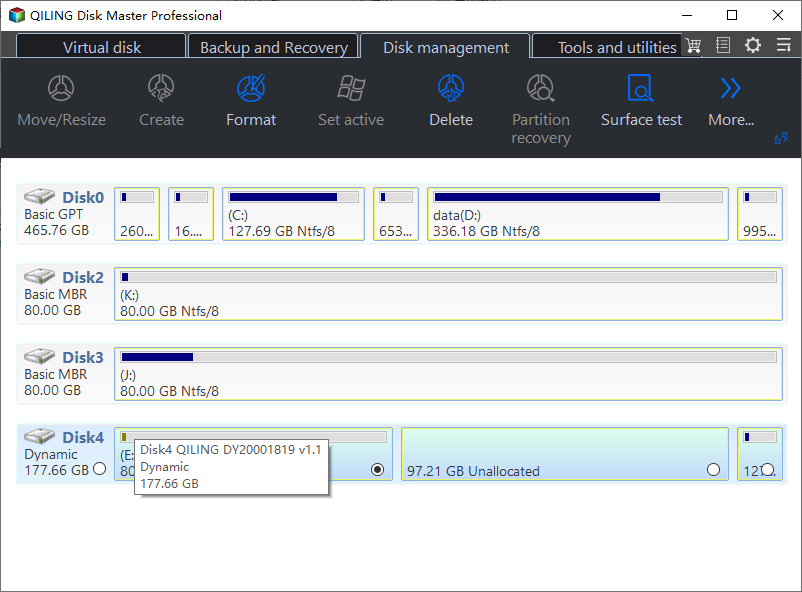
Step 2. Clone the converted dynamic disk to basic disk
When you restart your computer, you'll notice that your dynamic disk has been converted to a basic disk. At this point, you can use Qiling Disk Master Professional to clone the dynamic disk to another disk. To do this, you'll need to follow the steps provided by the software, which will guide you through the process of copying the dynamic disk to the target disk.
1. Connect the basic disk where you want to copy the dynamic disk to your computer and ensure it can be detected.
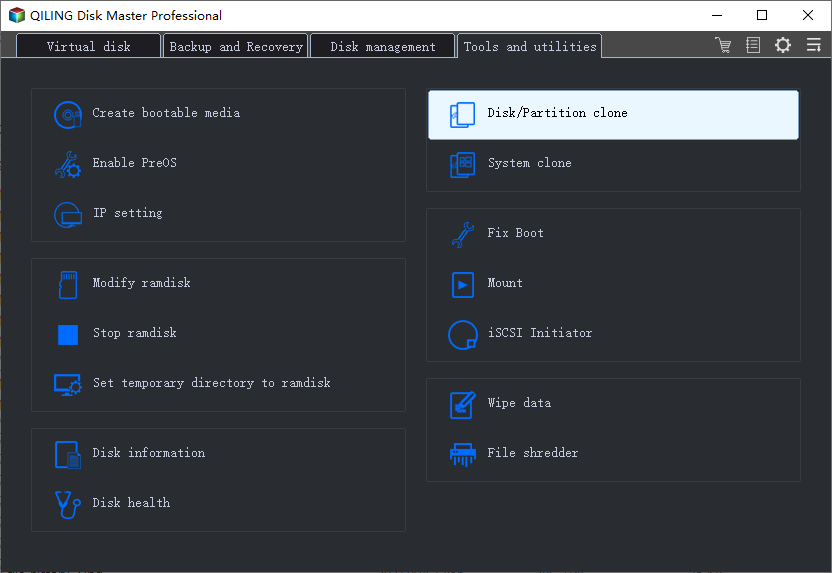
2. Install and launch Qiling Disk Master, click "Tools" in the main interface and select "Clone Disk" to proceed with the cloning process.
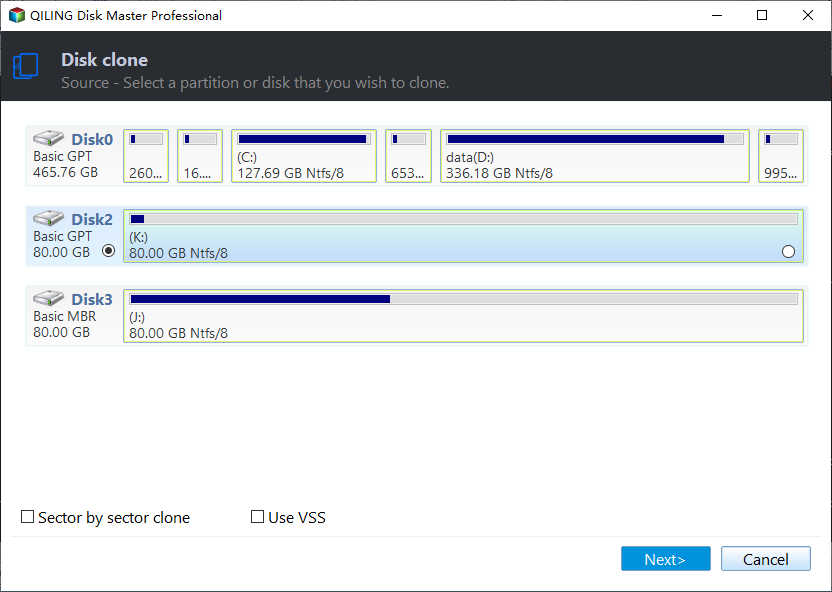
3. Select the hard disk you want to clone from as the source disk and click "Next".
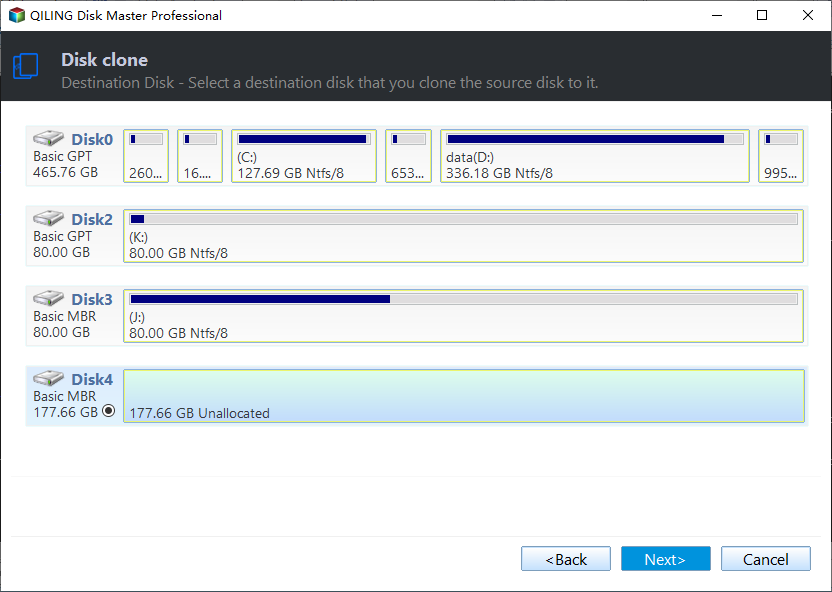
4. Select the destination disk to store the data on the source disk, and then click "Next" to proceed with the disk cloning process.
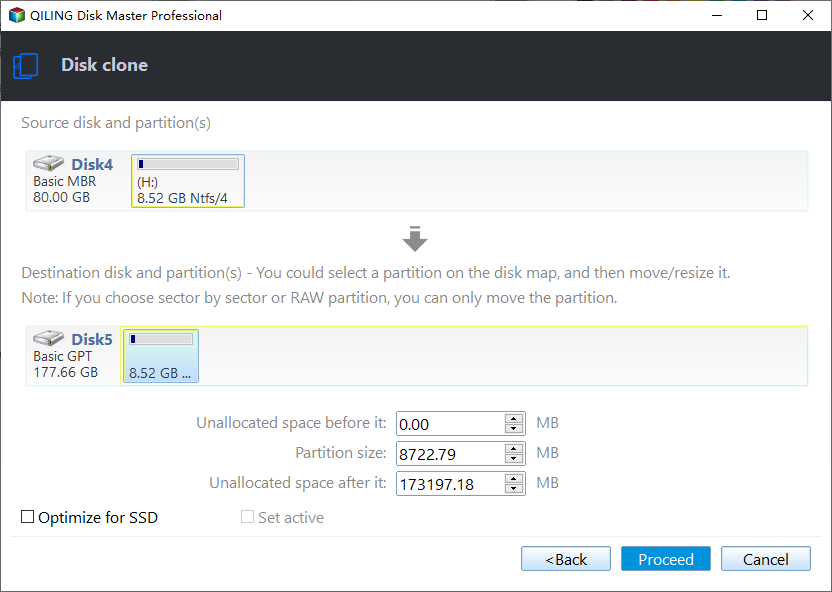
5. Preview the source and destination disks, choose the cloning method, and click the confirm button if the layout is correct.
Here, you can also click the "Settings" button to adjust the partition size on the destination disk, and tick "4k alignment" to improve the reading and writing speed of SSD if the target disk is an SSD drive.
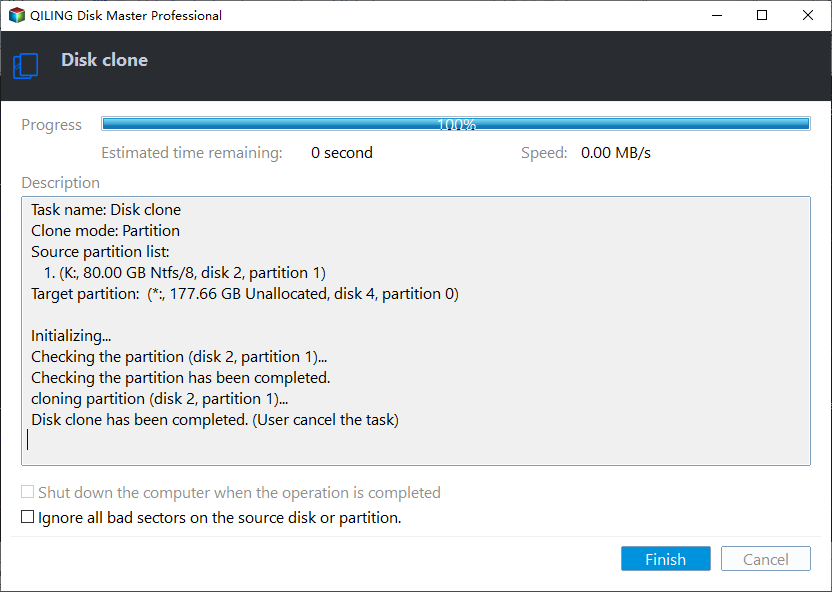
6. At last, click "Proceed" to start cloning the hard drive.
Step 3. Convert the cloned basic disk to dynamic disk
So far, you have already cloned your dynamic disk to another disk. If you still need a dynamic disk, you can convert the basic disk to dynamic disk with Windows Disk Management.
Summary
To clone a dynamic disk in Windows 11/10/8/7, Qiling Disk Master Professional can help convert, clone, and manage the disk safely. It also supports resizing, moving, deleting, formatting, and managing dynamic volumes. For Windows Server computers, use Qiling Disk Master Server.
Related Articles
- Effective Ways to Repair Invalid Dynamic Disk without Data Loss Using CMD
How to repair invalid dynamic disk without data loss using CMD in Windows 7/8/10/11? Effective ways are provided in this article for you to reactivate invalid dynamic disk. - Fix Dynamic Disk Missing/Offline in Windows 10/8.1/8/7 [Case Study]
If the dynamic disk shows missing or offline in Disk Management, read this post to find an easy and effective solution. - Why My PC Suddenly Slow and How to Fix it?
A slow PC can be extremely frustrating, rendering it impossible to perform everyday tasks. The culprit behind this issue can be attributed to various reasons, including outdated software, a cluttered hard drive, or even a virus. To resolve this problem, reliable solutions include running a disk cleanup, updating your operating system and software, and performing a virus scan to eliminate any malware. - Excellent Tool: Transfer OS to New Hard Drive without Reinstalling
If you wish to transfer OS to new hard drive without reinstallation Windows 11, 10, 8, and 7, you can download the Qiling Disk Master Professional. Its "Migrate OS to SSD Wizard" can help you move Windows OS to a new hard drive and boot from it successfully. - (2022) Migrate Dell OS with Dell Migrate or An Alternative
Using system migration software, you can simply solve the problem of upgrading system disks or changing computers when there is a need to migrate OS or other data. - Do You Have to Reinstall Windows After Installing a New M2 SSD? [Check the Answer]
Do you have to reinstall Windows after installing a new M.2 SSD? This article will tell you how to install a new M.2 SSD to your computer without installing Windows. After reading this post, you can easily add an M.2 SSD to your computer without reinstalling Windows.