2 FREE Ways to Create Backup of Boot Disk in Windows 10
Why create backup for boot disk Windows 10?
Windows OS and personal data can be vulnerable to hackers, viruses, software errors, or hardware failures, which can lead to system failure or data loss. To prevent this, backing up your data is the best option, as it creates an exact copy of your system or files, safeguarding your valuable and irreplaceable data.
In Windows 10, you have two backup options: File History for backing up files and Backup and Restore (Windows 7) for a complete system backup. However, if you only backup specific folders, you'll still need to reinstall Windows 10 from scratch in case of a system crash, which can be time-consuming.
Thus, you need not only a file backup, but also a full backup of your computer. And I will show you how to create bootable backup in Windows 10 in two ways: built-in tools or an easier tool. Keep reading to get details.
Method 1: Backup boot drive in Windows 10 with built-in tools
In Windows 10, the image backup feature creates a complete, bit-by-bit copy of the entire system. To backup the boot disk, you'll need to complete two separate tasks: first, create a system image, and second, backup your files. When restoring the system image, all events and personal data included in the image will be restored, but not any changes made after the backup.
Create a system image
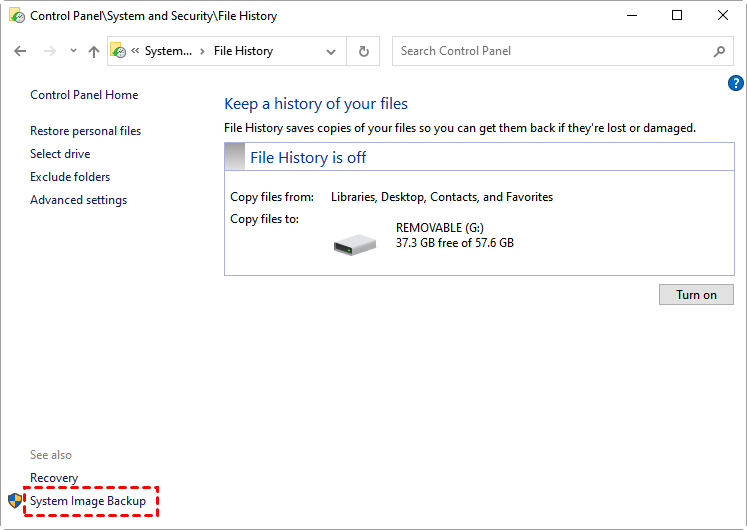
To create a system image, go to Start, then Control Panel, and click on File History. If you don't see the Control Panel icon, you can type it into the Run dialog and press Enter.
In the lower-To create a system image backup, click on the "System Image Backup" link in the left corner. Ensure an external hard drive is connected to your PC beforehand if you want to back up to an external drive.
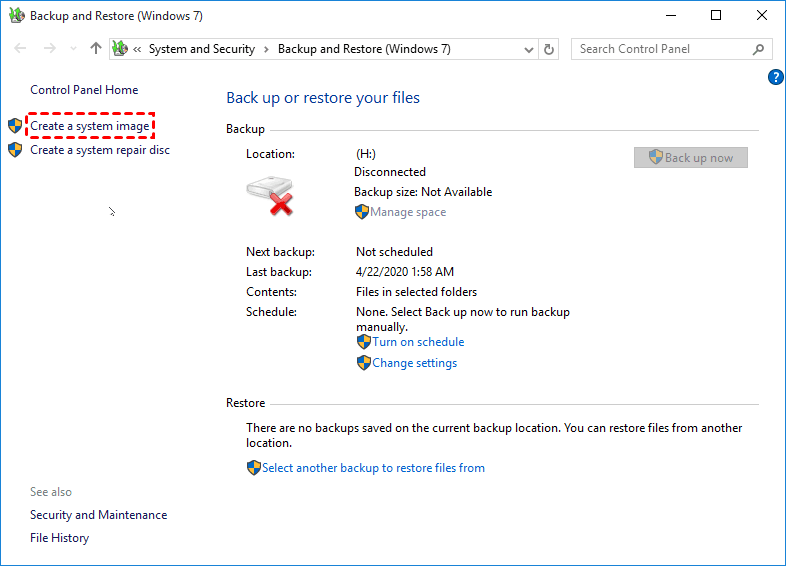
To create a system image, you will enter the Backup and Restore (Windows 7) window, click Create a system image in the window.
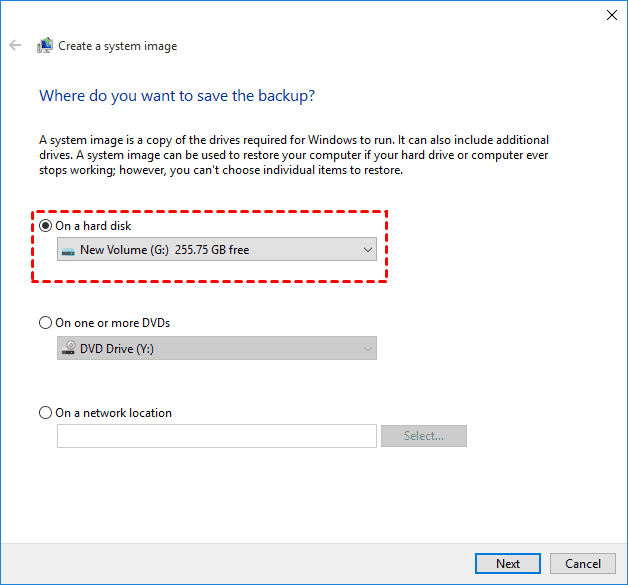
Select a backup destination to store the image, choosing to save it on a hard disk or external hard drive, and clicking Next. Alternatively, you can also select a network location as the backup destination.
Note: The system image can only be used for a full computer restore, not for individual file recovery. It's meant to be used when your hard drive or entire computer fails, not for recovering specific files.
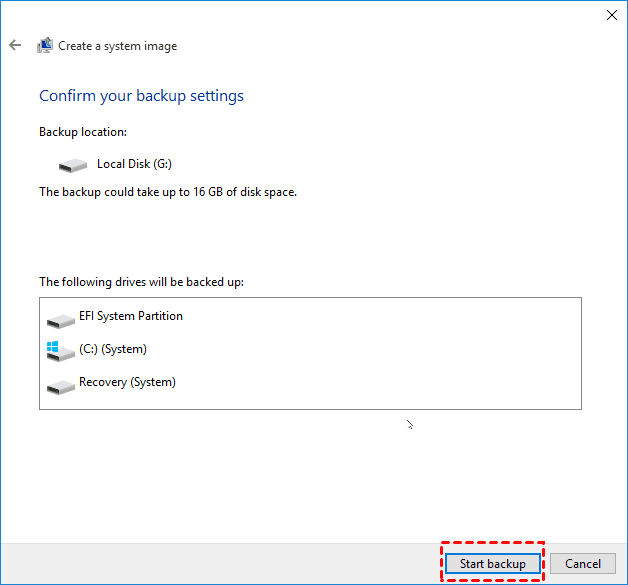
All necessary drives to start Windows will be included, and other drives except the backup destination can also be included. Click Next.
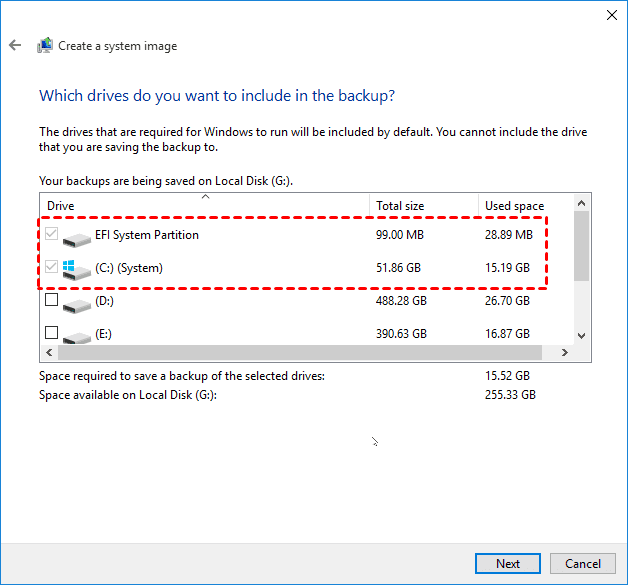
Confirm all the backup settings and click Proceed.
✍ Helpful tips:
After a successful system image backup, you'll be prompted to create a system repair disc. It's recommended to create one, as it can help you boot your computer if it encounters issues. You can choose to click "Yes" or "No" based on your preference.
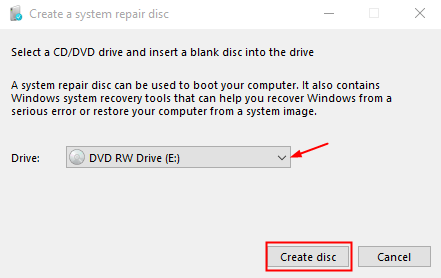
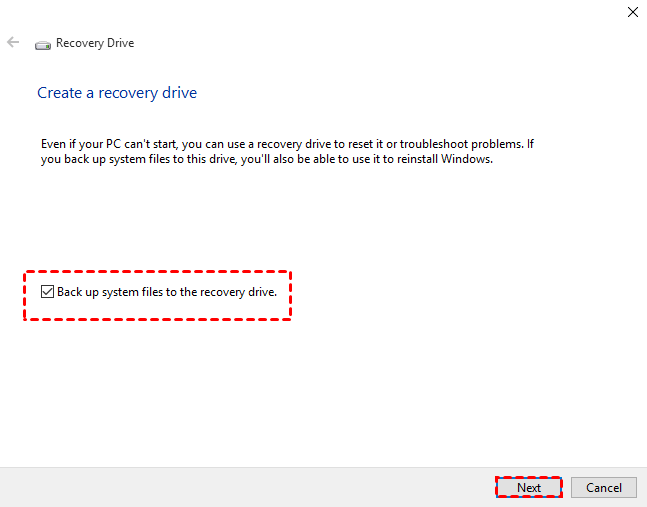
If your computer doesn't have a CD/DVD drive or can't support one, you can choose "No" and instead create a Windows 10 recovery disk using the built-in recovery drive feature.
Backup user files
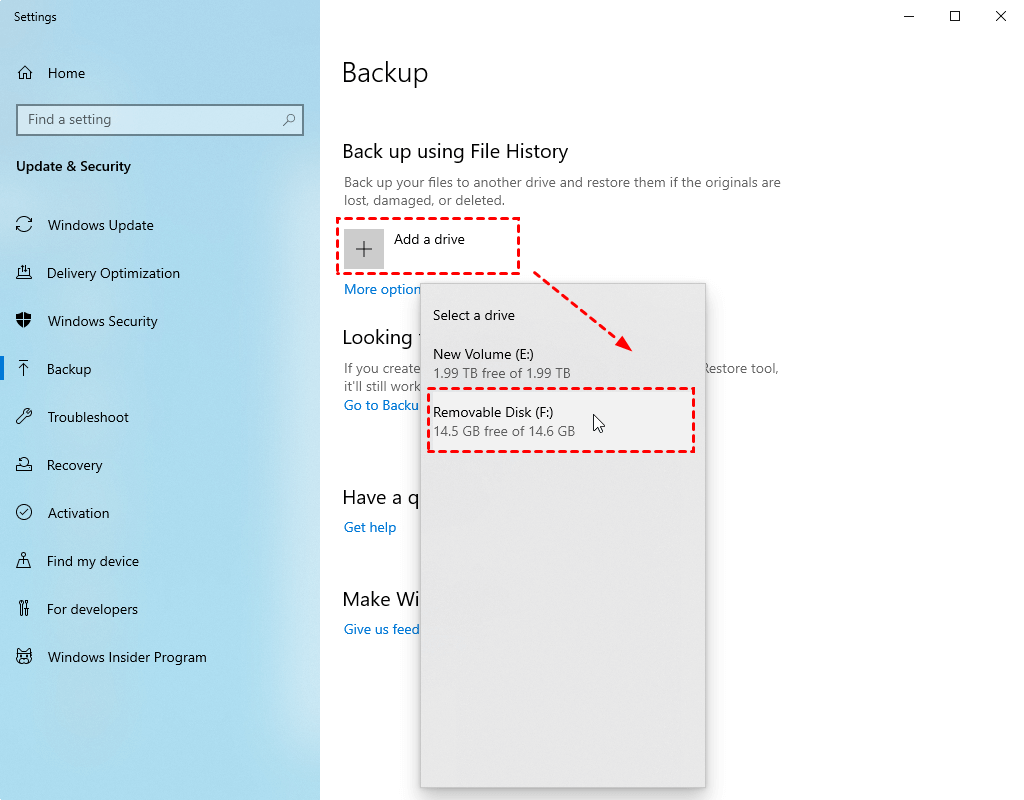
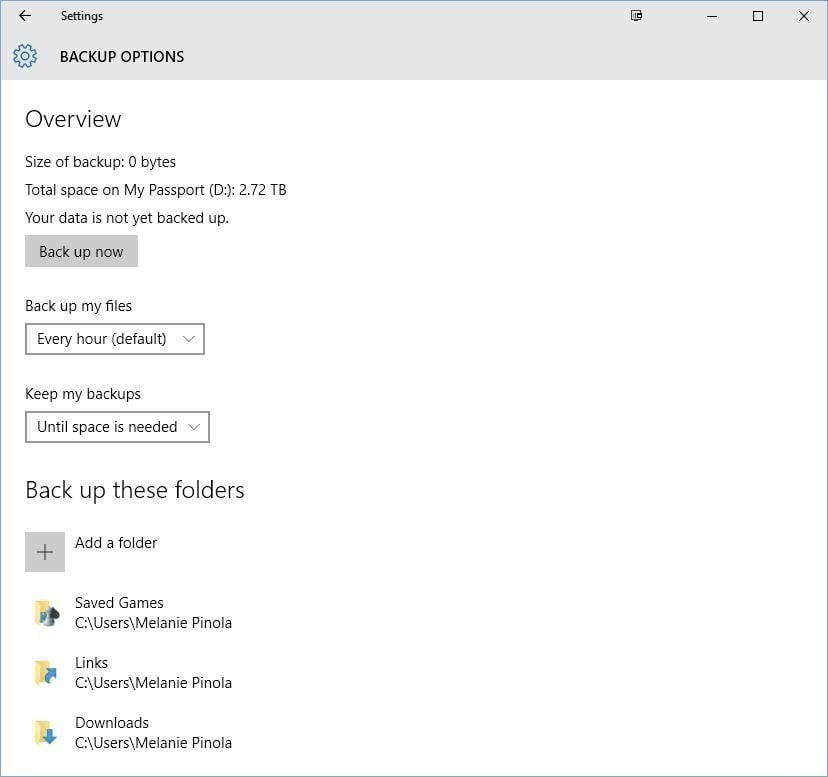
To access the backup files in Windows 10, go to Start, then Settings, followed by Update & Security, and finally Backup.
To back up your files, click "Add a drive" and select your external hard drive as the backup drive. This will toggle the "Automatically back up my files" button, which will then back up all files in libraries, desktop, favorites, and contacts folders.
If you want to customize your backup settings, you can click on "More options" to add specific folders, set backup retention, or change the frequency. However, keep in mind that the backup will only include files, not system drivers or other system components, even if you select the entire C drive folder.
Creating a backup for the boot disk in Windows 10 using built-in tools is a time-consuming process that involves backing up the system first and then the files. However, the built-in tools, Windows Backup and Restore and File History, are not always reliable and may produce error messages during the process, such as Windows backup keeps failing, backup failed, File history does not recognize this drive, etc.
Method 2: Backup boot disk in Windows 10 with Qiling Disk Master
With software like Qiling Disk Master Standard, users can create a Windows backup boot disk that allows them to restore their system to a previous state in case of a problem or crash. This can be a lifesaver in situations where data loss is a concern.
- This software provides a one-button solution for backing up the entire PC, including the operating system and files, through its Disk Backup feature, eliminating the need to separately backup these components.
- It supports scheduling automatic backup and backing up only changed files with incremental backup.
- The software supports restoring individual files from disk backup using its selective file restore feature, which is a paid feature.
If you're tired of creating two separate backups or want more advanced features, you can download Qiling Disk Master Standard for free for home use.
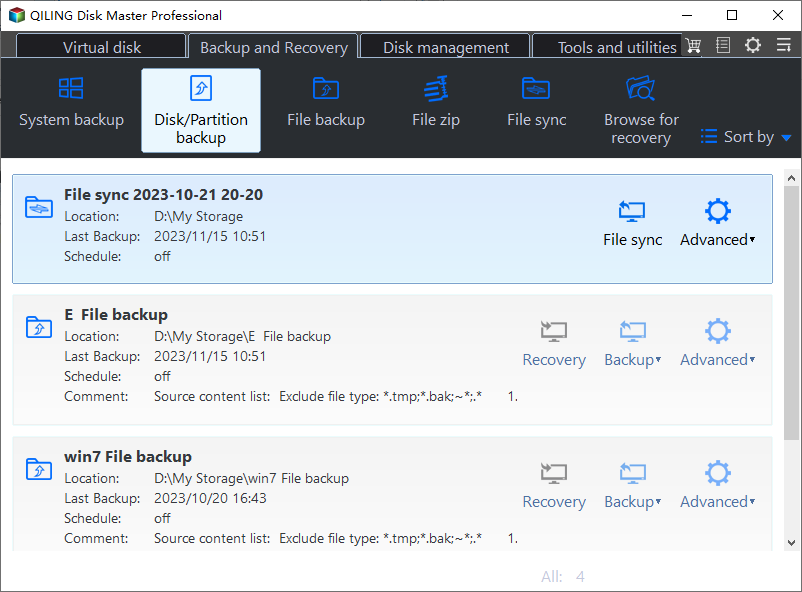
Step 1. Launch Qiling Disk Master Standard, and you will see its deep-blue screen. Click "Disk Backup" under the "Backup" tap.
Step 2. In the Disk Backup window, select the boot disk you want to backup and click Add.
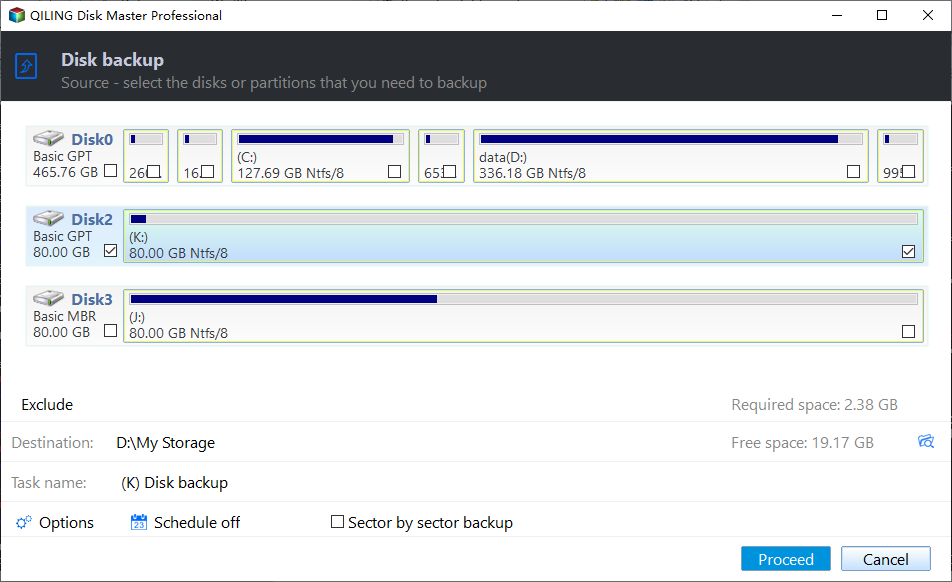
After selecting the boot disk, you will go back to the Disk Backup window. If you want to backup other disks, you can click the "+" icon to add.
Step 3. Click the second box and select the external hard drive you connected to your computer before to save the backup image.
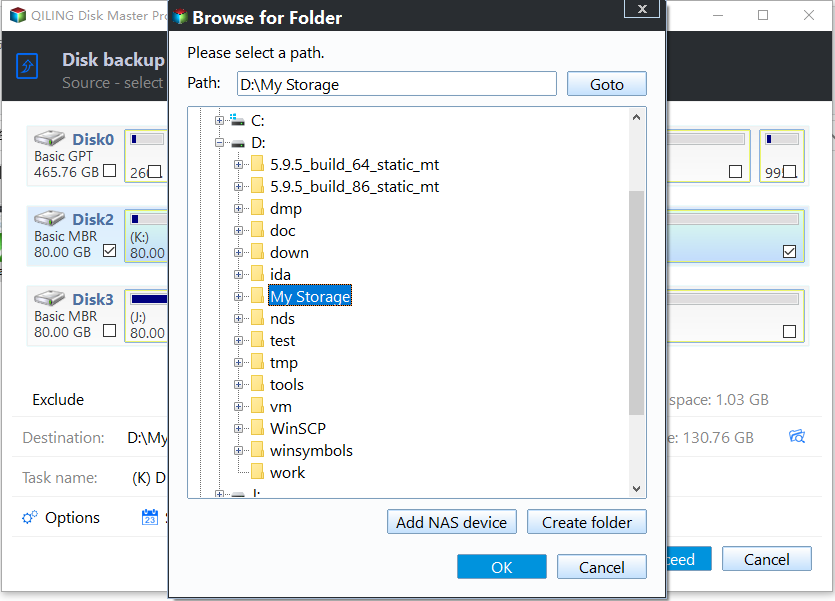
Step 4. To set up the backup settings, you can choose the destination and frequency of the backups. This will ensure that your data is safely stored and can be restored if needed. Once you've selected these options, you can click Proceed to finalize the setup.
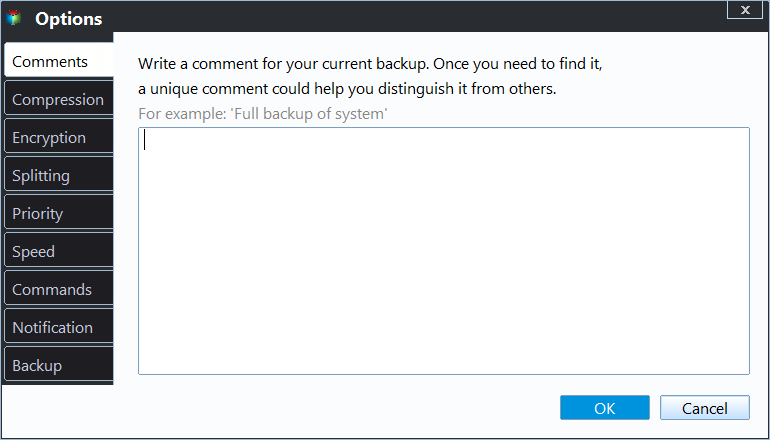
Options: To customize the configuration, click on the option to set up personalized settings, including commenting on the task, enabling email notifications, and utilizing VSS technology, among other features.
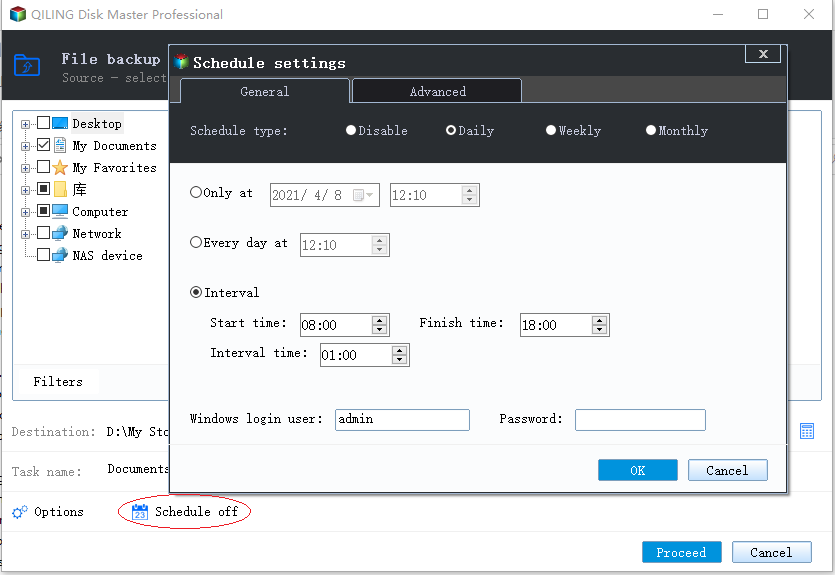
Schedule Backup: You can set backup frequency (Daily, Weekly, and Monthly) here.
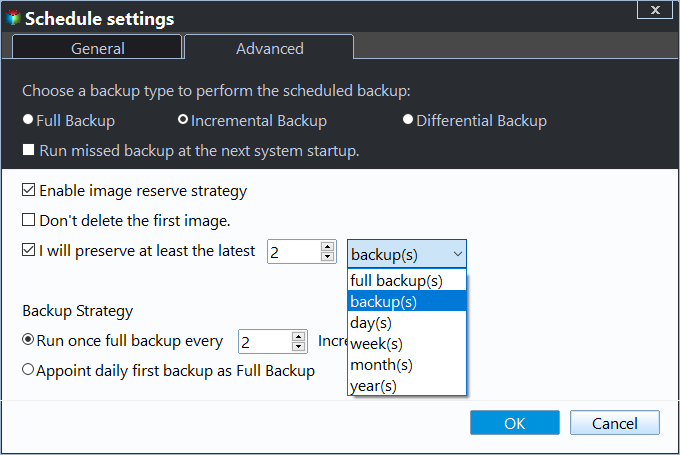
Backup Scheme: You can choose from three backup methods: Full backup, Incremental backup, and Differential backup. Incremental backup is more complex to restore, so advanced versions offer Differential backup as an alternative. Additionally, you can enable automatic backup cleanup in this feature, which is available on the Professional version and above.
★ Tip: To prevent data loss when your computer crashes or the hard disk is damaged, create a bootable media or recovery environment in advance to restore your boot disk.
I was surprised to find that Qiling Disk Master allows you to create a system image for another computer, which can then be used to restore other computers with the help of the dissimilar hardware restore feature (available in the Professional version).
To make a Windows 10 drive bootable, you can use its built-in features, such as Disk Clone or System Clone, to directly create a bootable drive, or use the Disk Clone feature to create a clone of the drive, which can be used to boot the computer in case of a disaster, without having to restore an image file first.
To sum up
To create a backup for your boot disk in Windows 10, you can use built-in tools to separately backup your system and files, or use a free software like Qiling Disk Master Standard that offers more advanced features and a user-friendly interface.
Related Articles
- Repair Windows 10: Create Repair Boot USB Drive
- Bootable Backup for Windows 10 (2 Ways Included)
- Create Windows 10 System Image Backup with 2 Free Ways
- 3 Ways to Transfer System Image to New Hard Drive
- How to Create A Dell Recovery USB in Windows 10 and Restore System from It
- How to Backup Windows 7 in Different Ways - Full Steps with Pictures
If you want to back up your data on Windows 7, you can follow this guide to learn how to back up your system to a USB or external drive. Alternatively, you can use a third-party tool that offers a better solution for backing up your data.