[Easy Fixes] Windows 11 Update Stuck or Failed
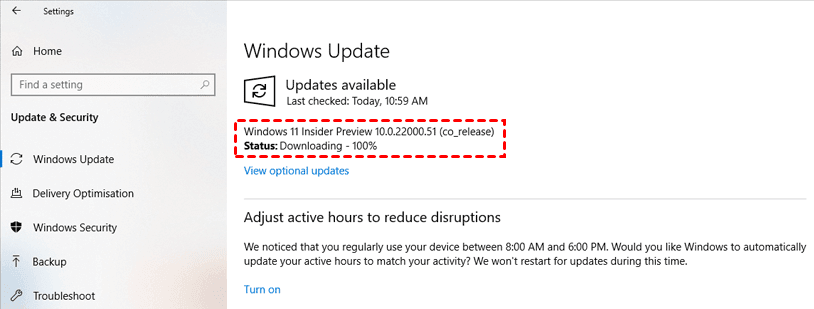
Microsoft releases regular Windows updates, which are crucial for maintaining Windows 11's security and resolving system issues. The latest update addresses compatibility problems between Intel's "Killer" and "SmartByte" networking software and Windows 11, and it's a required installation. Users may encounter issues like updates getting stuck or failing to install.
Why Windows 11 update stuck?
Here are some common reasons that might cause this problem:
▶ Slow internet connection
An unstable internet connection is a primary cause of the majority of 'updates getting stuck' problems, including the Windows 11 upgrade. This can lead to errors in the update's downloading process or damage to the downloaded files, causing the update to become stuck.
▶ Unstable Power Supply
An unstable power supply can cause Windows 11 updates to get stuck, as it may interrupt the installation process when the update is being installed.
▶ Lack of drive space
To avoid issues with upgrading to Windows 11, ensure you have sufficient storage space on your system drive, as the update process requires a lot of space, with the Windows 11 ISO being over 4.5GB in size.
▶ Corrupted update files
The ISO file is crucial for the Windows 11 installation process, and any damage to it can hinder the installation process, making it essential to ensure the file's integrity before proceeding.
How to fix Windows 11 update stuck problem
To resolve the Windows 11 update stuck at 100% or any certain percentage, try restarting your computer in Safe Mode, disable any recently installed software, check for corrupted system files using the System File Checker (SFC) tool, and run the Windows Update Troubleshooter. If the issue persists, boot your computer in Clean Boot mode, and then try updating Windows again.
Way 1. Check your PC
Check if your internet connection and power supply are stable and that all cables are securely connected and undamaged.
Way 2. Run the Windows Update troubleshooter
If you're experiencing problems with Windows Update, try using the Windows Update troubleshooter first, as it may resolve the issue without the need for alternative techniques.
Step 1. Go to Start > Settings > Update & Security > Troubleshoot > Additional troubleshooters.
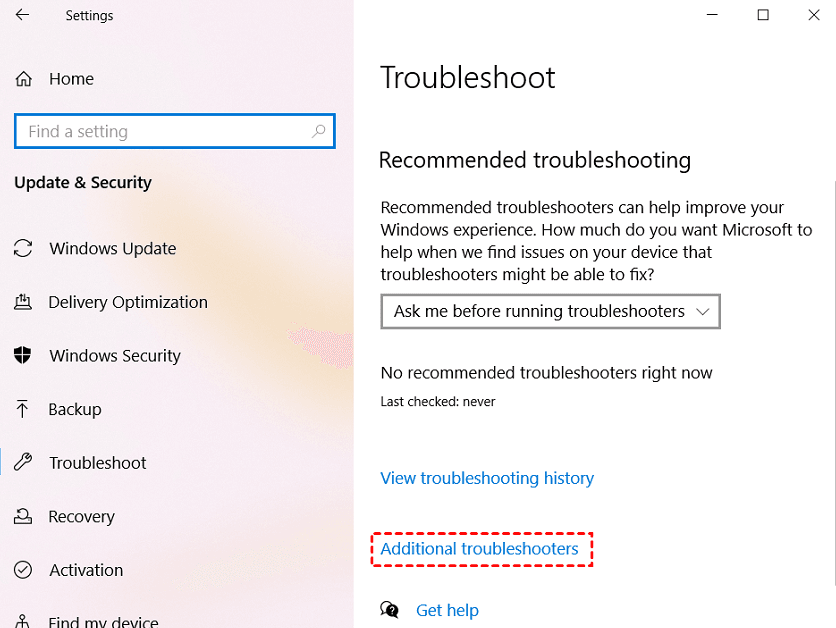
Step 2. In the Additional troubleshooters window, find Windows Update, click on it and then click Run the troubleshooter.
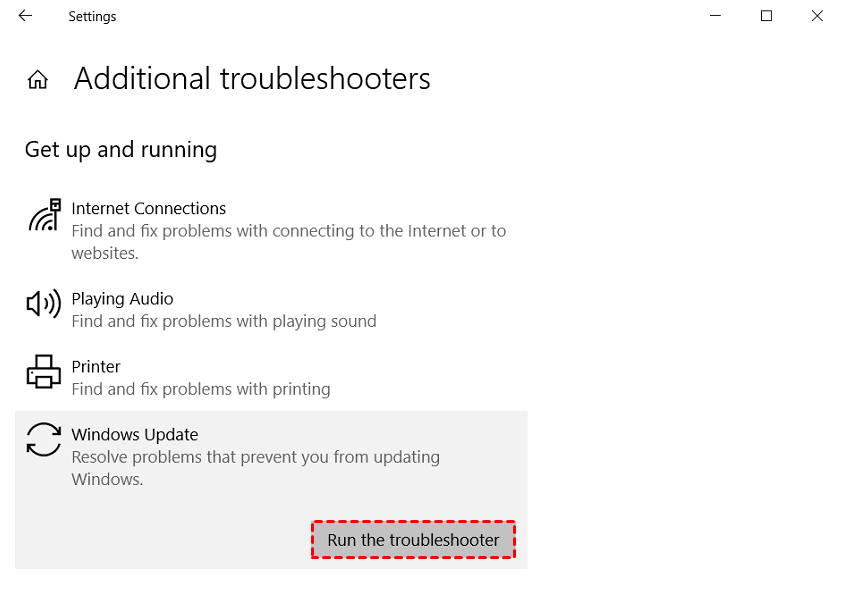
Step 3. Wait for the troubleshooter to look for any issues and fix the issues it finds. Then, restart your PC and the update should download and install now.
Way 3. Extend system drive
If your C drive is running low on space, you can free up more room by rearranging your partitions, moving certain software to other drives, and emptying your download folder.
If you have unallocated space next to your C drive, you can extend your C drive using Disk Management. However, if the unallocated space is not next to your C drive or doesn't exist, you can use Qiling Disk Master Professional to easily resolve the issue.
It's Windows software that lets you merge unallocated space into another drive, even if they're not next to each other, and also lets you share free space directly between drives.
The function iterates through the free space array, allocating each block of free space to the user's request, starting from the first block and moving on to the next one until the request is fulfilled or there's no more free space available. If a block is too small to be allocated, the function skips it and continues with the next one.
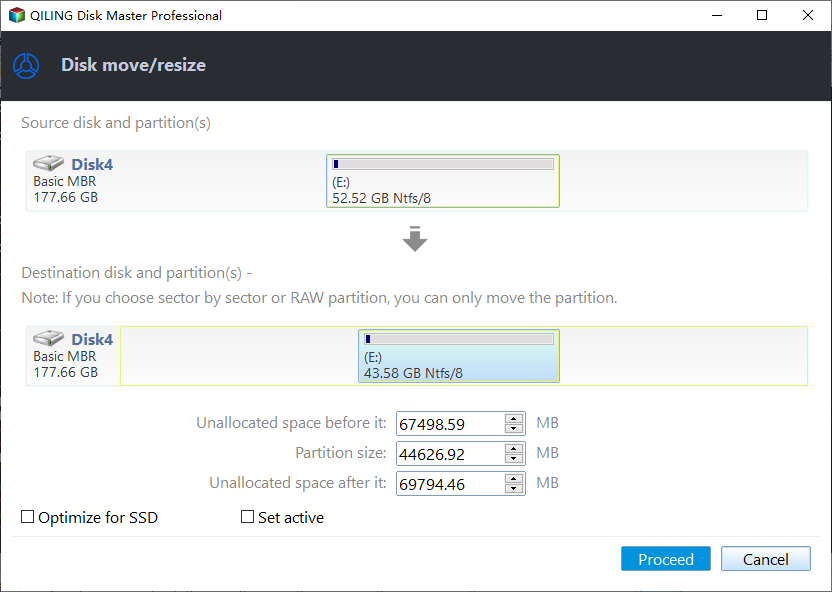
Step 1. Install and run Qiling Disk Master, and right-click a drive with much free space. Choose "Move / resize".
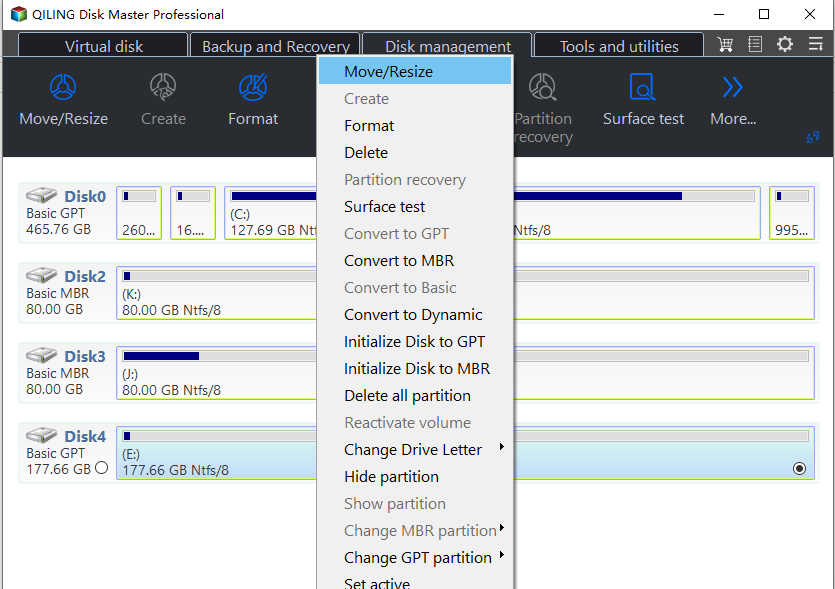
Step 2. To resize the C drive, open the Disk Management window, select the disk where the C drive is located, and click "OK" to open the new window. In this new window, select the target partition from the list and specify the space size. If the target partition is the C drive, select it from the list and click "OK".
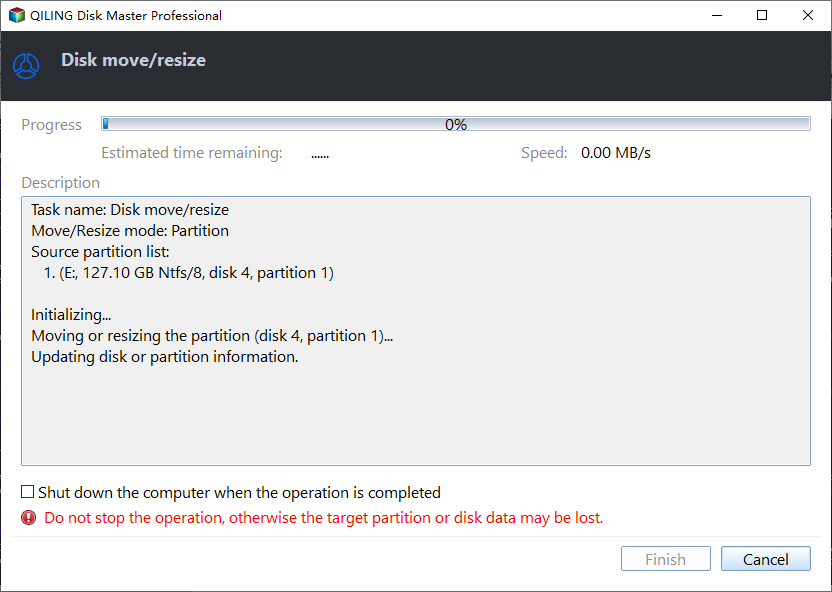
Step 3. Click "Proceed" and "Apply" to execute.
To free up space on the C drive, the system will automatically move some files to the D drive, and then a part of the free space on the D drive will be added to the C drive. This process is usually done to free up space on the C drive, which is typically where the operating system and programs are installed.
Way 3. Check the SoftwareDistribution folder
If you are unsure whether the update process is still running, check the SoftwareDistribution folder at C:\Windows\SoftwareDistribution. This folder stores temporary files used during Windows Update.
To check whether files are still being added, right-click a blank area in the folder, select Properties, and compare the folder size after a few minutes.

If two or more files have the same size, you'll need to restart the update process.
◤ Section 1. Turn off Windows Update and Background Intelligent Transfer Service
Step 1. To launch an elevated Command Prompt, open the Start menu search, type "cmd", and select the "Run as administrator" option. This will open a Command Prompt with elevated privileges, allowing you to run commands that require administrative access.
Step 2. Execute the command net stop wuauserv and net stop bits in order.

Then close CMD.
◤ Section 2. Delete the update files in the SoftwareDistribution folder
Step 1. Navigate to C:\Windows\SoftwareDistribution and select all the files and folders there.
Step 2. Right-click on the selected items and select Delete. If you fail to delete them, restart your computer and try again.
◤ Section 3. Turn on the services again
Step 1. Launch Command Prompt in Admin mode.
Step 2. Run the command net start wuauserv and net start bits one by one.
Then exit Command Prompt and try to update again.
Way 4. Uninstall a conexant audio device in Device Manager
Some users reported this way can fix the Windows 11 update stuck issue. Here are the steps.
◤ Section 1. Disable automatic driver downloads
Step 1. Open the Start menu search, type "control", and select Control Panel. In the All Control Panel Items window, select "System".
Step 2. In the next window, select "Advanced" system settings.
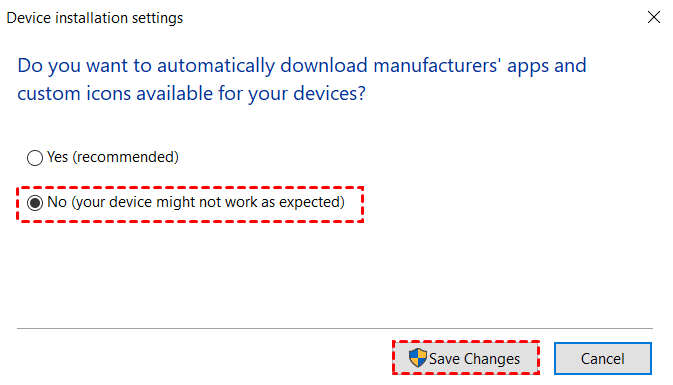
Step 3. Select the "Hardware" tab and click "Device Installation Settings".

Step 4. Select No (your device might not work as expected) and click "Save Changes".
◤ Section 2. Uninstall a conexant audio device in Device Manager
Step 1. Right-click on the Start menu and select Device Manager.
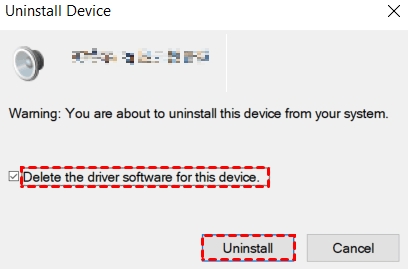
Step 2. Find your audio device under "Sound, video and game controllers". Right-click on the device and select "Uninstall device".
Step 3. In the pop-up window, check the box "Delete the driver software for this device" and click "Uninstall".
Reboot your computer, check the device drivers in Device Manager to ensure they haven't been reinstalled, and then try updating to Windows 11 again. After the update, you can enable driver downloads.
Final lines
In this post, we show you 4 ways to fix Windows 11 update stuck, hoping one of them can help you solve the problem. Qiling Disk Master is also an all-around Windows manager that can clone disk, migrate OS, convert a disk to GPT/MBR without data loss, and more.
7-Zip has different editions, including a free version, the Server Edition for Windows Server users, and the Unlimited Edition for enterprise users to efficiently manage their devices.
Related Articles
- Solved: C Drive Is Full After Windows 10 Update
C drive is full after Windows 10 update from Windows 7 or Windows 8? Read this article to get realize how to solve C drive full in Windows 10 quickly and effectively. - Best Freeware to Backup Windows 10 Operating System (OS)
Backup Windows 10 operating system (OS) with Windows free backup and restore software - Qiling Disk Master Standard, which can create a system image backup on Windows 10/8/8.1/7XP/Vista. - Solved: C Drive Is Full After Windows 10 Update
C drive is full after Windows 10 update from Windows 7 or Windows 8? Read this article to get realize how to solve C drive full in Windows 10 quickly and effectively. - How to Change My Documents Location Windows 10 Registry?
How to Change My Documents Location Windows 10 Registry?: this guide summarizes the key steps, practical tips, and safer options so you can finish the task clearly and avoid common mistakes. - Best Client-Server Backup Software for Windows | Download
To backup client computers from a central server, you can use client server backup software to save backup time and administrative cost. Go and have a try. - Configure Email Notification for Windows Server 2012 (R2) Backup (2 Ways)
This article introduces 2 effective ways to enable and configure email notifications for Windows Server Backup 2012 (R2). Learn more about them now!