How to Backup User Profiles in Windows 7, 8, 10, 11
- Why backup user profiles in Windows 7
- How to backup user profiles in Windows 7
- Way 1. Windows Backup and Restore
- Way 2. Copy advanced system settings in computer properties
- Way 3. Advanced way to backup and restore user profile in Windows 7/8/10/11
- Other things you need to know
- When will you receive "Corrupt user profiles" error in Windows 7?
- How to fix "Corrupt user profile" error in Windows 7
- Conclusion
Why backup user profiles in Windows 7
To prevent your personal files and settings from being accidentally lost or damaged, it's recommended to back up your Windows user profile regularly. This can be done by creating a backup of your profile in a safe location, such as an external hard drive or cloud storage. This way, you can easily restore your profile and settings in case of a reinstalling or clean installation of Windows.
To customize a fresh Windows install or new computer with your original user profiles, you should backup your original user profiles and restore them when needed.
How to backup user profiles in Windows 7
To use your original user profiles in a fresh install or newly-bought Windows 7 computer, you can copy user profiles in Windows 7 by following these steps: copy the entire Users folder from the old computer to the Users folder on the new computer. This will transfer all user profiles, including passwords, settings, and files, from the old computer to the new one.
Way 1. Windows Backup and Restore
To backup user profiles in Windows 7, you can use the built-in Windows Backup and Restore feature. For detailed steps, you can follow the process as described below.
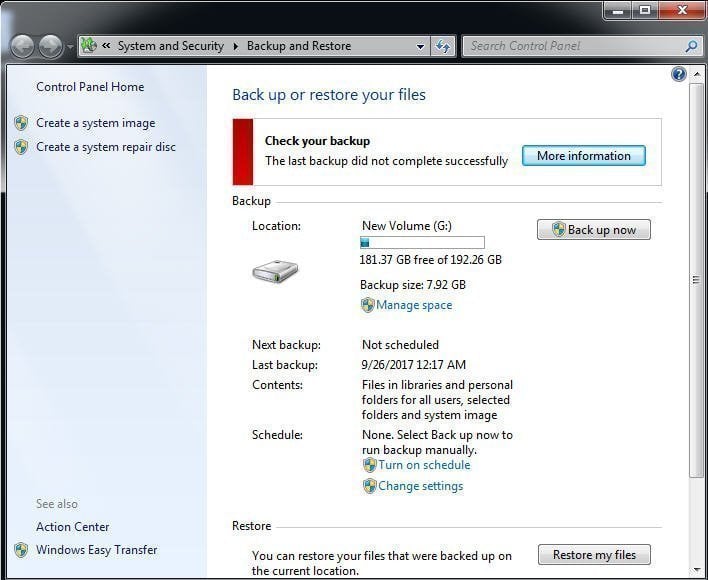
Step 1. To start the backup and restore process, click on the "Start" button and type "Backup and Restore" in the search box, then select it from the list of results that appears.
Step 2. In the "Backup and Restore" window, you can click on the "Change setting" option to access further settings, or if this is the first backup task, you can select "Set up backup" under the "Backup" tab to initiate the process.
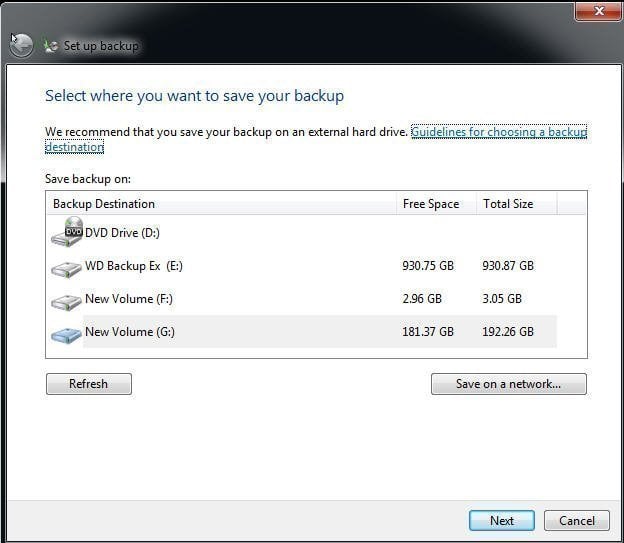
Step 3. Choose a destination path for your backup task.
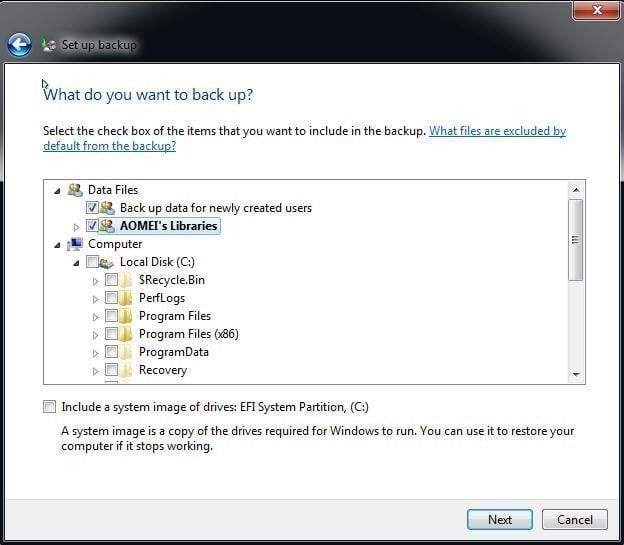
Step 4. Choose "Let me choose" option under "Set up backup" window.
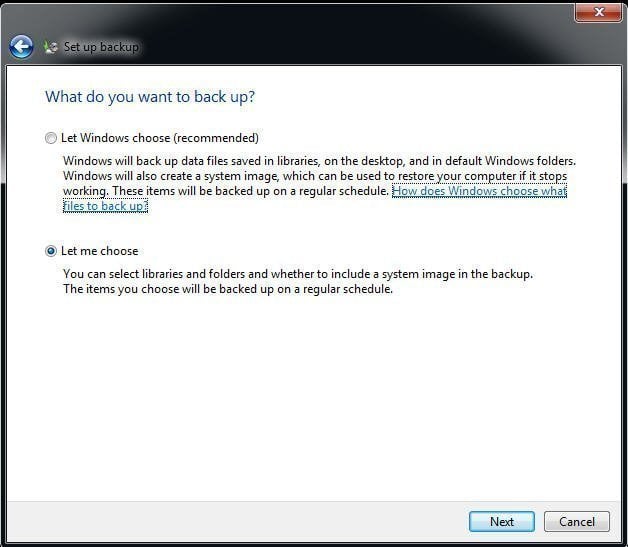
Step 5. Choose your user profiles on the computer. And you can choose to uncheck "Include a system image of drives" option if you only want to backup user profiles.
Step 6. Review your backup settings and click "Save settings and exit" if everything is correct.
Aside from backing up user profiles, you can also use it to backup specific foldersaccording to your needs.
Note: If you want to restore user profiles in Windows 7, you can use a copy of your original user profiles to restore via Windows 7 Backup and Restore, or choose to restore it from a Windows 7 recovery disk.
Way 2. Copy advanced system settings in computer properties
If you do not need an image file, you can use the second method. This method involves using a third-party service, such as Google's Cloud Vision API, to extract the text from the image.
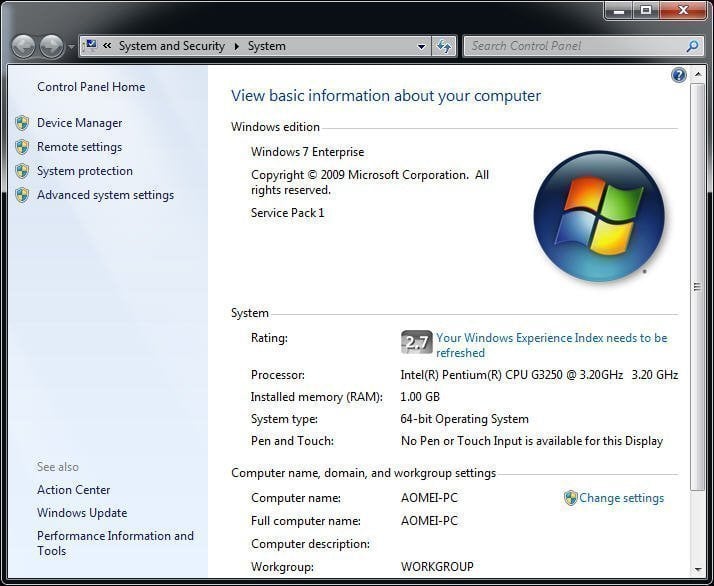
To backup user profiles in Windows 7, go to "Advanced system settings" in the computer properties, which can be accessed by right-clicking on "Computer" and selecting "Properties." From there, click on "Settings" under the "Performance" section, then click on "Advanced" and select "Settings" under the "User Profiles" section.
Step 1. To access the system properties, right-click the "Start" menu, then click on "Computer" and select "Properties" from the context menu.
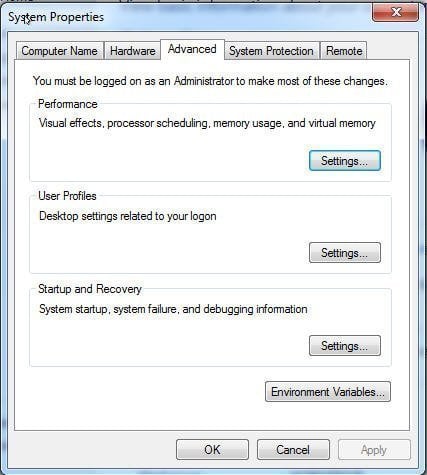
Step 2. Click "Advanced system settings" to summon the next window.
Step 3. Click "Settings" under "User Properties" tab.
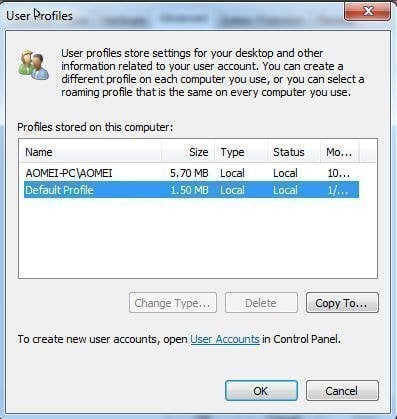
Step 4. Choose the user profiles you want to backup, click "Copy To" and then "Browse" to select a destination path for the backup, and follow the prompts to complete the process.
Way 3. Advanced way to backup and restore user profile in Windows 7/8/10/11
To backup user profiles, you can also use a file backup software, such as Qiling Disk Master, which allows you to easily back up user profiles with a few simple steps.
Qiling Disk Master is a top-notch free file backup software that allows effortless copying of user profiles in Windows 7, 8, 10, 11 using its File Backup feature. It also enables scheduled automatic backup, and by default, it only backs up changed files with incremental backup in a scheduled task.
If you have a Qiling account, you can also back up files to Qiling Cloud using its Cloud Backup feature, which offers 1TB of free cloud storage for 15 days after registration.
Download the freeware to have a try:
To create a full system image and restore it to different hardware, you may need the Professional edition for the Universal Restore feature.
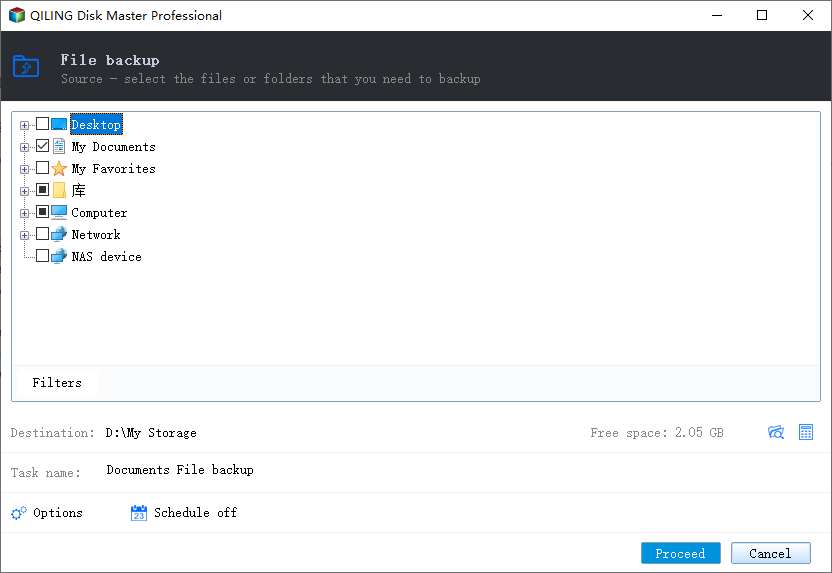
Step 1. Click "Backup" and then "File Backup" subsequently. If you want a full system image that includes the user profile, go with "System Backup".

Step 2. To mount user profiles on your computer, click on either the "Files" or "Folders" option, depending on your specific needs and preferences. This will allow you to access and manage user profiles, which can be useful for various purposes such as accessing shared files or managing user accounts.
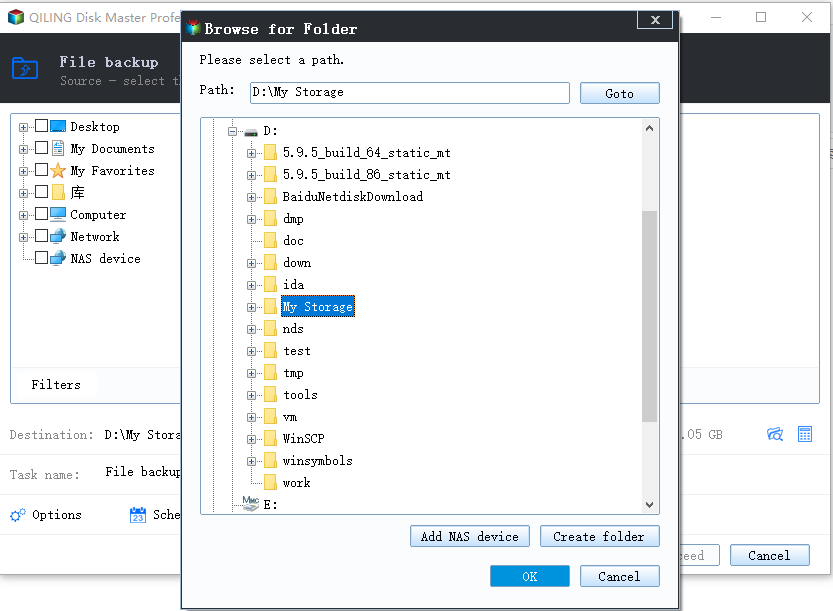
Step 3. To save a backup image of Windows 7, specify a target path to save the backup image. This can be a local drive, network share, NAS, or USB hard drive, and you can also choose to copy user profiles to the target location. This allows you to easily transfer user profiles to another computer.
Step 4. To proceed with the file backup, click the "Proceed" button in the File Backup window.
Note: If you want to restore your backup, you can either click on the task to restore it or go to the Restore tab to select a task or image file for restoration. To do this, you can follow the steps outlined in the File Restore section.
Other things you need to know
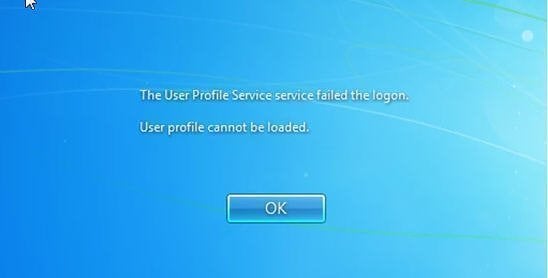
There are two situations you may receive "corrupt user profiles" error. This error can occur when you are trying to install a new Windows update, or when you are trying to activate a Windows product key. In both cases, the error is caused by a problem with your user profile, which is a set of files that stores your user settings and preferences.
When will you receive "Corrupt user profiles" error in Windows 7?
- The user profiles is corrupt or missing.Windows update failures or automatic updates that involve system file upgrades, such as service pack installations, can lead to a corrupt user profile. This situation often arises when these updates go awry, resulting in damaged system files that affect the user profile.
- File system is damaged.The situation typically occurs when the file system of a hard drive is damaged due to disk write errors, power outages, or virus attacks, leading to an inability for the operating system to load the user profile and boot properly.
How to fix "Corrupt user profile" error in Windows 7
To fix the issue, you can create a new Windows 7 account. This will give you a fresh start and might resolve any problems you're experiencing with your current account.
Step 1. Boot your Windows 7 computer with administrator account or another user account.
Step 2. To access the "Manage another account" link, go to the "Control Panel", then click on "User Accounts and Family Safety", and finally select "User Accounts". From there, click on the "Manage another account" link located in the right panel.
Step 3. Click "Create a new account".
Step 4. To create an account, start by typing your desired username and selecting an account type from the provided options. Once you have completed these steps, click the "Create Account" button to proceed with the registration process.
Step 5. To make hidden files and folders visible on your computer, go to "Computer" > "Tools" > "Folder Options" > "View" tab, check "Show hidden files and folders", and uncheck "Hide protected operating system files", then click "Apply" and "OK".

Note: If you cannot see "Tools" at the top of the window, click the "Alt" key on your keyboard. This will enable the menu bar and allow you to access the "Tools" option.
Step 6. Go to C:\Users\OLD_USERNAME, copy all files except Ntuser.data, Ntuser.data.log, Ntuser.ini, then paste the copied files into C:\User\NEW_USERNAME.
Notes:
- The C:\ drive is the primary drive where Windows 7 is installed.
- OLD_USERNAME is the username that has the corrupted profile error.
- NEW_USERNAME is the username that you created.
Step 7. To resolve the issue, restart your computer and log in with the new user account you create.
Conclusion
In Windows 7, there are three methods to back up user profiles, and I prefer the last method, which is easy to operate and offers additional schedule settings or scheme options. It also provides more advanced features, such as System Backup, Disk Backup, System Clone, File Restore, and more.
You can protect unlimited computers within your company by using Qiling Disk Master Technician, which includes a Qiling Image Deploy tool that allows you to deploy or restore system image files on multiple client-side computers from a server-side computer over a network.
Related Articles
- Backup User Profile Windows 10 and Move it to Another Computer
You will learn how to backup and restore user profile in Windows 10/11, without spending hours customizing the new computer. - Create a Schedule to Backup User Files in Windows 10/8/7
This article will show you how to create a schedule to backup User files in Windows 7/8/10/11 and provides you with 2 helpful ways. - Backup Specific Folders That Change Often in Windows 10
You will learn how to easily backup specific folders that change often in Windows 10 with File History or Qiling Disk Master Standard. Pick up one to protect your data now! - How to Backup Files in Windows 7 to External Hard Drive
How to backup files in Windows 7? How to backup computer to external hard drive in Windows 7? You will find answers here. - Backup Files and Folders for Windows 7/8/10 with Simple Steps
Looking for an easy way to backup files and folders on a computer? Get the free tutorial here with quite simple steps for file backup in Windows 11/10/8/7. - Top 2 Ways to Backup Files to Dropbox in Windows (Free)
Users want to backup all files on their computer to Dropbox so that their data will be safe even in case of computer meltdown. But how to backup files to Dropbox free?