Fixed: "File History Element Not Found" Error on Windows 10
- File History Cleanup Error- Element Not Found
- How to Fix “File History Cleanup Element Not Found” Error
- Solution 1. Disconnect Your Peripherals
- Solution 2. Scan Your System Files
- Solution 3. Cleanup and Repair Your Drive
- Solution 4. Undo Recent Updates
- Solution 5. Reset File History
- Best File History Alternative with Auto Cleanup Function
- To Sum Up
File History Cleanup Error- Element Not Found
"Can anyone help with this issue with File History giving Element Not Found when trying to do clean up? It happens on Fresh installs. This happens no matter what I have done. Even wiping the drive that is assigned to do the File history I still get the errors. I have seen many posts in Microsoft forums and feedback hub but still no solution was provided. I am not really sure which Windows 10 Version or build where this started to be an issue. Any help for this would be grateful!"
- Question from Reddit
File History is one of the built-in Windows 10 backup utilities that allows you to back up your data and files, which can then be restored if something goes wrong. However, over time, backup folders can take up too much drive space, and you may need to clean them up.
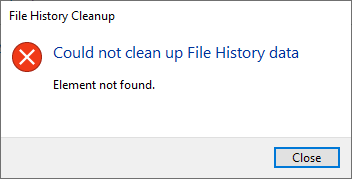
The operating system may sometimes be unable to find the backup file and clean up your File History data, resulting in an error message like "Could not clean up File History data: Element not found."
Why does this error occur and how to fix it? Read on to find the solutions.
How to Fix “File History Cleanup Element Not Found” Error
The error may be caused by system file corruption, hard drive problems, or other issues, and can be frustrating to resolve. Fortunately, there are several solutions that can help fix this error, including checking for system file corruption, running a disk check, updating drivers, reinstalling Windows, and using a system file checker tool. By trying out these solutions, you may be able to resolve the error and get your system up and running smoothly again.
Solution 1. Disconnect Your Peripherals
Unplug all USB drives and devices connected to the computer, as they may be preventing certain processes from starting, and then try to perform File History Cleanup again.
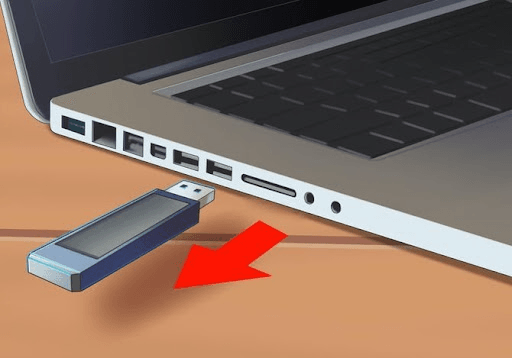
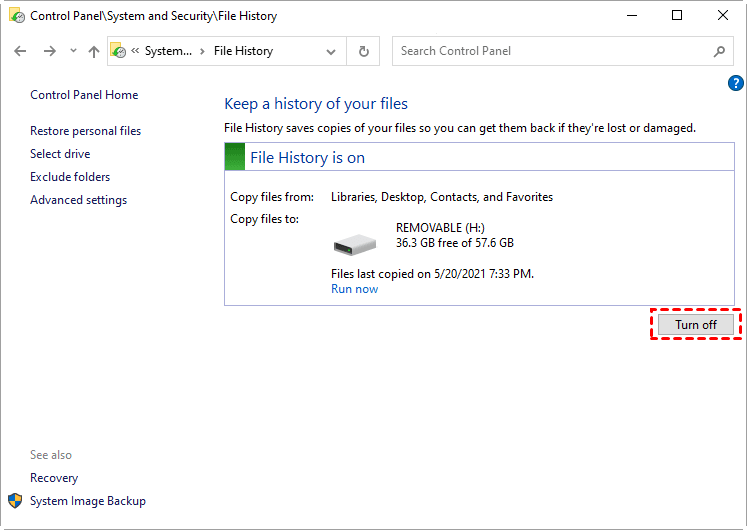
To resolve the issue, first turn off File History by going to Control Panel, then System and Security, and finally File History. Next, disconnect the external hard drive and restart your computer. After the restart, reconnect the external drive and check if you can delete the problematic file.
Solution 2. Scan Your System Files
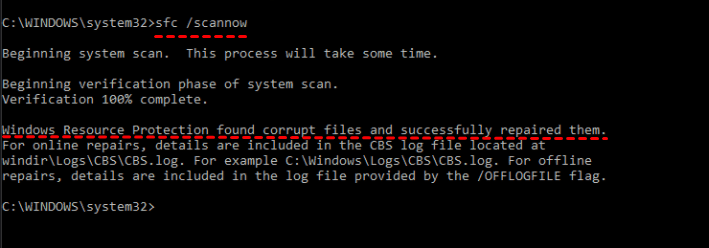
If the error "File History element not found" persists after disconnecting peripherals, it's possible that system files are damaged. To fix this, run the System File Checker tool, which can be accessed by typing "sfc /scannow" in the Command Prompt. This will scan and replace any corrupted system files.
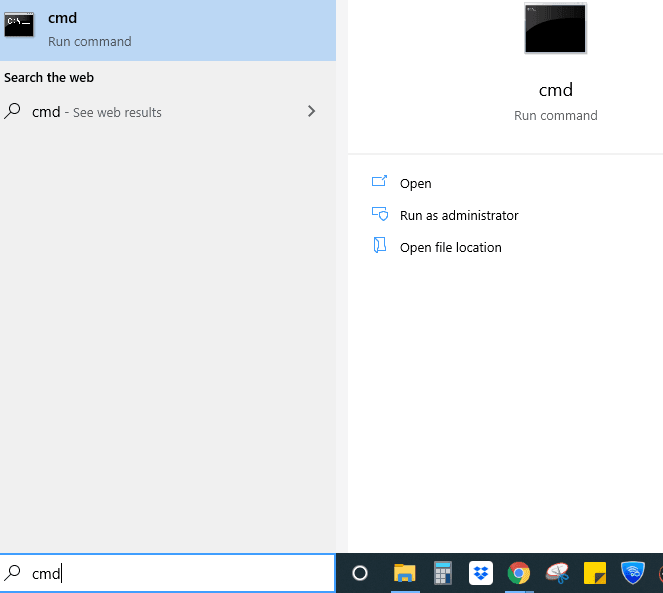
- To open the Command Prompt, type "cmd" in the search box and click "Run as administrator" to open it.
- Then run the SFC command. Type the below code in the Command Prompt window, and hit Enter. After the process is complete, restart the computer to see if you can perform File History Cleanup.
☞ sfc /scannow
- If the error persists, run the following commands in Command Prompt:
- DISM /Online /Cleanup-Image /StartComponentCleanup
- DISM /Online /Cleanup-Image /RestoreHealth
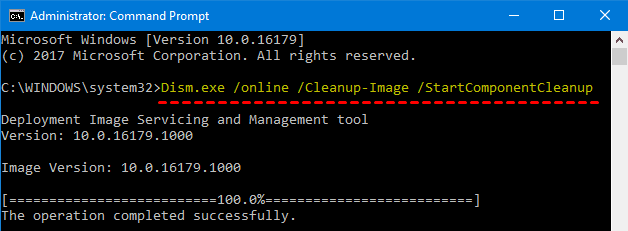
After the DISM operations are complete, restart the computer to see if the error is fixed.
Solution 3. Cleanup and Repair Your Drive
Some users solved the error by repairing their drives.
- Go to This PC, right-click on your drive, and select Properties.
- Click on the General tab and select Disk Cleanup.

- Select the files you want to remove, including temporary files, and click OK.

- Check your drive for file system errors by clicking on "Tools" and following the on-screen instructions.
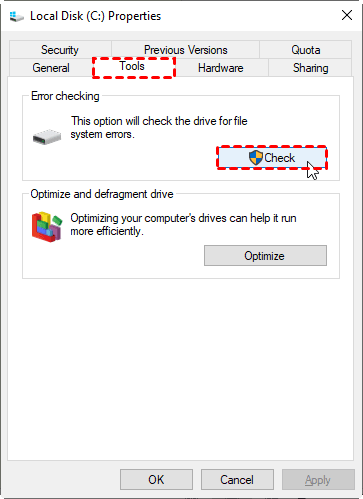
- After the process is complete, restart your computer and check if you can now delete the File History file.
Solution 4. Undo Recent Updates
If File History issues arise after updating the operating system, try uninstalling the most recent update and restarting the computer to resolve the problem.
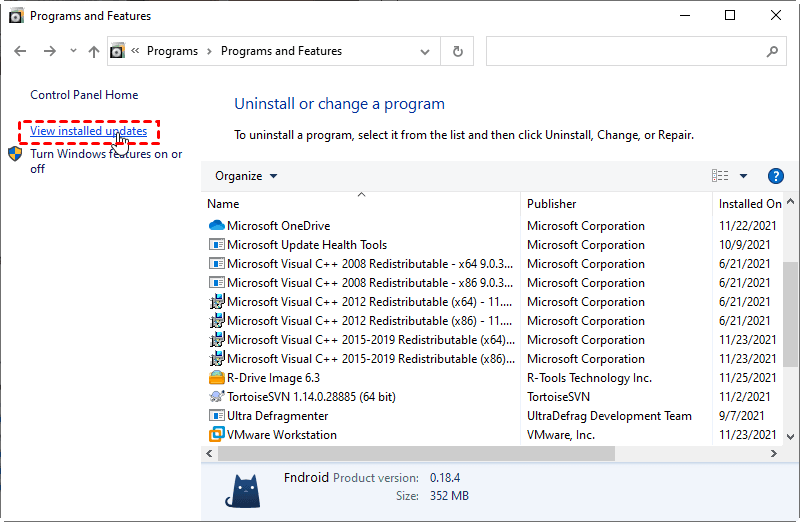
- Go to the Control Panel and click on "Uninstall a program" under the "Programs" section.
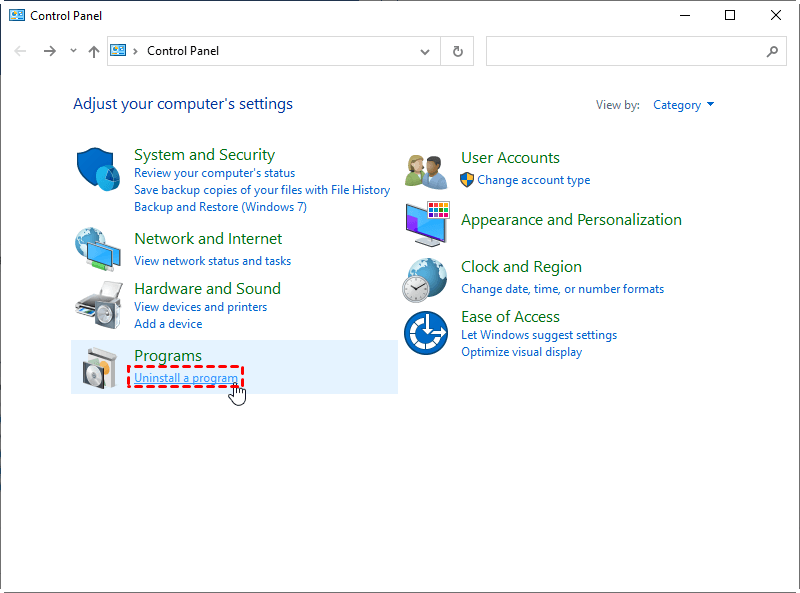
- Click on View installed updates to uninstall an update.
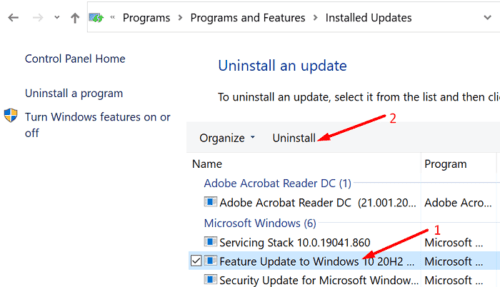
- Then find the newest update and delete it.
Solution 5. Reset File History
To resolve the issue of File History not working in Windows 10, you can try resetting File History and then set up a new backup for specific folders. This will help you regain access to your backed-up files and ensure that your important files are safely stored.
- To turn off File History, go to the Control Panel, click on System and Security, then File History, and finally click Turn off.

- To access the File History folder, navigate to the folder %UserProfile%\AppData\Local\Microsoft\Windows\FileHistory in File Explorer, either by typing the path into the address bar or by searching for it.
- Delete all files and folders you see.
- Go to File History in the Control Panel, click on it, and then select the option to Turn on.
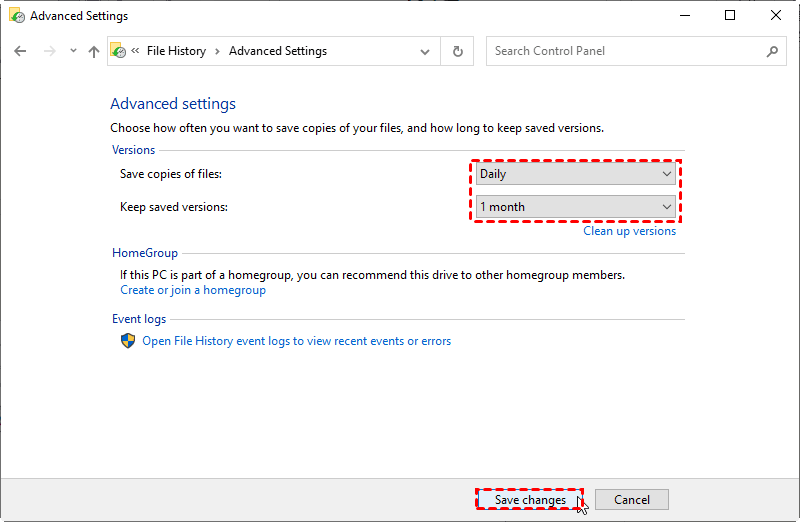
- To adjust the backup settings, click on "Advanced settings" in the left menu, set the backup frequency to daily and the retention to 1 month, and then click "Save changes".
File History can be helpful for saving a copy of a file, but it may experience errors like "File History element not found" and potential failures such as inaccessible service, disconnected drive, or no usable drives found, making it an unreliable file backup software.
Looking for an easy way to backup files or other important items? Try the best File History alternative for a hassle-free experience.
Best File History Alternative with Auto Cleanup Function
Qiling Disk Master Professional is a full-featured backup and restore software that supports various backup types, including file, system, disk, and partition backups, making it a suitable alternative to File History for Windows users.
The software has an automatic backup cleanup feature that can help delete backup image files in a scheduled task, which is very helpful for saving disk space and keeping all the latest backups.
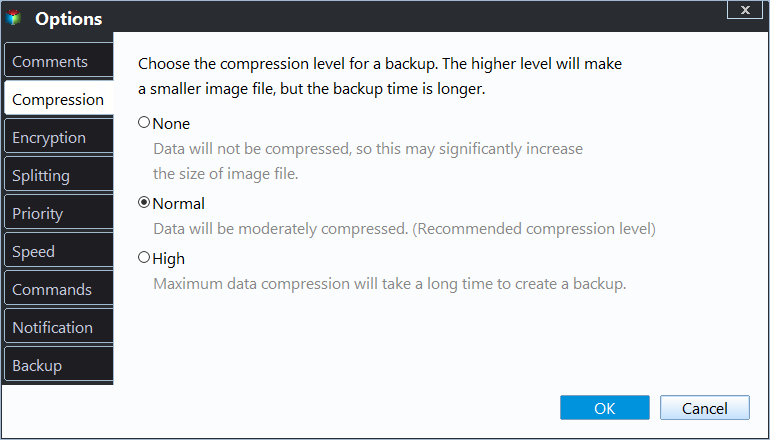
The software minimizes backup disk usage with features like incremental or differential backup, which only saves changed files, and compression options for normal or high compression levels, further reducing storage needs.
To set up a backup with automatic backup cleanup, Qiling Disk Master allows you to configure a backup scheme that automatically deletes old backup images, saving disk space and keeping your backup storage organized.
Step 1. Download and install the software, which offers a 30-day free trial, allowing you to test it without initial financial commitment.
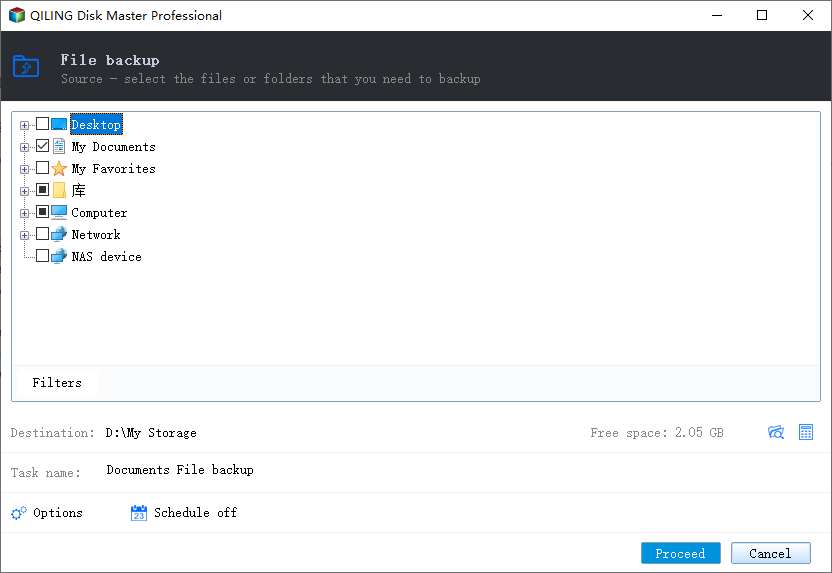
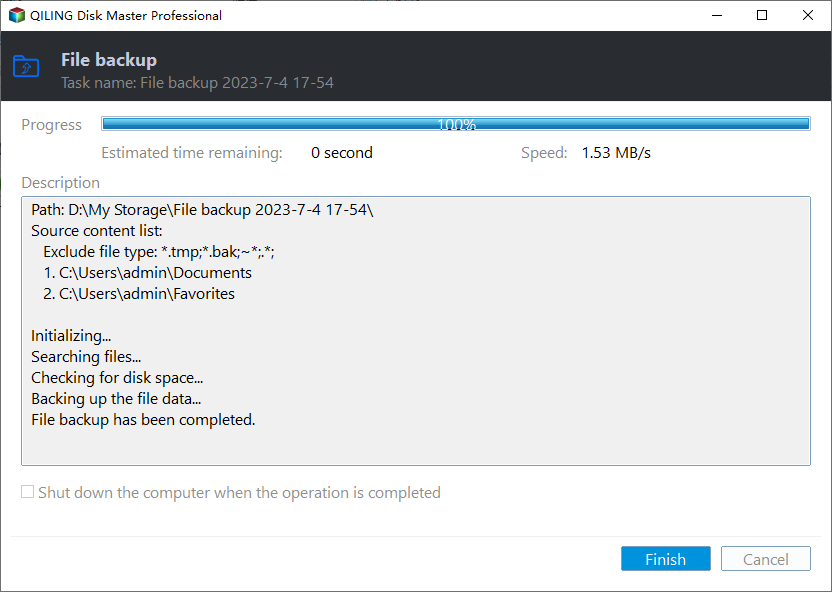
Step 2. Open Qiling Disk Master, click Backup, then select File Backup from the options provided, or choose one of the other three backup methods based on your specific needs.

Step 3. Select the files or folders you want to backup by clicking on either the "Files" or "Folders" option. Next, choose a destination for the backup by clicking on the box below the arrow.
Step 4. To set up automatic backups, click Schedule Backup, then choose a frequency such as daily, weekly, or monthly, or trigger a backup when an event occurs or when a USB device is plugged in. Next, click Backup Scheme to configure the backup method and auto-cleanup settings.
▶ Backup Methods: This software offers three common backup methods: full backup, incremental and differential backup, with incremental backup being the default option.
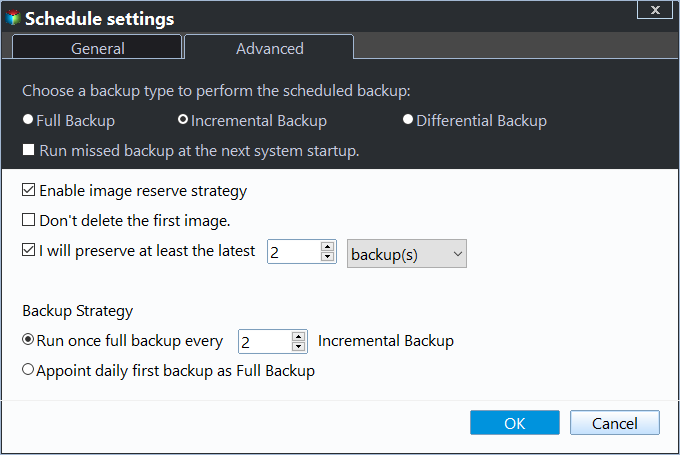
▶ For Automatic Backup Cleanup: The program offers 3 cleanup rules: By quantity, By time, and By day/week/month. When enabled, Automatic Backup Cleanup automatically removes image files, freeing up disk space.

Other Special Settings: ✦ Options: You can add a note to your backup to make it easily identifiable, and also encrypt it to keep your data private.
Step 5. Confirm the backup task and click Proceed. This will initiate the first backup, and subsequently, automatically delete backup files when the set backup number or time is reached.
To Sum Up
After reading this article, you should be able to fix the "File History element not found" error using the solutions provided. However, the built-in Windows backup tool often falls short of meeting our backup needs, leading to frequent problems. To avoid these issues, it's recommended to use a professional software like Qiling Disk Master to protect your system and files from the start.
You can use the software's Sync feature to perform continuous file sync on Windows, saving time and increasing productivity, while keeping the original file structure intact, allowing for direct use or modification at any time.
Related Articles
- File History Cleanup | All You Need to Know
You will get 3 ways for File History cleanup and one professional software to prevent backup disk full issues. - Windows 10 Sync Center Not Working - Fix or Replace It
You will learn to fix "Windows 10 Sync Center not working" in 7 different solutions, or use one more flexible software to sync network files to a local drive. - Solved: External Hard Drive Shown as “Unknown device”
Bothered by the issue that the external HDD/USB flash drive is shown as "Unknown device" in Windows 7/8/10? Go through this article to get effective solutions. - Windows 10 File History vs Backup: Which One Works for Me?
Here is an overall comparison between Windows 10 File History vs backup from third party. By reading through, you can decide which backup plan works for you, and follow the guide to create your own backups of important files, folders, opreating system restore points and anything you wish to protect. - How to Create Lenovo Onekey Recovery on New Hard Drive
You can easily recover your system as long as you create Lenovo onekey recovery on new hard drive, even when the original is damaged. - Restore from Initial Backup with Lenovo OneKey Recovery (2 Steps)
You can learn how to restore from initial backup using Lenovo OneKey Recovery easily. Also, you can use another powerful software.