How to Clone Windows Server 2012 (R2) to SSD at Ease?
Why clone Windows Server 2012 (R2) to SSD?
Compared to traditional Hard Disk Drives (HDD), Solid State Drives (SSD) perform better in several aspects. SSDs use memory chips to store data, resulting in faster read and write speeds, and their lack of moving parts reduces the risk of data loss.
Many Windows Server 2012 (R2) users want to upgrade their hard drives to solid-state drives (SSDs) to take advantage of their benefits, but reinstalling the operating system and other applications on a new SSD can be a tedious and time-consuming process. To avoid this, duplicating Windows Server 2012 (R2) to the SSD is a convenient and efficient solution.
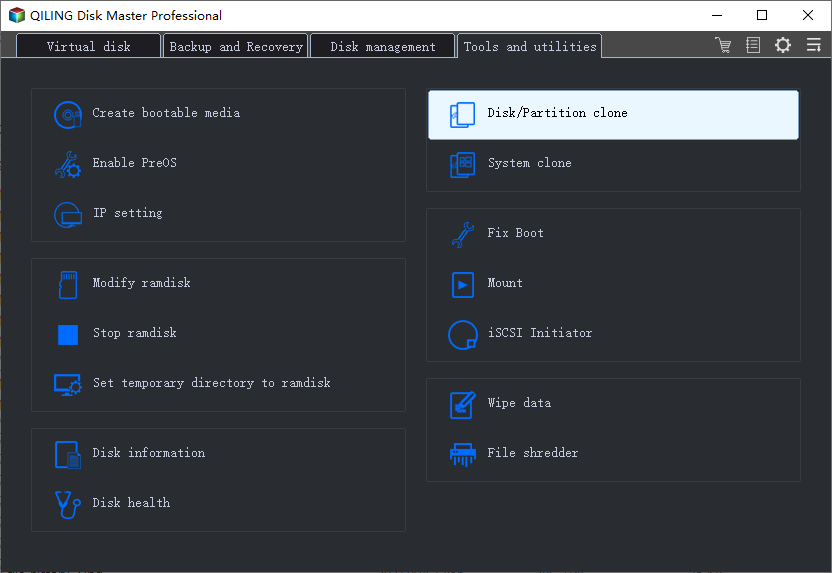
How to clone Windows Server 2012 (R2) to SSD?
As Windows has no built-To clone Windows Server 2012 (R2) to an SSD using a reliable third-party tool, Qiling Disk Master Server is a suitable option.
Qiling Disk Master can clone the entire Windows Server 2012 (R2) hard drive to SSD or clone specific partitions to SSD, allowing you to retain Windows Server 2012 (R2) on your new SSD without reinstallation. You can choose to clone all partitions or migrate only OS-related partitions to SSD, and the software also enables 4K alignment for SSD to improve its performance during the cloning process.
✔ Clone entire Windows Server 2012 (R2) hard drive to SSD
On Windows Server 2012 (R2), you can duplicate the entire disk to an SSD, effectively migrating all data on the hard drive to the SSD without losing any information, allowing you to reserve the operating system and all other data on disk.
◤ Prepare proper SSD and connect it to your machine (The capacity of SSD should not be smaller than the used space of source hard drive).
◤ Defrag your hard drive The time spent on cloning can be decreased by using a solid-state drive (SSD) instead of a hard disk drive (HDD). This is because SSDs have faster read and write speeds, allowing for quicker data transfer and cloning.
◤ Check the error of the partition on the hard drive and fix it if there is an error on the hard drive.
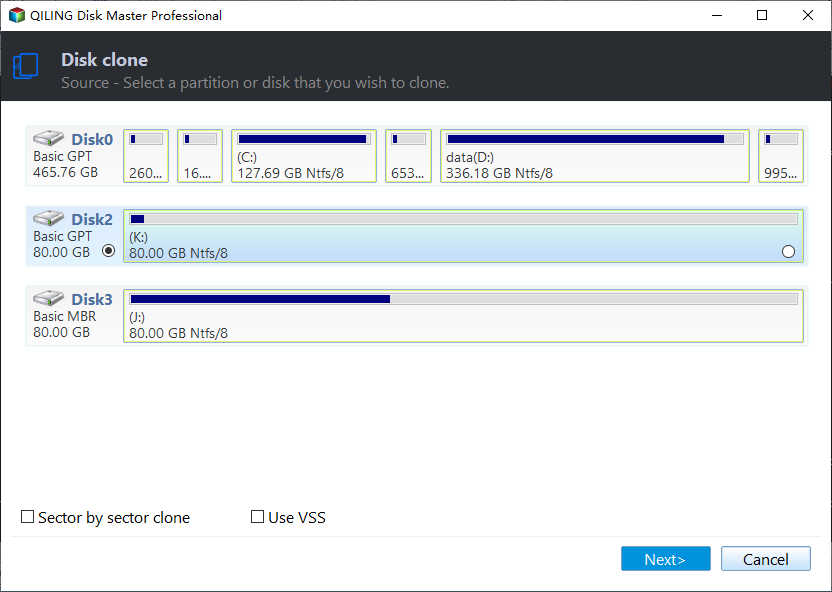
Step 1. Install and launch Qiling Disk Master, then click "Clone" in the main interface and select "Clone Disk" from the options.
Step 2. Choose the hard disk that you need to clone as the source disk and click "Next".
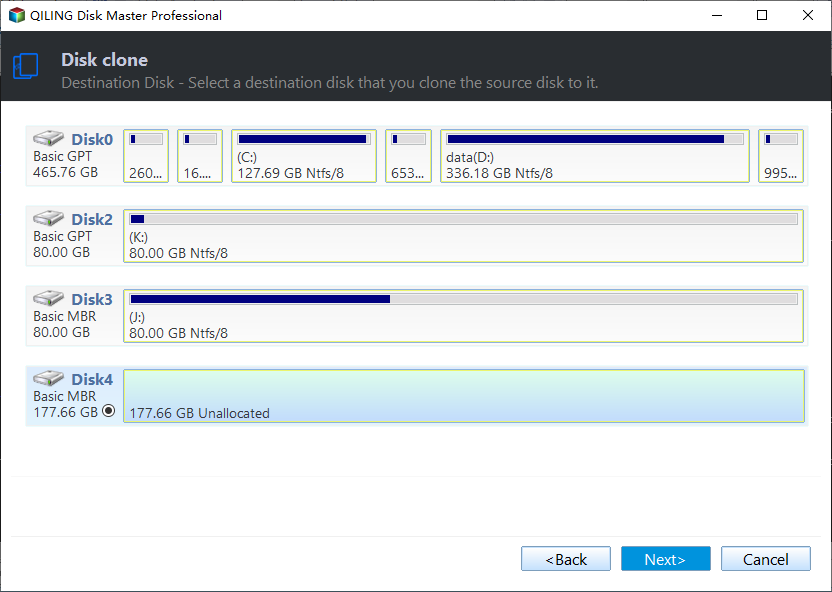
Step 3. Select the destination disk where you want to store the data from the source disk, and then proceed with the next step.
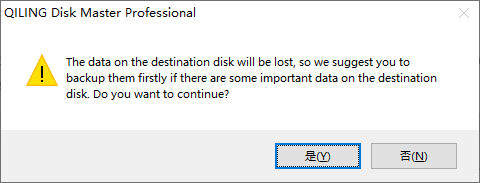
Step 4. After selecting the clone mode, you can verify the source and destination disk in the next window, or switch to "Sector to Sector clone" mode, and click the "Confirm" button if there are no issues.
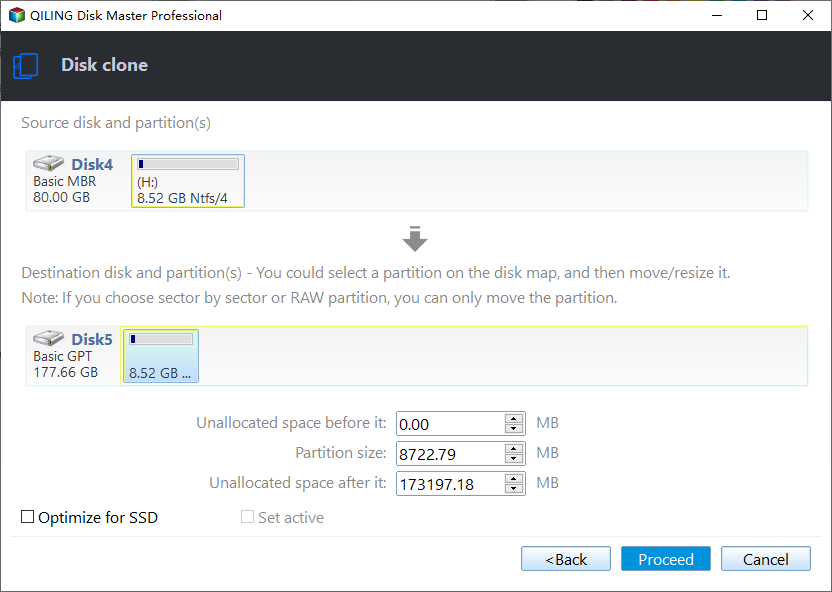
If the target disk is an SSD drive, you can improve its reading and writing speed by ticking "4k alignment". Additionally, you can adjust the partition size on the destination disk as needed.
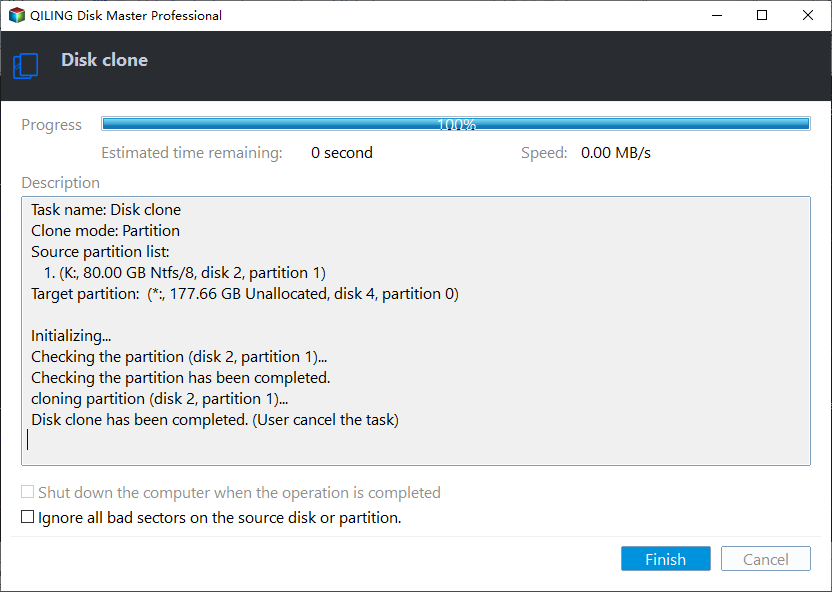
Step 5. To begin the cloning process, click the "Proceed" button in the main interface. This will initiate the hard drive cloning operation.
✔ Migrate OS to SSD on Windows Server 2012 (R2)
On Windows Server 2012 (R2), you can migrate only the OS-related partitions to an SSD using Qiling Disk Master Server, keeping the entire hard drive intact. This approach allows you to keep the OS on the SSD without affecting other applications on the hard drive.
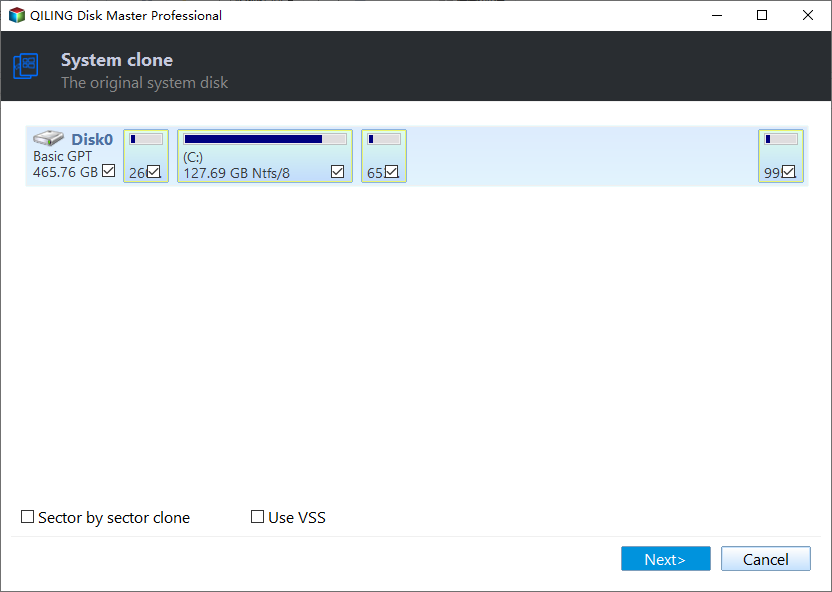
Step 1. Run Qiling Disk Master Server, click "Tools" tab page, and choose System Clone -> Next.
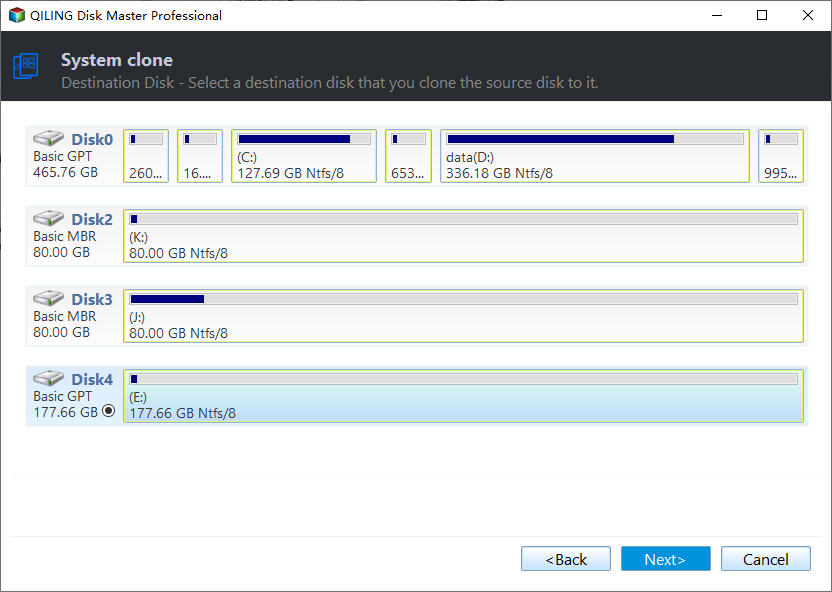
Step 2. Choose an unallocated space on the destination SSD, then click the Next button.
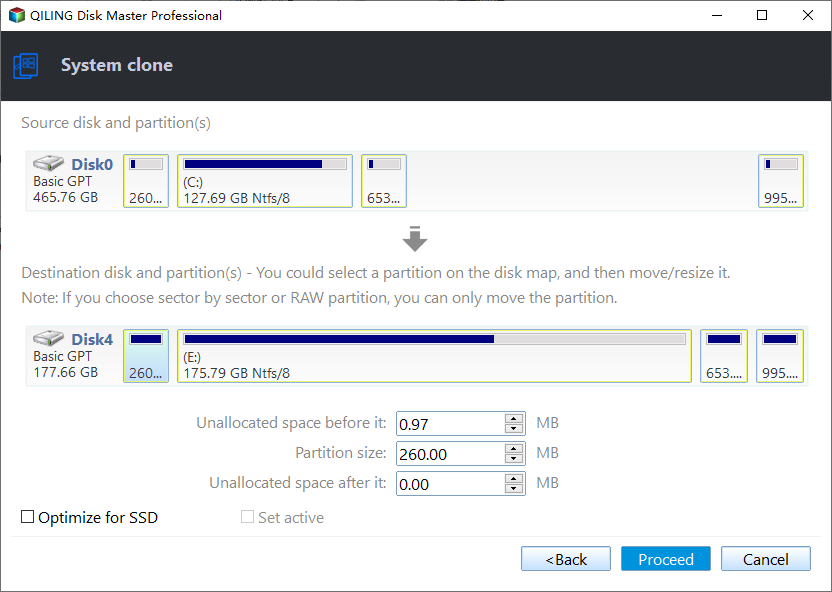
Step 3. To resize the partition size, you can use the drag slider to adjust the size, then click Next.
Step 4. Confirm the pending operating and click Proceed to implement the task.
- ★Notices:
- A system reboot is required to clone the Windows Server 2012 (R2) hard drive to an SSD and migrate the OS to the SSD on a Windows Server 2012 (R2) system, as this operation involves the system partition and will be performed in PreOS Mode.
- When the system can't boot from an SSD after cloning or migrating, try disconnecting the source disk or swapping the positions of the destination and source disks. This should allow the system to boot from the SSD.
- When migrating an operating system from a Master Boot Record (MBR) to a GUID Partition Table (GPT) or vice versa, it's essential to enter the BIOS settings and change the boot mode to match the disk mode after the migration is complete.
Conclusion
Qiling Disk Master Server makes it easy to clone Windows Server 2012 (R2S) to an SSD, completing the process quickly and securely. It offers two cloning options: cloning the whole disk to the SSD or migrating the OS to the SSD. You can choose the method that best suits your needs.
Qiling Disk Master is a versatile cloning software that supports various Windows Server versions, including 2022/2019/2016/2008 (R2)/2003. It not only clones Windows Server but also serves as a powerful partition tool, allowing users to extend the C drive without data loss, merge partitions, and convert NTFS to FAT32 without formatting, among other features. This makes it a great tool for managing disks and partitions with ease.
Related Articles
- How to Use Qiling Disk Clone Wizard Correctly?
Use the Disk Clone wizard of Qiling Disk Master to clone a disk following this tutorial. Select source and target disks to create an exact copy including all files, settings, and applications. - How to Copy or Clone Dynamic Disk in Windows 7, 8,10?
How to clone dynamic disk to a new hard drive without any data loss? If you still have no idea, then, you've come to the right place because here, the most powerful software in disk management will be provided to help get it done easily in Windows 7, 8, 10, 11. - How Do I Clone My Windows to External Hard Drive?
Are you looking for a way to clone Windows to external hard drive? You can find a powerful cloning software from this article to do this. - Free Download Disk Cloning Software for Windows 10 & 11
Looking to clone a hard disk in Windows 10 for free? You're in luck! There are several free disk cloning software options available for Windows 11, Windows 10, and Windows 7. - (2022 Tips) Replace Hard Drive with SSD without Reinstalling Windows
Upgrade your HDD to SSD without reinstalling the OS. Learn how to replace your hard drive with an SSD to significantly improve your computer's performance and speed. - When Should I Replace My HDD? You May Noticed Signs...
This article provides information on time to replace HDD and how to replace it without having to reinstall windows. Qiling Disk Copy is a reliable HDD to SSD cloning tool that helps upgrade, replace and clone an old, small and slow HDD to a new one without losing the operating system.