2 Ways: Move Windows Server 2012 to New Hard Drive without Boot Issues
- Scenario
- Choose a proper tool for moving Server 2012 to new hard drive
- Two ways to move Windows Server 2012 to new hard drive
- Way 1. Move entire Windows Server 2012 hard drive to new disk
- Way 2. Move only Server operating system to new hard drive
- How to boot Server 2012 from the new hard drive successfully?
- Bottom Line
Scenario
"My home business sever is running Windows Server 2012 on a very old Western Digital hard drive. Windows Server and applications have occupied about 50% of its total capacity, but it was generating a slow running and booting speed. So I purchased an SSD drive, and I wanted to move Windows Server 2012 to new hard drive rather than installing Windows Server and applications from scratch.
I could have done the clean install, but honestly, it is too complicated. So I prefer a simple move of existing system to the new drive, then a successful restart from the new drive."– from answers.Microsoft.com
When your Windows Server operating system runs slowly on your current hard drive, consider upgrading to a new hard drive to improve performance. This can be a solution if your current hard drive is old, failing, or too small to hold a large amount of data.
Choose a proper tool for moving Server 2012 to new hard drive
Migrating Windows Server to a new hard drive can be beneficial, but the process can be complex. Traditionally, the approach has been to reinstall the OS and software from scratch, which is time-consuming. A more recommended method is to clone the Windows Server from the source disk to the destination disk, allowing for a direct boot from the cloned disk.
For this cloning task, it's not recommended to use "copying and pasting" as it can invalidate the directory or boot files, making it impossible to boot the OS from the new drive successfully. Instead, you can use Qiling Disk Master Server, a versatile tool that can help you move Windows Server 2003, 2008 (R2), 2012 (R2), 2011, 2016, 2019, and 2022 to a new hard drive.
1. You can migrate the whole Windows Server hard drive to the new hard drive via its "Disk Clone" function.
2. The "Migrate OS to SSD" wizard allows you to move your operating system to a solid-state drive (SSD) without transferring the entire system disk. This means you can upgrade your OS to faster storage without affecting other data on your system disk.
3. Both methods allow cloning an OS partition or disk to a smaller hard drive, provided the destination disk has enough available space to accommodate the used space of the current system partition or disk.
4. During the cloning process, you can align SSD partitions to improve data writing and reading speed if the destination disk is an SSD drive.
After cloning or migration, you can boot from the new hard drive without any issues.
Two ways to move Windows Server 2012 to new hard drive
This section will demonstrate how to move or migrate Windows Server to a new HDD/SSD drive using the disk cloning and OS migration features of Qiling Disk Master Server.
Before continuing, please note:
①To streamline the cloning and migration process, consider removing any unnecessary files or software from the current hard drive beforehand. This can help reduce the amount of data that needs to be transferred, making the process faster and more efficient.
②When moving a Windows Server OS from an MBR disk to a GPT disk, ensure your motherboard supports UEFI boot mode. This is because you'll need to change the BIOS from Legacy to UEFI after the move to ensure smooth booting from the new drive.
③Connect your new hard drive to your computer and ensure it is detected by the system. This can usually be done by physically plugging the drive into a USB port or an available SATA slot, depending on the type of drive you have.
④You can download the free demo version to try it out first.
Way 1. Move entire Windows Server 2012 hard drive to new disk
This method is ideal for those who want to transfer all data from one Windows Server disk to another.
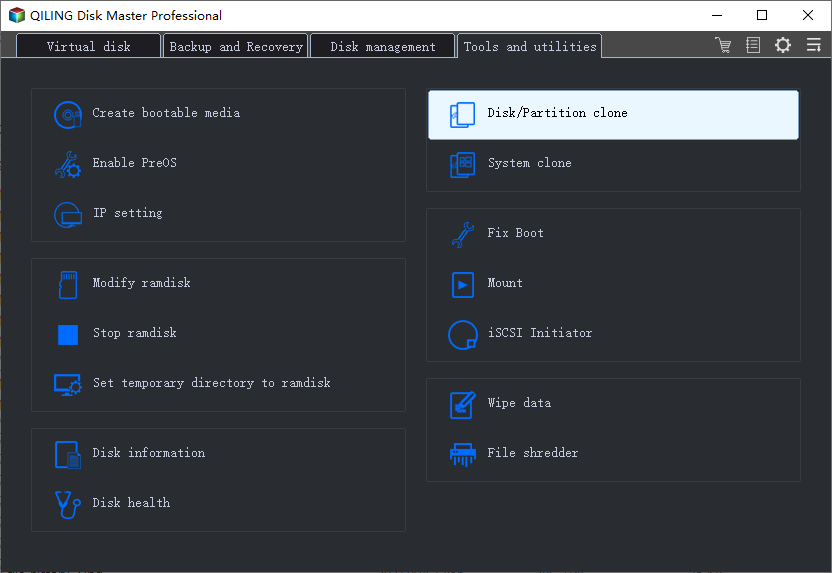
Step 1. To clone a disk with Qiling Disk Master, install and launch the software, then click on the "Clone" option in the main interface. From there, select the "Clone Disk" option to proceed.
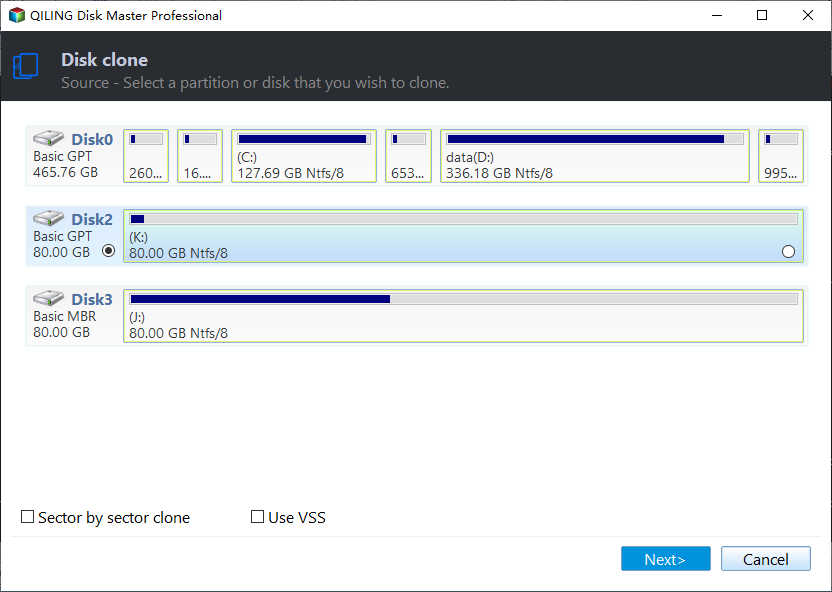
Step 2. Choose the hard disk that you need to clone as the source disk and click "Next".
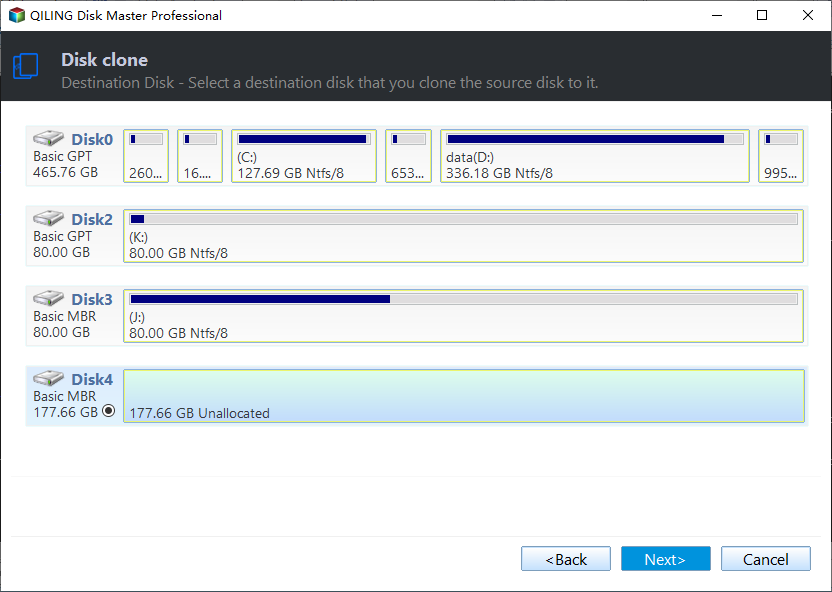
Step 3. Select the destination disk to store the data from the source disk, and then click "Next".
Step 4. To clone a disk, select the source and destination disks in the Clone window, then you can check the source and destination disk in the next window or change to "Sector to Sector clone", and click the "Confirm" button to continue if there is no problem.
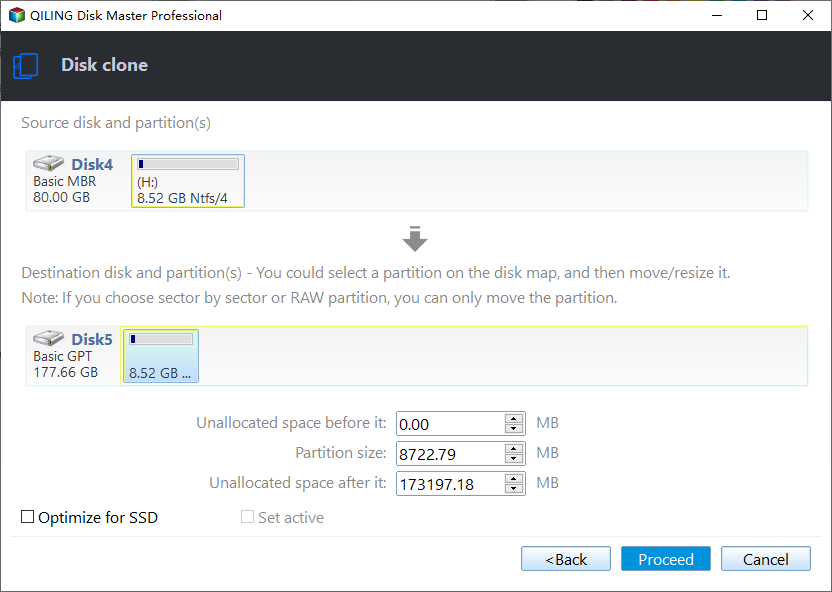
Here, you can also adjust the partition size on the destination disk or tick "4k alignment" to improve the reading and writing speed of SSD if the target disk is an SSD drive.
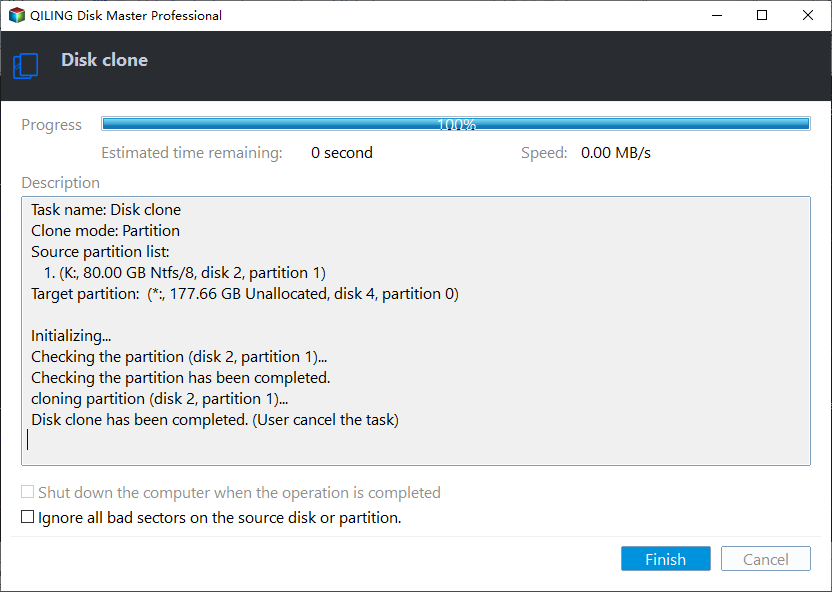
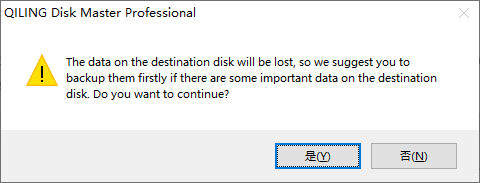
Step 5. To start cloning the hard drive, click "Apply" and then "Proceed" in the main interface. This will initiate the cloning process, which will create an exact copy of the original hard drive.
Way 2. Move only Server operating system to new hard drive
This method is suitable for users who want to move only the Windows Server partition to a new hard drive.
Note: To ensure a smooth Windows 10 to Windows 11 upgrade, make sure there is enough free space on the destination disk to accommodate the current system partition. This is crucial to avoid any potential issues during the upgrade process.
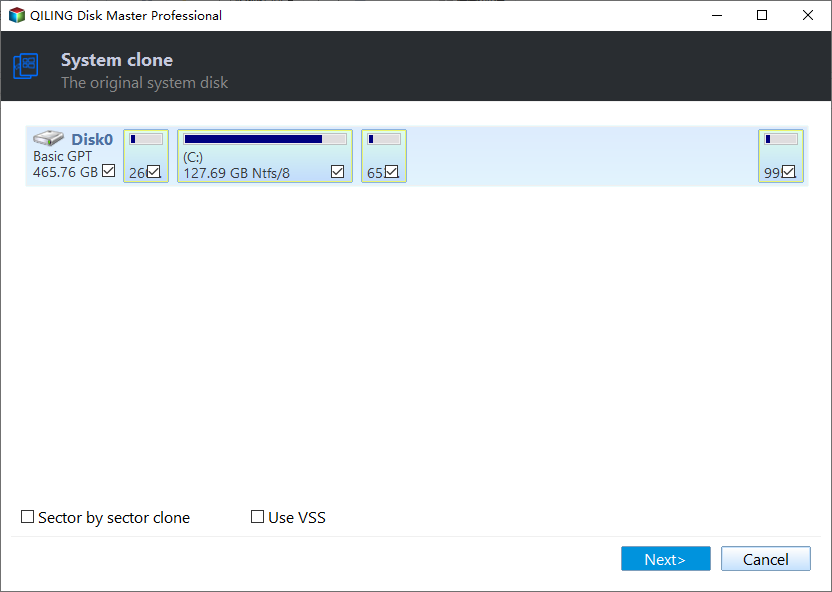
Step 1. In the main interface, click on the "Tools" tab page and select "System Clone".
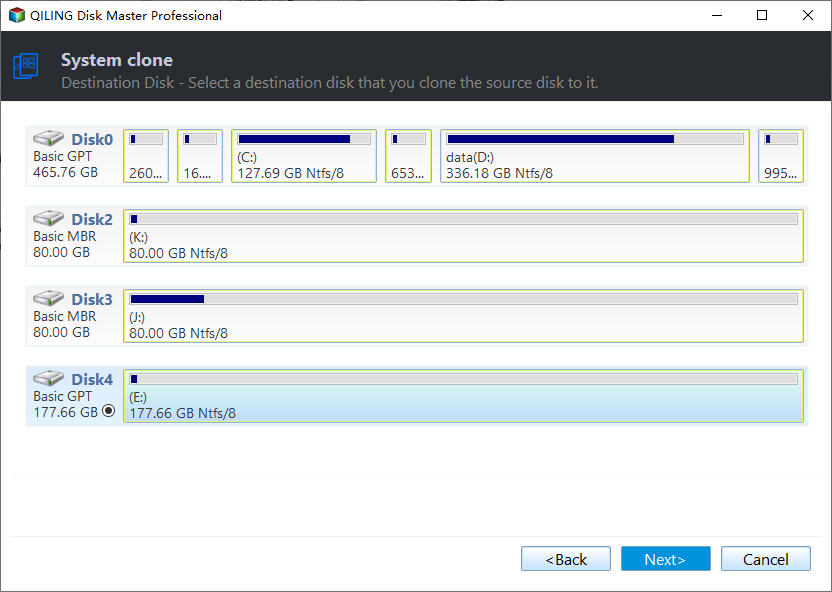
Step 2. In this window, select an unallocated space on the target hard drive and click the "Next" button.
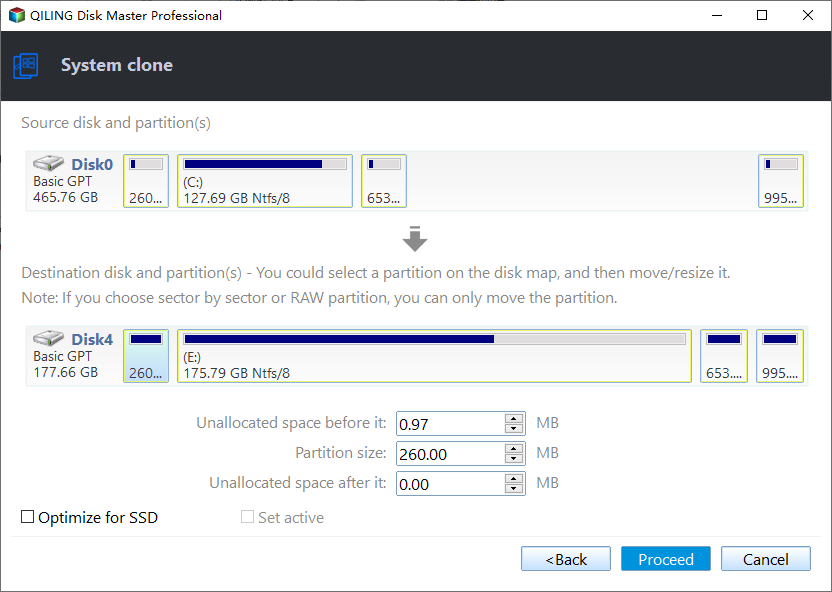
Step 3. Here, you can change the size and location of this partition being created.
Step 4. Now click "Proceed" to make this OS migration operation to take effect.
Step 5. The system will automatically create a new user account for you. You will receive a note about this operation, you can click "Next" to continue.
How to boot Server 2012 from the new hard drive successfully?
To move Windows Server 2012 to a new hard drive and boot from it, you'll need to change the boot order, in addition to swapping out the old hard drive.
Step 1. Restart your computer and keep pressing a certain key like DEL, F2, F8, F12, or ESC to access the Boot Manager and make changes to your boot settings.
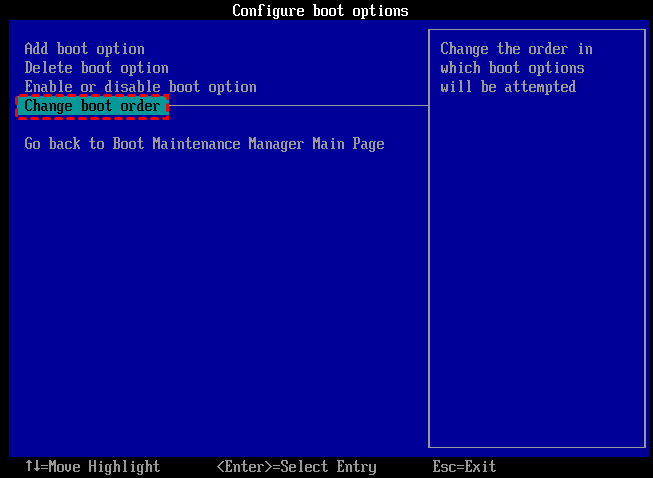
Step 2. To access the Boot Manager menu, select "Enter setup" to get the Boot Maintenance Manager, then choose "Configure boot options".
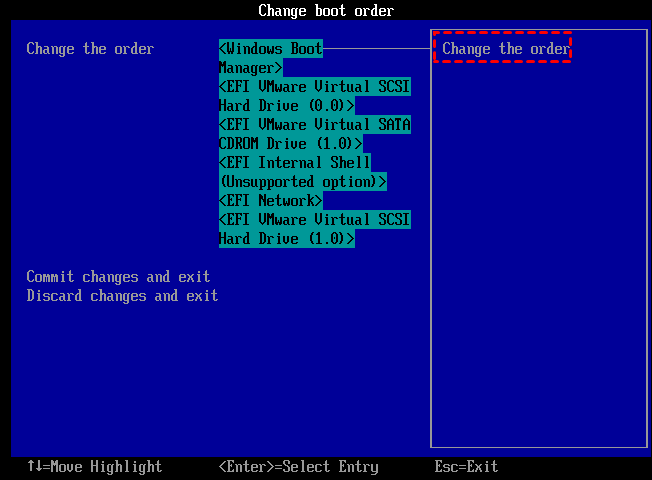
Step 3. Here, select Change boot order and use the arrow keys to change the device to the target disk in the next screen.
Step 4. Finally, go to Commit changes and exit.
Then your computer might be able to boot from the destination disk now.
What if it fails to boot from the cloned hard drive?
If the cloned hard drive won't boot, you can try troubleshooting the issue by checking the BIOS settings, ensuring the cloned drive is set as the primary boot device, and verifying that the drive is properly connected to the motherboard. If the issue persists, you may need to reclone the drive or seek further assistance from a computer professional.
1. If your motherboard doesn't support UEFI boot mode, but your new system disk is of GPT, you can convert GPT to MBR before OS cloning or migration, ensuring you use the correct boot mode based on your new hard drive's partition table.
2. If the MBR of the new hard drive is damaged, you can use Qiling Disk Master to create a bootable media and fix the MBR in the WinPE environment.
3. Run the SFC command to scan and replace corrupted system files with a cached copy. The /scannow option scans all protected system files and replaces corrupted files with a cached copy.
Bottom Line
To move Windows Server 2012 to a new hard drive, you can use a Windows Server migration software that can also transfer other Windows Server operating systems and Windows 7/8/10/11. This software offers additional features such as recovering deleted partitions, quick partitioning, and splitting large partitions into smaller ones. The software, called Qiling Disk Master Unlimited, can be installed on unlimited PC and Server computers.
Related Articles
- Move Windows Server from HDD to SSD without Reinstalling System
Here comes the best way to move Windows Server 2003, 2008, 2012, 2016, 2019, SBS or Home Server 2011 to SSD and boot the system from successfully. - How to Install Windows Server 2008 on USB Flash Drive?
No matter you want to install Windows Server 2008 on USB for a portable Server, install OS or repair the boot issues, you can find the stepwise guide in this article. - How to Clone Windows Server 2012 (R2) to SSD?
To clone Windows Server 2012 (R2) to SSD without losing data, you can turn to disk cloning software, Qiling Disk Master Server. - How to Make Cloned Drive Bootable in Windows 11/10 [5 Tips]
If you are confused by how to make cloned drive bootable in Windows 10, 8, 7, this article may help you to solve this problem with detailed guidance. - (2022) Windows XP Cloning Software
Still worried that your Windows XP will crash or be attacked by viruses at any time? Still, struggling with the fact that your data security cannot be guaranteed? Prepare your Windows XP for cloning and your worries will be eliminated naturally. - Best ADATA SSD Disk Migration Tool to Clone HDD to ADATA SSD
The best ADATA SSD disk migration tool - Qiling Disk Master will help you safely clone HDD to ADATA SSD without reinstalling.