How to Make Partition Bootable in Windows 7 Effortlessly
Need to make partition bootable in Windows 7
The boot partition, also known as the boot volume, is the disk partition that contains the boot loader and necessary files for the Windows operating system. It is required to start a computer normally and must be marked as an active partition, containing the related bootable data.
To manage multiple operating systems on a single disk, each OS has its own boot partition. However, only one partition can be set as active at a time, meaning you can only load one operating system at a time.
When your computer fails to boot, check if the boot partition is set as active. If not, mark it as active to make it bootable in Windows 7.
Solutions to make bootable partition in Windows 7
Here are three efficient methods are listed to show you how to create boot partition in Windows 7 . Within your own circumstances, choose a solution that will be satisfying for you.
▶ Solution 1. Use Diskpart to create boot partition
You need to open Command Prompt to perform this operation, the specific steps are as follows:
Step 1."Step 1. Press Windows + R"R to open Run box. Then type cmdc and click OK.

Step 2. Type the commands below into the Command Prompt one at a time and press Enter after each command.
• diskpart
• list disk
• select disk n (replacing n with the number assigned to the relevant drive)
• list ume• list vol
• select lume n• select vo (replacing n with number of the partition you want to set as active)
• active
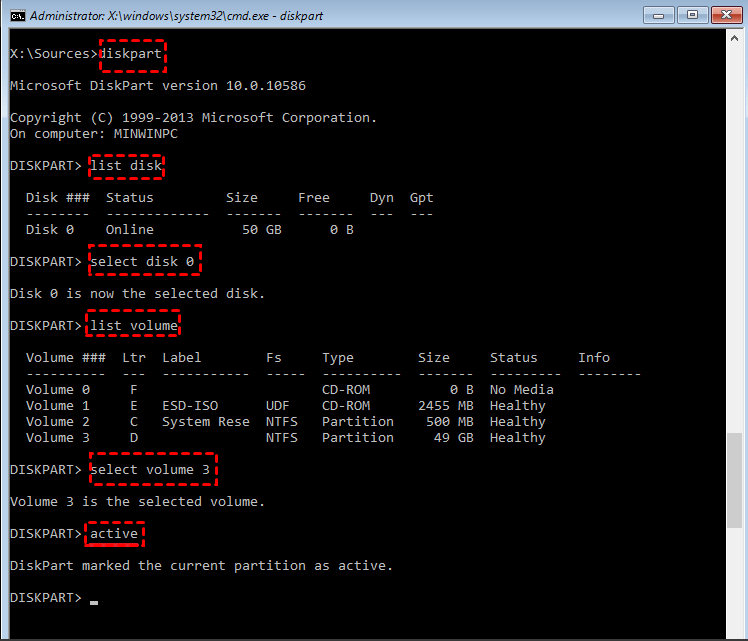
Step 3. Your partition is now active. Type exit, press Enter and then restart your computer.
▶ Solution 2. Use Disk Management to set partition bootable
This method is simpler than the first, but you may encounter the marked partition as active is grayed out. To proceed, you can try to mark the partition as active, then click on the "Mark partition as active" button. This will allow you to proceed with the partitioning process. However, if the button is still grayed out, you may need to try a different approach.
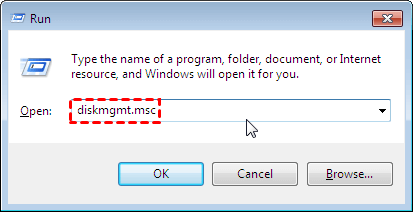
Step 1. "Step 1. Press Windows+ R"R to open Run box. Type diskmgmt.msc and then click OK.
Step 2. To set a partition as active, right-click on the desired partition and select the option to mark it as active.
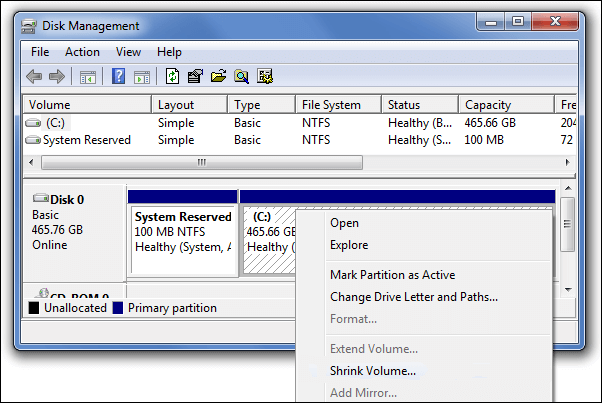
Step 3. Wait for the process to finish and then restart your computer.
Note: While the two methods mentioned can make a partition bootable in Windows 7, they require great care to avoid data loss, and you cannot undo steps if mistakes are made. For added data security, a third method is recommended.
▶ Solution 3. Use the best partition manager to set partition active
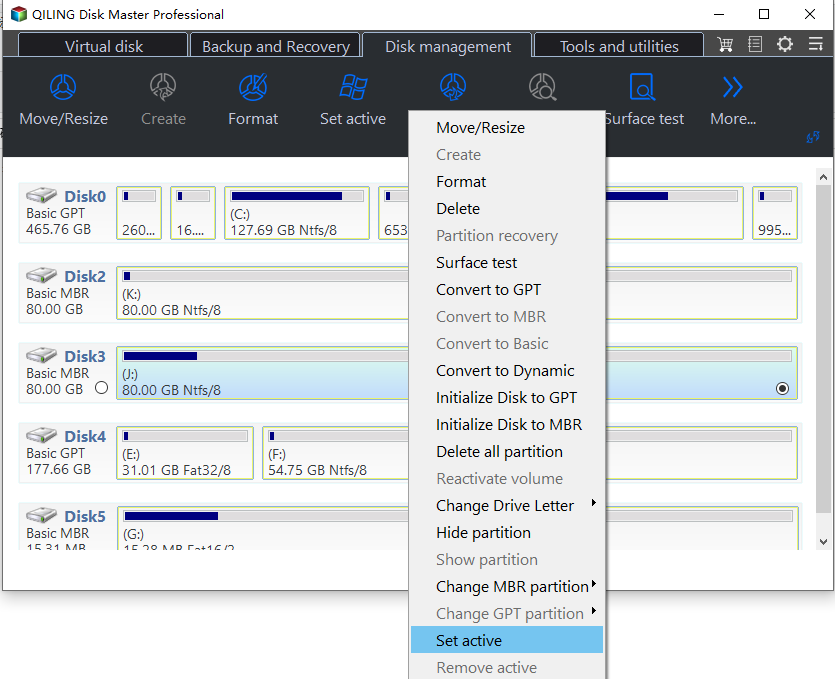
With Qiling Disk Master Professional, making a partition bootable in Windows 7/8/8.1/10/11 becomes a breeze, ensuring a safer and easier experience. This comprehensive partition manager allows you to effortlessly make a partition bootable in just 3 easy steps, thanks to its user-friendly Set Active Partition feature, eliminating the risk of data loss.
Step 1. Right-click the primary partition you want to set as active, then click "Set Active Partition".
Step 2. Waiting to finish your operations.
- ★Tips:
- Only a primary partition can be marked as active, and other partitions can't be set as active, otherwise, the computer will stop working. If there's no primary partition, you can convert a logical partition to a primary partition.
- Make sure the partition that contains the loader or boot files (such as "boot.ini", "ntldr", "bootmgr", or "BCD") is marked as active before proceeding.
Summary
This tutorial provides three practical methods to make a partition bootable in Windows 7, using either Windows built-in tools or third-party software. The first two methods are suitable for those with computer knowledge, but for non-technical users, Qiling Disk Master Professional is the safest and most recommended option.
In addition to its excellent features, this software also offers more advanced functions, such as recovering accidentally deleted boot partitions and moving the boot partition to another drive. Download it now and experience its capabilities firsthand!
Related Articles
- How to Make Windows 11 Boot from USB (Top 2 Ways + 1 Tip)
In this article, you are capable of booting from USB on Windows 11 securely with the presented top 2 ways. And you can make a bootable USB to avoid errors with the best backup software introduced below. - 5 Easy Ways to Access Windows 11 Recovery Environment
Windows 11 recovery environment can help you troubleshoot, recover or boot a device, but how to access it and run the recovery tools? Get them in this article. - What is The Best Windows 11 USB Creator? Try 4 Options Here!
Looking for the best Windows 11 USB tool but don't know which one to choose? Refer to this article and you can find the best answer among the 4 recommended tools. - How to Create Windows 7 Bootable USB Easily and Quickly?
Need to inistall Windows 7 from USB, repair unbootable operating system or clone hard drive from BIOS? This post shows how to create a Windows 7 bootable USB drive under different conditions. - Quick Fix: File:\EFI\Microsoft\Boot\BCD Error in Windows 7/8/10
Sometimes, you might meet the "File:\EFI\Microsoft\Boot\BCD Error code: 0xc00000f" error when booting Windows PC. In this below article, you can figure out how it comes and how to fix this error effectively. - Fix System Repair Disc Could not be Created in Windows 11, 10, 8, 7
How to fix system repair disc could not be created problem in Windows 11,10, 8, 7. Read this guide to get the solution.