2 Ways to Recover Deleted User Profile in Windows 7
Deleted My Windows 7 User Profile Accidently
I deleted my user account to solve a Windows 7 problem, but now I realized that I deleted 5 years of my kid's pictures and a batch of documents, so I go to Windows backup and restore, it did not restore my photos and files. How to recover my user profile in Windows 7?
How to Recover User Profile in Windows 7?
The user profile location is typically the C:\Users\(user name) folder, but it may still exist after deleting a user account. If you need to copy the Windows 7 user profile to another computer or new user account, you can do so. However, if the user profile does not exist after deletion, you may need to try additional solutions to retrieve it.
Method 1: Use System Restore Point
Before taking any actions on your Windows 7/8/10 computer, please backup the entire hard disk in case something goes wrong. If you have a system restore point created before the user profile deletion, you can use it to recover the user profiles. To do this, follow the steps to restore your system to the previous state. If you don't have a system restore point, you may need to take other actions to recover your user profiles.
1. Click Start button, input system restore point in search box.
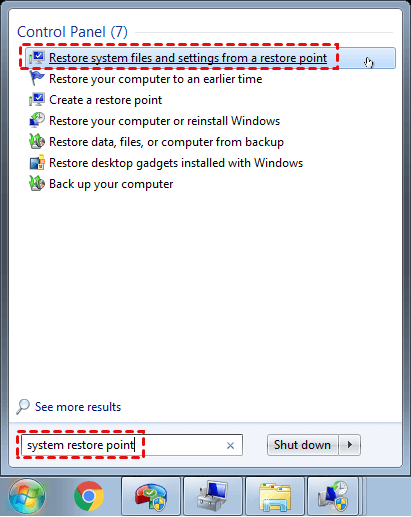
2. To fix the issue, go to the System Restore page, select the "Restore system files and settings from a restore point" option, and follow the on-screen instructions to complete the restore process. This will revert your system to a previous state, potentially resolving the issue.
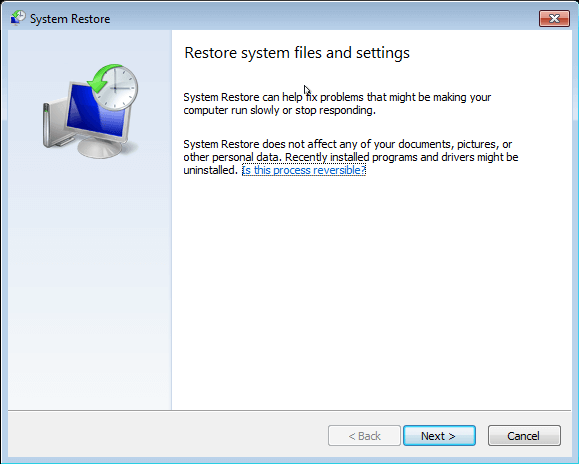
3. Click Next in the pop-up window.
4. Select a System Restore Point you'd like to restore, then click Next.
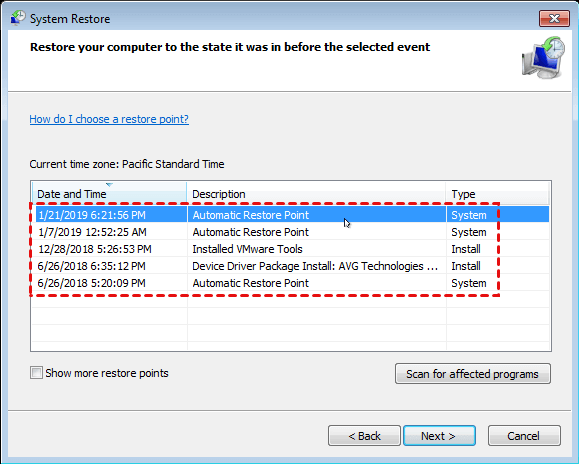
5. To restore a deleted user profile in Windows 7, select the System Restore option, choose the restore point that corresponds to the time when the profile was still intact, and then click Finish to initiate the recovery process.

Method 2: Try Professional Data Recovery Service
If you don't have a system restore point, you might need to use data recovery software or services to recover your data. Before doing so, it's best not to make any changes to your Windows 7 system, as this could potentially affect the recovery of your user profile.
Prevention Measure: Data Backup and Restore Software
To avoid repeated user profile deletion, it's advised to use Qiling Disk Master Standard to back up your Windows operating system, settings, and personal files, including user profiles, as soon as possible.
Qiling Disk Master provides automated backup capabilities for entire hard drives, disk partitions, and important files, including incremental and differential backup, sector-by-sector backup, and support for Windows XP to 10 operating systems.
To protect your critical files, we need to inform you about the backup process. Please refer to the details provided to ensure your important data is safeguarded.
1. After downloading Qiling Disk Master Standard, install it and launch the main window. Go to the Backup tab and choose the type of backup you want, such as Disk Backup, System Backup, Partition Backup, or File Backup.
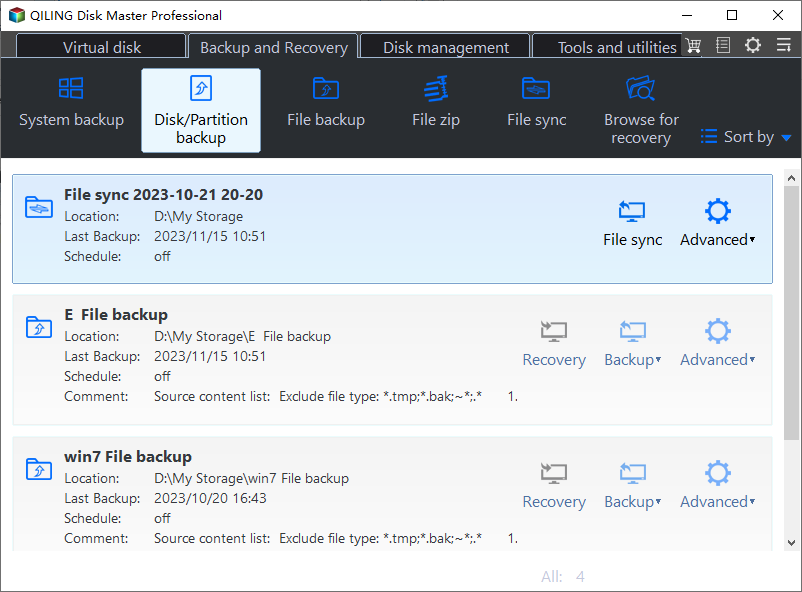
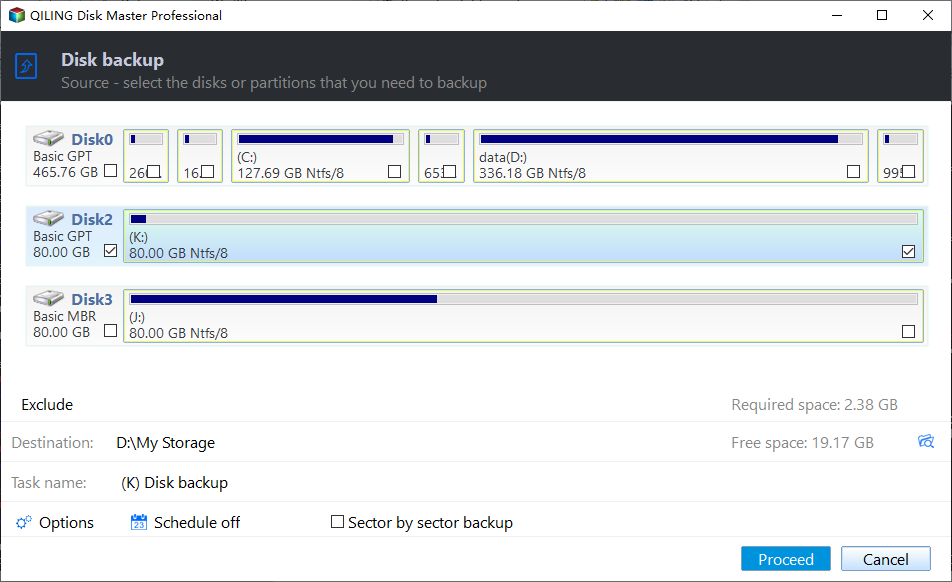
2. The task name should be renamed to distinguish it from other backups. Then, click on the "Disks" button and select the Windows 7 system disk to back up the system hard drive. Optionally, multiple hard drives can be backed up simultaneously.
3. Choose a destination path to save the disk backup image file.
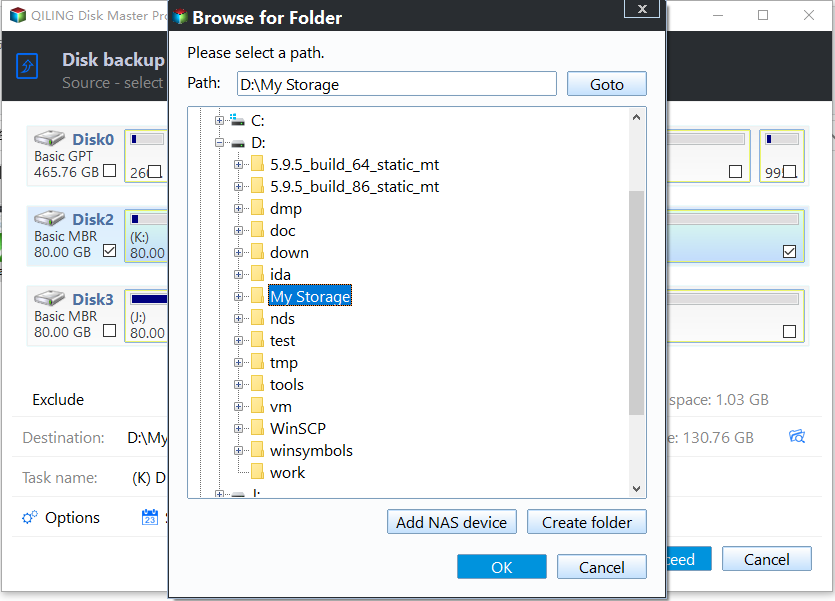
Tip: The destination for transferring files depends on the type of device or storage you have, such as a USB flash drive, SD card, network share folder, NAS, or cloud storage.
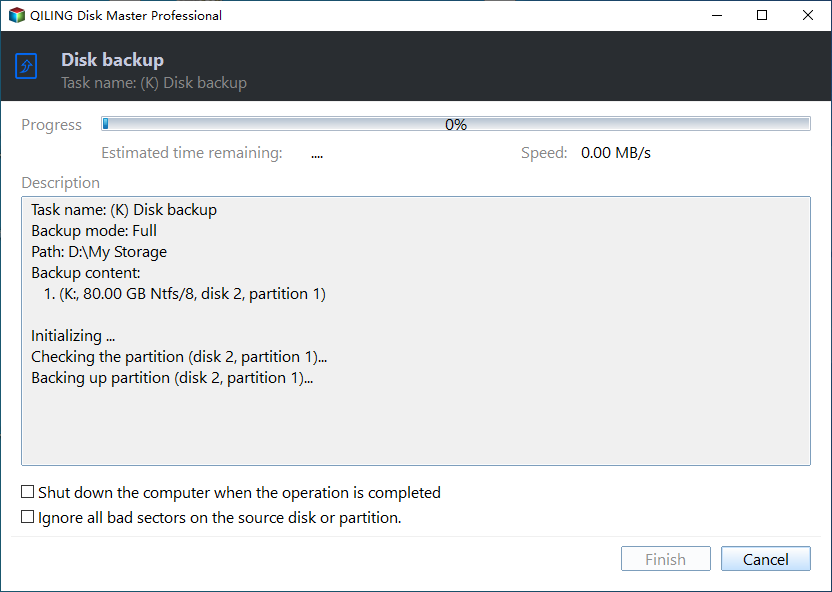
4. To avoid the problem of recovering a deleted user profile in Windows 7/8/10, click Proceed. This will prevent the system from automatically creating a new user profile when a user logs in.
Tips:
- Schedule: You can choose to set the backup task to run daily, weekly, or monthly, and also select whether it's a full backup or an incremental backup.
- Options: You can enable various features such as specifying comments, setting the compression level, splitting a backup image file, and enabling VSS backup.
After creating a disk/system/partition backup image file, you can restore your computer to its previous state using the backup image file, eliminating the need to recover deleted user profile data in Windows 7.
Qiling Disk Master offers different editions for various usage. The Professional edition is suitable for professional users, offering real-time file sync, dissimilar hardware restore, and system clone, as well as command line backup. For server users, the Server edition provides more advanced functions that can be helpful.
Related Articles
- Top 3 Ways to Fix a Corrupted User Profile (Windows 7)
Knowing the causes of a corrupt user profile can help you easily and quickly fix a corrupted user profile in Windows 7/8/10. Thus, please find your cause first and then try 4 FREE ways in this article. - How to Backup User Profiles in Windows 7 and Restore it?
If you want to protect your user files, settings, or customize your fresh install or new Windows-based computer, keep reading to learn how to backup user profiles in Windows 7, 8, 10. - Effective Way to Recreate User Profile on Server 2012(R2)
Are you looking for a good way to recreate user profile on Server 2012? This article offers a method to recreate user profile and an effective preventive way to avoid this kind of issue. - How to Fix My Documents Folder Missing in Windows 7?
If you don't know how to fix the My Documents folder missing problem in Windows 7/8/10/11, please continue to read this article and learn the reasons and different solutions to it. - How to Backup and Restore Windows 8/8.1 System [SOLVED]
For a comprehensive guide on backing up and restoring Windows 8/8.1, click here. You can also find a comparison between file and system backups. For a seamless backup and restore experience, consider using Qiling Backup. - Windows Backup Encountered An Error When Writing Data to the Backup Target [Full Guide]
This article gives you full knowledge about windows backup encountered an error when writing data to the backup target and how to fix it. We recommend you use Qiling Backup to perform system backup and recovery for its powerful functions and user-friendly interface.